Halloween Tag!

The photo behind the claw marks is holographic! There is a close-up further down the post.

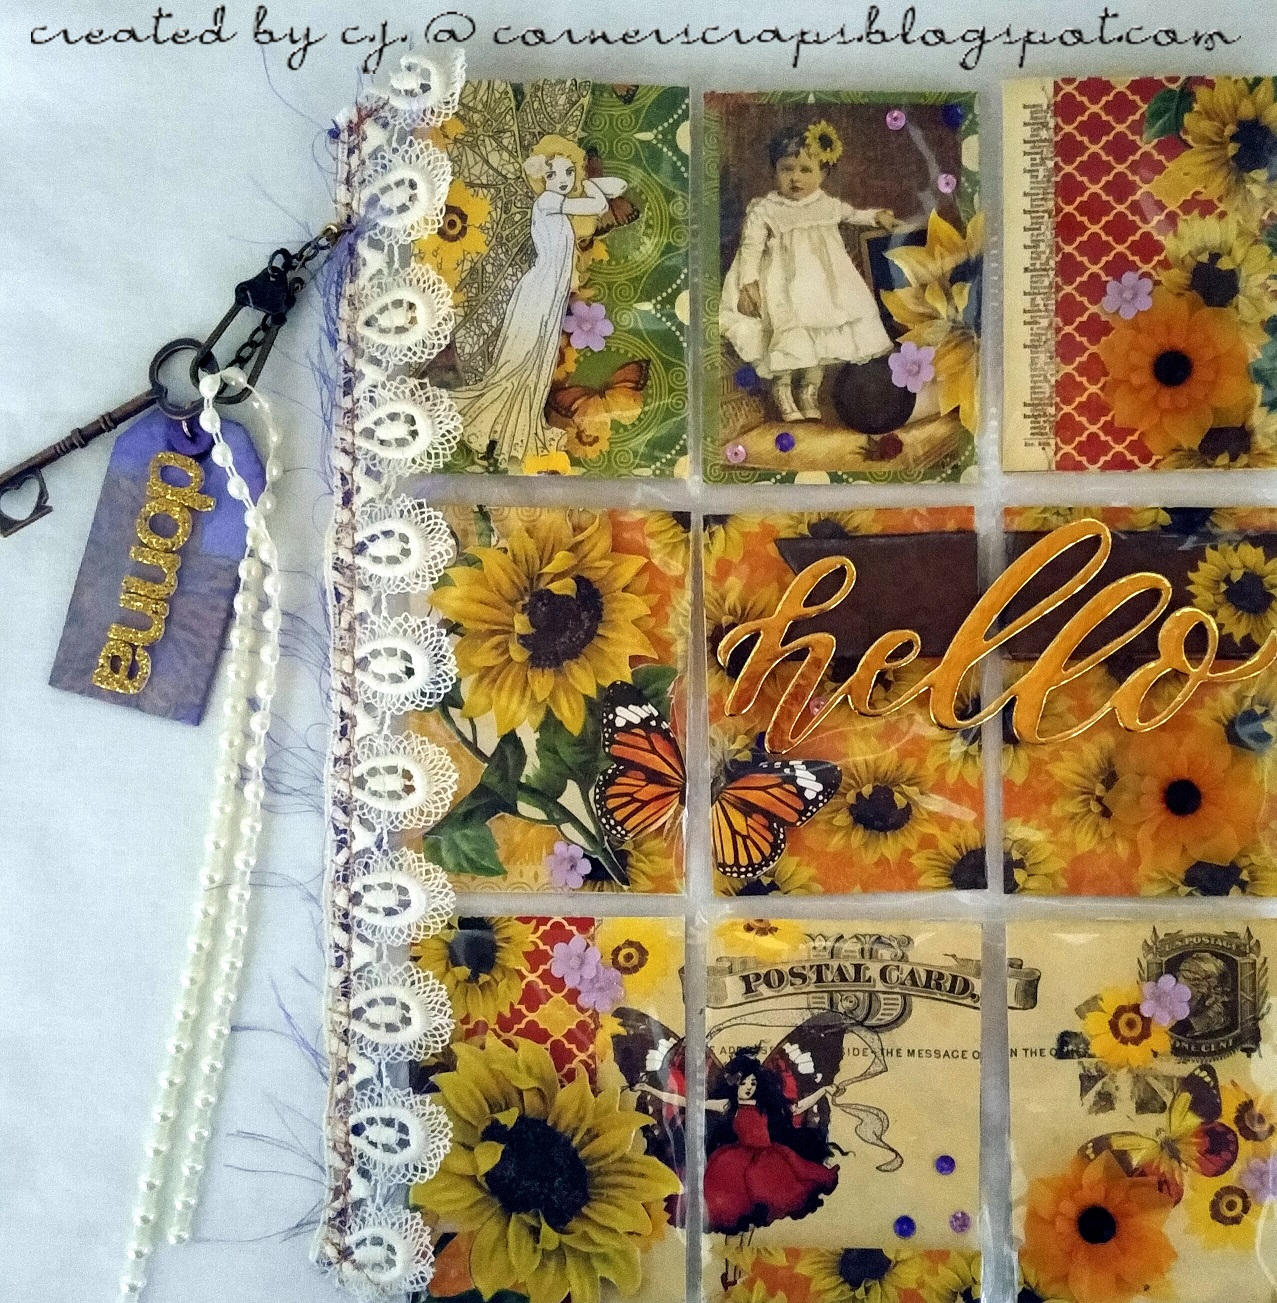
Over at scrapbook.com Donna (bonprof) hosted a September tag swap! There were two categories, Autumn and Halloween. You didn’t have to do both, but I did, and this is my Halloween tag that was sent down to Kathy in Australia! (Here’s where you can see the Autumn tag!)

And, thanks to perfect timing, I’ll be entering this tag in the Simon Says Stamp, “A Walk On The Darkside,” Monday Challenge, and the Simon Says Stamp, “Anything Goes,” Wednesday Challenge!

I actually did a lot of mixed media work on the background when I started because I wasn’t entirely sure what direction I’d be going. I knew I wanted to use a photo behind the claw marks, but I didn’t know what kind of photo or how big … then I just happened to turn around in the Halloween isle when I saw the package of holographic “photographs” hanging up! Now, you can only really see the Prima White Crackle Paste coated in ink along the edges!

The lace along the edge also didn’t start out as an orangish-rust color, it was white, but with some help from Tim Holtz’s Distress Spray Stains in Carved Pumpkin and Rusty Hinge, I made the lace match my theme!

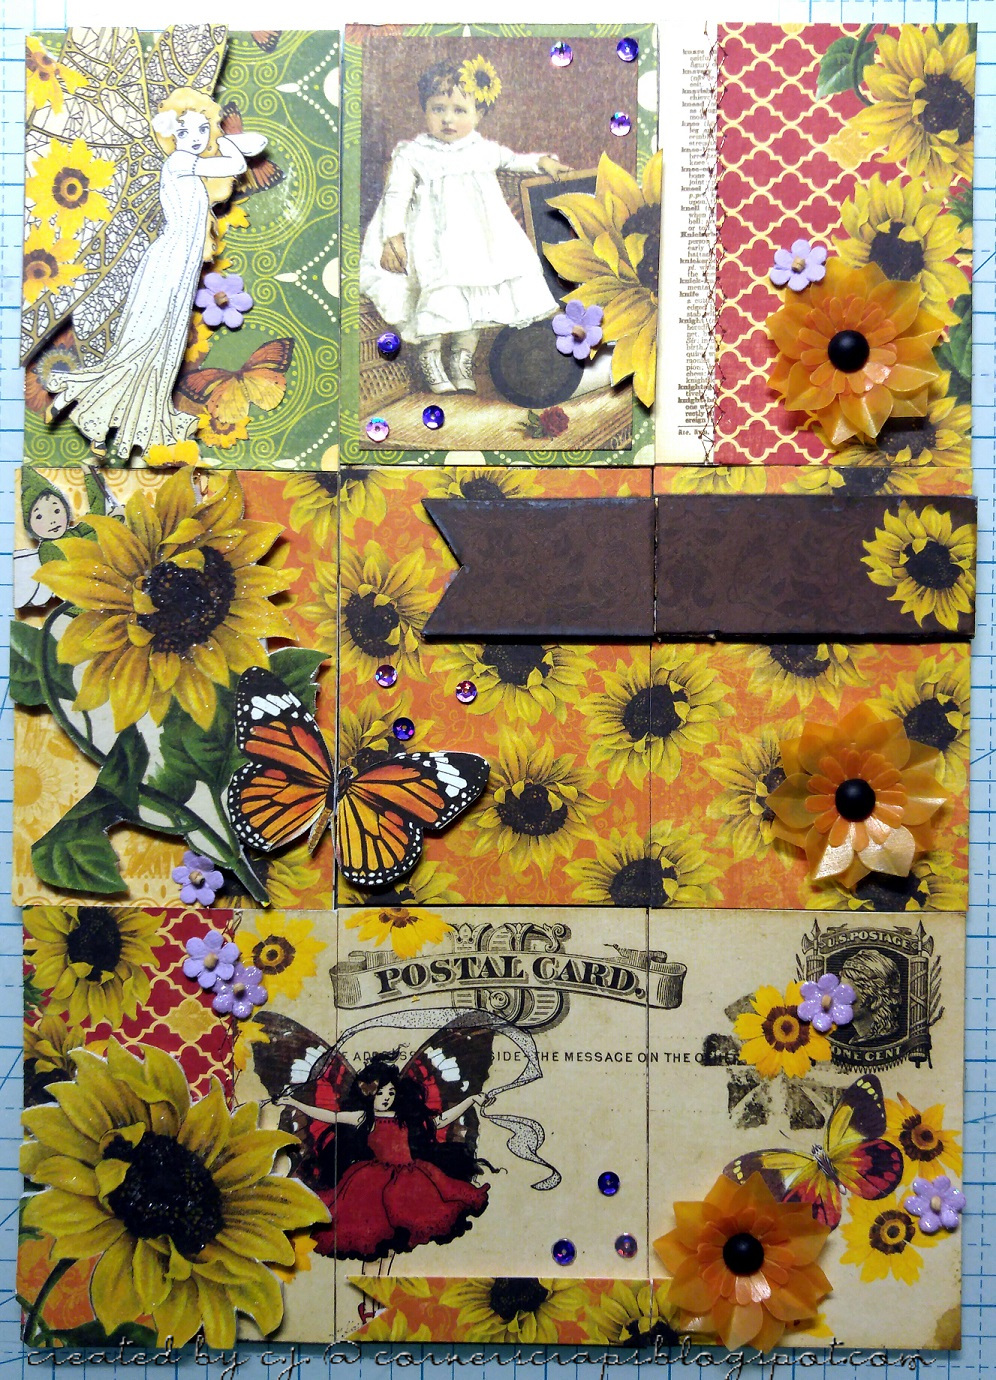
After all that it was just placing and gluing the items in place! Although I did use some black craft foam to pop up the purple paper above the photo after using the Claw Thinlits to cut matching marks!

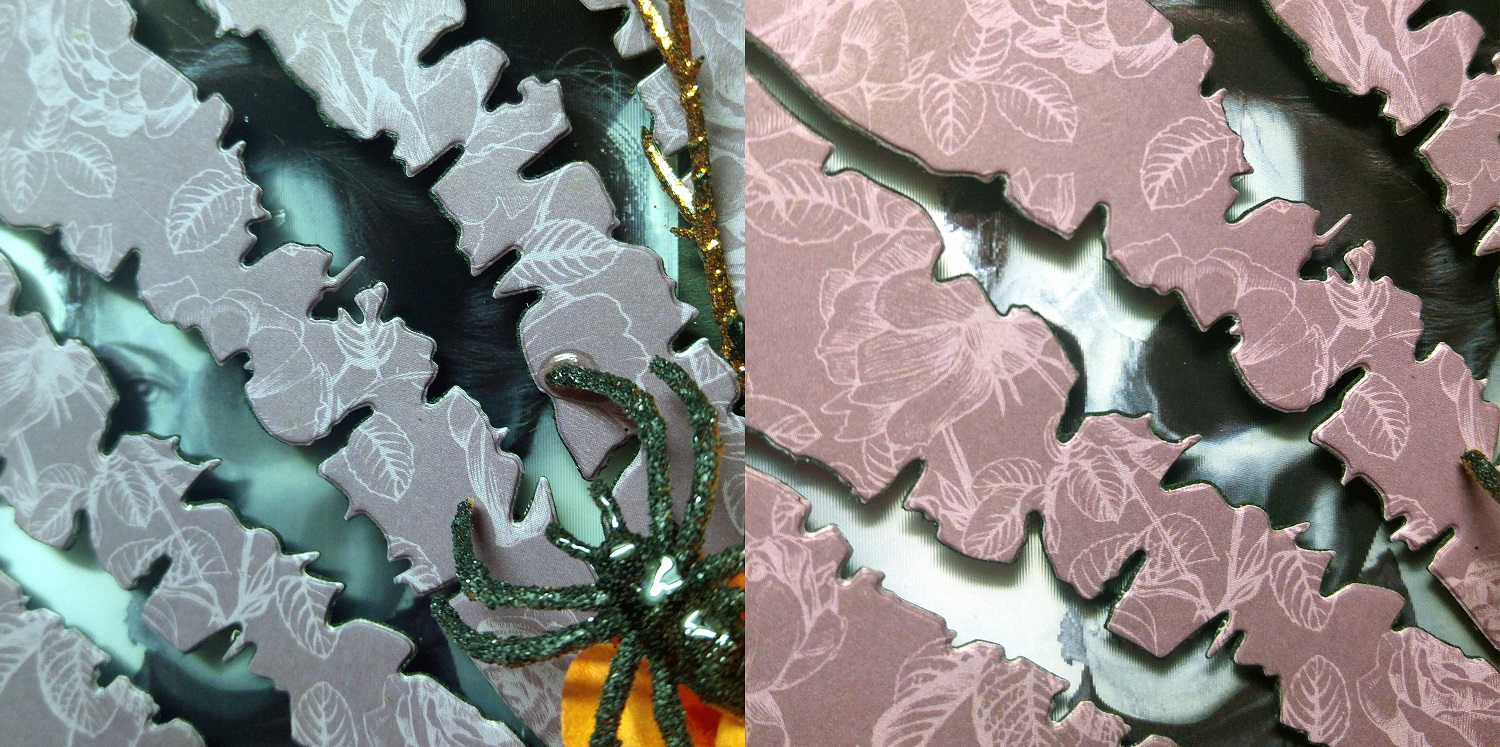
The full tag at the top of the post shows the color best. The colors here are a little distorted because of the lighting change needed for a close-up of the holographic images!

Products Used:

  • The holographic photo, wired burlap ribbon, black & gold rose, “twigs,” purple lace, and purple spider I found in the Halloween and/or Autumn decor sections of my local 99¢ store!
  • The orange lace on the edge I received in a lot of ‘vintage’ lace off eBay.
  • ‘Mulberry’ flowers (orange roses)
  • Joelle’s Halloween Fabric Flowers: the black burlap flowers.
  • Tim Holtz: Thinlits – Claw Marks, Distress Spray Stains – Hickory Smoke, Carved Pumpkin, and Rusty Hinge, Distress Oxide – Black Soot
  • Sizzix Big Shot Plus
  • Heidi Swapp Color Shine: Bronze
  • Prima Texture Paste: White Crackle
  • Ranger Glossy Accents
  • Echo Park Arsenic and Lace patterened paper
  • The small, black spider was actually a cheap, orange, plastic ring used as party favors! I just added a lot of Glossy Accents and Martha Stewart Onyx glitter!

My Ancestor!

“Ancestor” ATC featuring one of my actual ancestors!

I did this set of ATCs for the “Ancestor” category over at Marci’s ATC swap on scrapbook.com! I will also be entering this project into the Simon Says Stamp, Anything Goes, Wednesday Challenge!

The main photo is actually one of my ancestors, my great great grandfather! The original photo of him is actually very faded & blemished, but I used my dusty photo editing skills to fix him up for this challenge! He’s not exactly fit for hanging on a wall yet, but for what I wanted to do here I got what I needed! I printed the photo on regular, white, printer cardstock and used JudiKins MicroGlaze to protect the majority of the photo. After he was thoroughly coated with the MicroGlaze, I spritzed water to get the printer ink to bleed a bit, dried the photos, trimmed them down, rounded the corners, distressed the edges, then inked them! WHEW! That was a mouthful!

The background for the ATCs is made of bits and pieces from Tim Holtz’s “Lost and Found” paper stack. I layered up some random bits, glued them down, then used a blending tool to add some Vintage Photo Distress Oxide, which I then spritzed with water to activate. The little “film strips” of photos are also from the “Lost an Found Stack.” I love Tim’s style, but I have never figured out what to do with all the photos of random people he has in many of his stacks & ephemera packages! This is only the second time I have found a use for the faces of strangers! It’s not anything I dislike about them, I actually think they are very cool, but my poor brain just can’t add “strangers” to things very well!

Product List:

  • Tim Holtz – Tiny Attacher, Distress Oxide: Vintage Photo, Lost and Found Paper Stack, Mini Blending Tool, and Paper Distresser.
  • JudiKins MicroGlaze

Sweeeet!

Sweeeet! ATCs

I made this set of ATCs for Marci’s ATC swap over at scrapbook.com! The category was “Sweet Treat,” and after thinking and thinking and looking at ideas on Pinterest and anywhere I could find them, I happened to come across this cupcake cut file in the Silhouette Store! After that, I knew what I would be doing! I’m also going to enter them into the Simon Says Stamp, “Anything Goes,” Wednesday Challenge!

The patterened paper for the backgrounds came from the Simon Says Stamp September Card Kit, the twine I’ve had forever, the pink in the “frosting” is Shimmerz Paste-eez “Raspberry Sherbet,” and the white “frosting” is Prima Snowflake Paste! All the other colors, except the “chocolate,” came from Tim Holtz Distress Crayons or Distress Oxides! The “chocolate” is a Bic Mark-It in “Woodsey Brown.”

I used the Distress Crayons on the bottom layer of the cupcake wrapper, and the Distress Oxides on the wrapper layer with the chevrons and the layer on the frosting with the circles cut out.

Product List:

  • Background papers are from the Simon Says Stamp September Card Kit!
  • Twine … ::shrug::
  • Shimmerz Paste-eez “Raspberry Sherbet”
  • Bic Mark-It “Woodsey Brown”
  • 140# watercolor paper
  • Prima Snowflake Paste
  • Ranger Glossy Accents
  • Tim Holtz Distress Crayons & Distress Oxides in Cracked Pistachio, Peacock Feathers, Picked Raspberry, & Seedless Preserves
  • Silhouette Cameo

Happy Fall!

“Happy Fall” ATCs!

A set of ATCs I made for the ATC swap over at scrapbook.com! The category for this is was to be “Inspired” by the photo shown below!

The leaf clusters are put together with a lot of staples from Tim Holtz’s Mini Stapler, regular staples, and hot glue! I used leaves from the Autumn Decor section in my local 99¢ store, cut them in half, then, more or less, folded them into pleats and stapled them! Then I stapled the individual leaves together into clusters, glued them together, then glued them down!

For the background I used some tissue paper I received with a Pocket Letter (the letter was wrapped in it!) and some Mod Podge!

Inspirational Photo!

Product List:

  • Jute 
  • Decor leaves from the fall decor section at the 99 cent store 
  • Lots and lots and LOTS of hot glue!  
  • Lots and lots of regular staples to go with THs mini staples! 
  • The tissue paper came wrapped around the September Pocket Letter I recieved from Donna (bonprof)! It was the perfect color for the BG!! Thank you, Donna

Halloween ATCs!

Halloween ATC set!

Over at scrapbook.com MarciB hosts a monthly ATC swap! One of the categories for September was Halloween, and this is what came out of my mind!

For the background I used Amazing Cast Resin on my Tim Holtz, “Cracked” Embossing folder. I painted the resin with ordinary, black arcylic paint then added the Prima waxes!

I actually found the lace and skulls at the 99¢ store when I went in looking for a package of those plastic spider rings that come out this time of year!

The ‘mulberry type’ roses I bought off eBay a while ago and used Heidi Swapp Color Shine: Tinsel on a set to turn them from light purple to, well, tinsel!

Product List:

  • 99¢ Store lace, skulls, and spiders
  • “Mulberry Type” roses from eBay
  • Tim Holtz “Cracked” Embossing Folder
  • Amazing Cast Resin
  • Ranger Glossy Accents
  • Prima Metallique Wax – Old Silver; Opal Magic Wax – Royal Robes
  • Heidi Swapp Color Shine – Tinsel

Sunflower Pocket Letter!

The pocket letter I made for bonprof over at scrapbook.com

Over at scrapbook.com Donna (bonprof) is the hostess of a monthly Pocket Letter swap! For September I was honored with getting to swap with the Swap Boss herself! I also am entering this Pocket Letter in the Simon Says Stamp Wednesday Challenge: Pop It Up!

I knew her favorite flower was the sunflower, and I had had the Enchanted Harvest line by Bo Bunny for quite some time, so I decided this would be the perfect time to use it!

It was a rather straight-forward process, not a lot of “fancy” work! I mostly picked the papers, rather the parts of the papers, I wanted to use and put them together!

I fussy cut some items then backed them with foam so they would pop up, added some Stickles to other areas for a bit of a high light, poped on some Little Birdie flowers & some sequins, then stuck everything in the pockets! Oh! I also did a bit of sewing with some copper thread for some added texture!

The Pocket Letter outside of the protector page!
I made this sunflower with the Sizzix – Susan’s Garden die & turned it into a paperclip!

Product List:

  • BoBunny: Enchanted Harvest Collection – Autumn, Bountiful, Fall, & Traditions
  • Crate Paper – Maggie Holmes Collection – Bloom – Thickers – Glitter – Happy – Gold
  • Little Birdie Crafts:Boutique Elements Colelction – Beaded Petals – Micro – French Carnival, &  Vellum Elements Collection – Poinsettia – Lemon
  • Maya Road – Chipboard Shipping Tag
  • Ranger Ink – Glossy Accents
  • Tim Holtz – Distress Ink: Ground Espresso; Distress Oxide: Fossilized Amber, Frayed Burlap, & Wilted Violet; Distress Stain – Wilted Violet; Mini Blending Tool; Nib Water Brush; Mini Snips, & Swivel Clasp
  • Sizzix – Big Shot Plus; Susan’s Garden Collection – Thinlits – Sunflower
  • We R Memory Keepers – Wildflower Collection – Thickers – Words – Gold Foil 
  • on the tag, I used a sunflower stamp from “Designs by Ryn” (unmounted flowers stamp sheet) with the Fossilized Amber Distress Oxide  
  • unknown purple sequins 
  • unknown key 
  • unknown “string” of pearls
  •  unknown fiber & vintage lace

Grandma

Made this for my grandma’s memorial (then gave it to my mom). This is her at 16 years old (~1945).

I used a door off the top half of a (I think) desk hutch. Anyway, I use the hutch in my scrap room, but the doors were only in my way so I removed them (a while ago), sprayed them with some Kilz Primer spray to give the (homemade) texture paste something better to stick to, layered up the texture paste then added Kilz Primer (because it’s white matte) on top.

For the photo mat I coated some heavy chipboard in some acrylic paint & Shimmerz AcriTonez then used Prima Crackle Texture paste and a rose stencil cut file from the Silhouette Store and some white ribbon at the border of the photo.

Products Used:

  • Prima Texture Paste: White Crackle
  • Silhouette Cameo
  • Homemade texture paste (because I was going to be using A LOT!)
  • white ribbon
  • mulberry roses
  • Shimmerz Paints: Paste-eez – Salt of the Earth & AcriTonez – 3 Sheets to the Wind
  • white matte acrylic paint
  • Kilz Primer spray

Hair Up Here

Hair Up Here

A layout featuring photos of yours truly at (almost) 11 years old! The journaling explains it all!

Me, in April 1990, attempting to get the high bangs that were in style at the time. Unfortunately (Fortunately?) I was given a head full of fine hair that has never cooperated!

This layout is for two challenges, the first being the August 1, 2017 Stuck?! Sketches challenge, using the following sketch:

The second challenge is the “Ugly Paper Challenge” over at scrapbook.com where I am the hostess. I first did the challenge back in August 2011 with the, I believe, original hostess. Then in 2012 (I think) the second hostess took over, and in March 2015 I took it over! So, as far as I know, I am the third hostess of the challenge. I haven’t done the challenge every month since I first found it (with the previous hostesses), but I have always loved the challenge! In short, two “ugly” papers and one (or more!) “ugly” embellishment(s) are mailed to another player (I give out addresses!) at the beginning of the month, and players have until the end of the month to create their layouts! The papers have to still be recognizable, and the embellishment is optional (it counts as two extra votes at the end of the month!). Now, this isn’t to say any particular papers or embellishments are “ugly,” but the combination given is! Most of the time anyhow! The challenge is receiving a combination that you may have never even considered putting together on your own, plus you are receiving papers that may not be your “style.” Anyhow, I just wanted to make it be known that “ugly” is a subjective term, and I have received (on more than one occasion) papers that were wonderful, even though the sender didn’t think so!

When I received my papers this month I immediately thought of my being a “tom-boy” growing up, but I just didn’t know what photos I had to use with them. It turns out I didn’t have the photos needed, my grandmother did, but I didn’t know that until our family has had to start sorting through her 88 years worth of possessions after she passed on August 3, 2017. And while it has been a sad time for the family, we have also discovered many items, mementos, and photos we didn’t know existed.

The papers, and embellies, I received for the August 2017 Ugly Paper Challenge

Product List:

  • Crate Paper – Chasing Dreams Collection – 12 x 12 Double Sided Paper – Royale
  • Ranger Glossy Accents
  • Sharpie Fine Point Writing Pens
  • Shimmerz Paints: Paste-eez “Raspberry Sherbet,” and Coloringz “Well Blue Me Down.”
  • Carta Bella Paper – 6 x 6 Stencil – Lattice
  • Pink Paislee – Paige Evans – Oh My Heart Collection – Ephemera with Foil Accents
  • American Crafts – Starshine Collection – Thickers – Glitter – Fitzgerald – Teal
  • Tim Holtz – Idea-ology Collection – Industrious Stickers – Deco Type
  • The black/grey glittery paper is DCWV, but it was in my scraps, and I couldn’t even being to guess what the stack was it came from!
  • Hip Kit Club Exclusive Enamel Dots (March 2017)
  • Unknown pink & white twine