Fairly Purple Shadow Box!

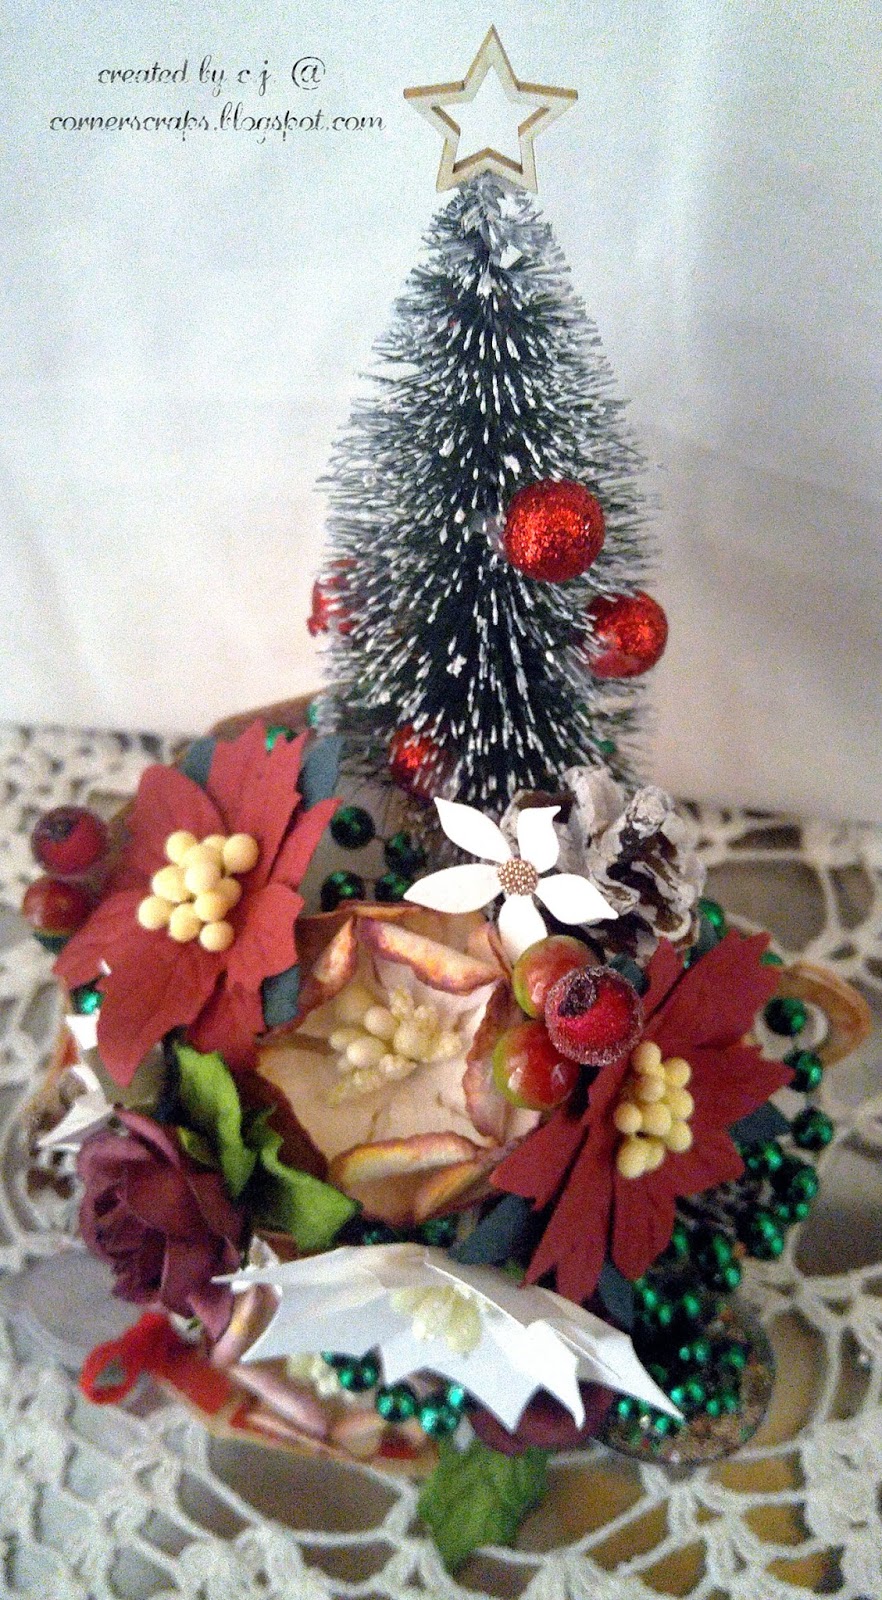
I received the January Mixed Media Kit from Tres Jolie and was just in love with the shadow box! (Yes, part of the kit! Kim puts EXCELLENT kits together!! Tres Jolie has a monthly scrapbooking, mixed media, and card, tags, & more kit. No, I’m not reimbursed in any way to promote the kits, I’m a regular customer who happens to love the kits!)

Anyhow…the kit also came with purple paint & purple flowers…(and other items)…
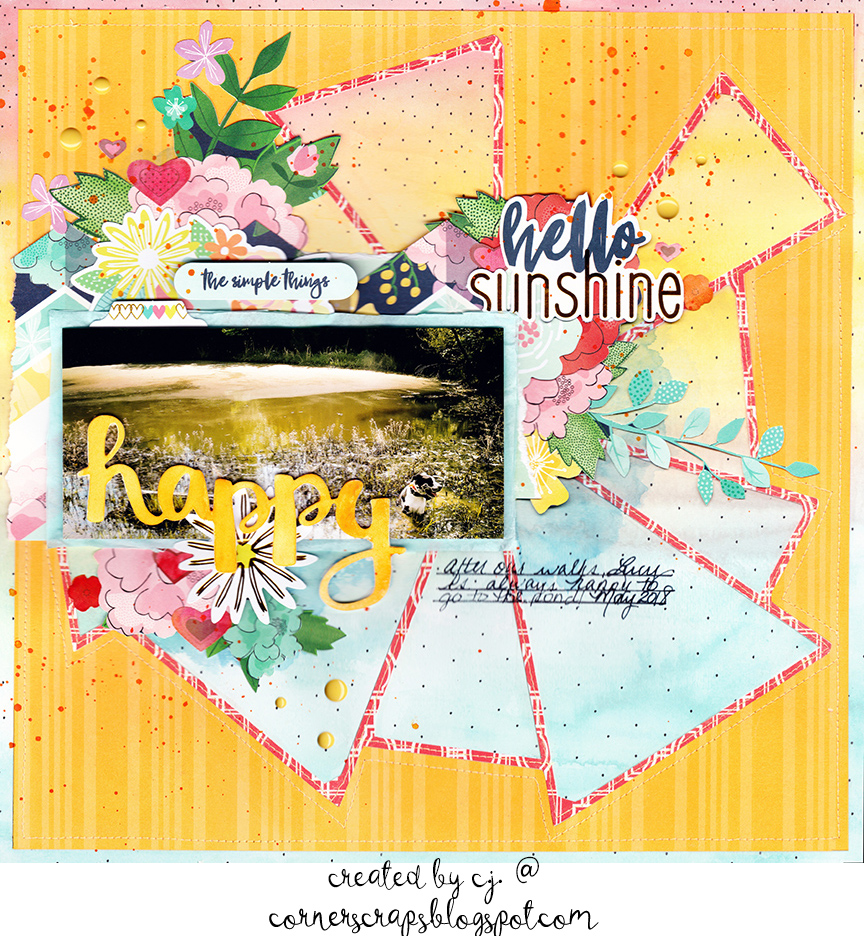
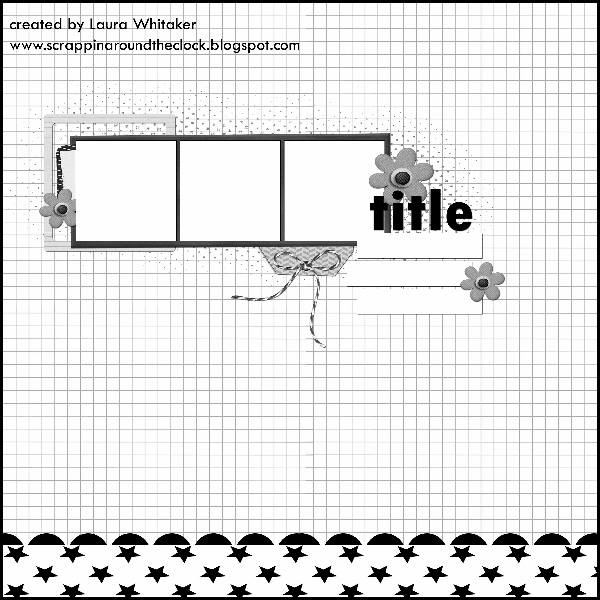
Then I saw the January Mood Board Challenge at Mixed Media Place and I thought to myself, “Huh, that works!”

Mixed Media Place January 2019 Mood Board

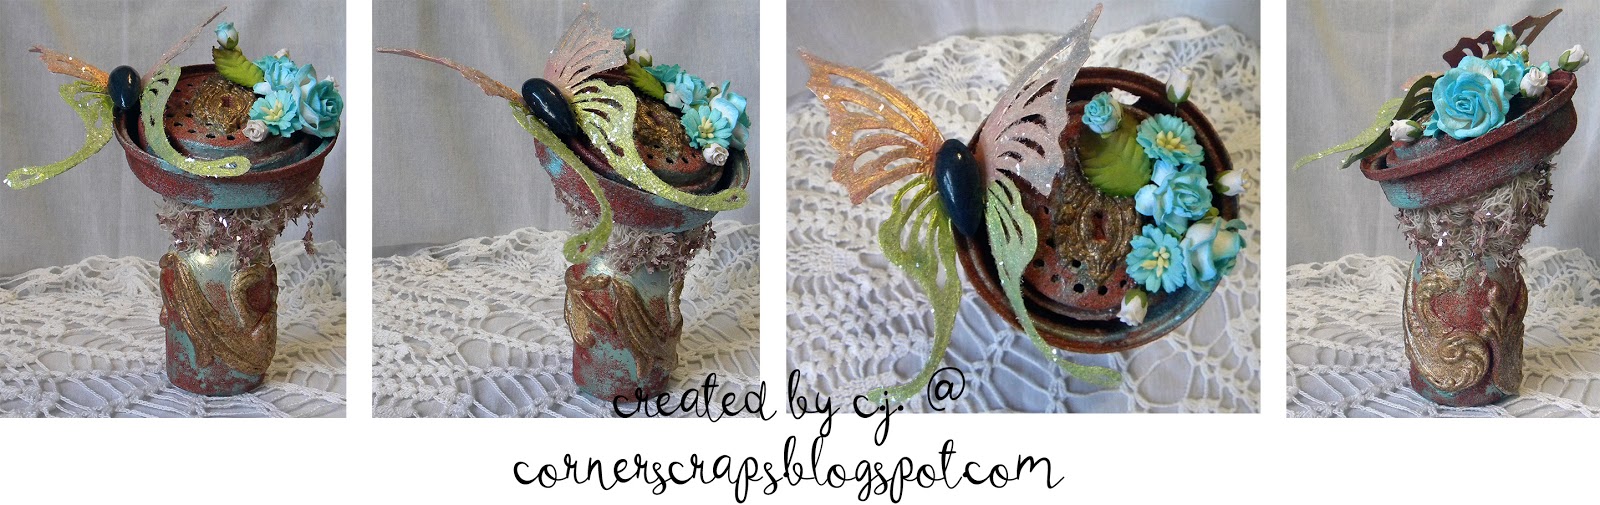
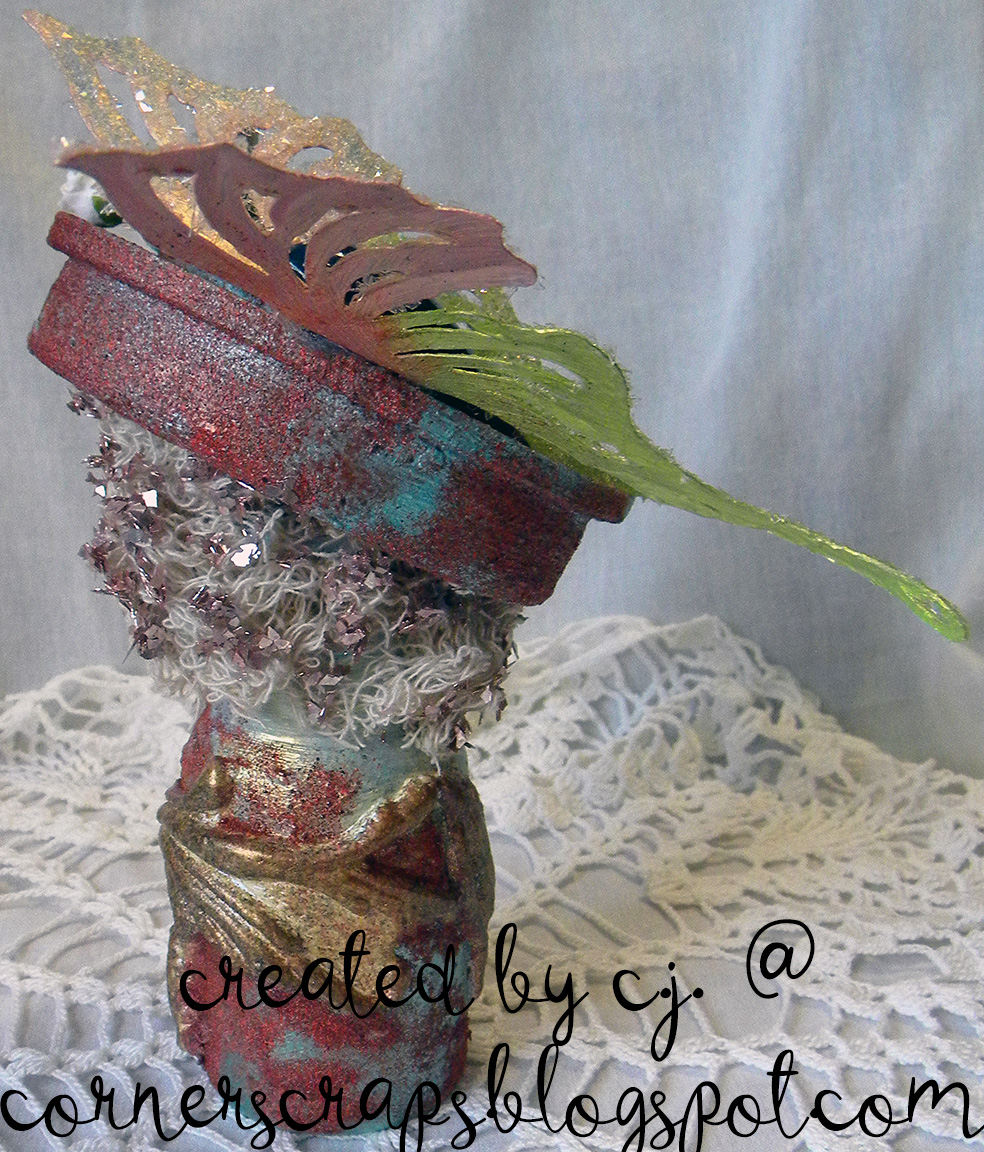
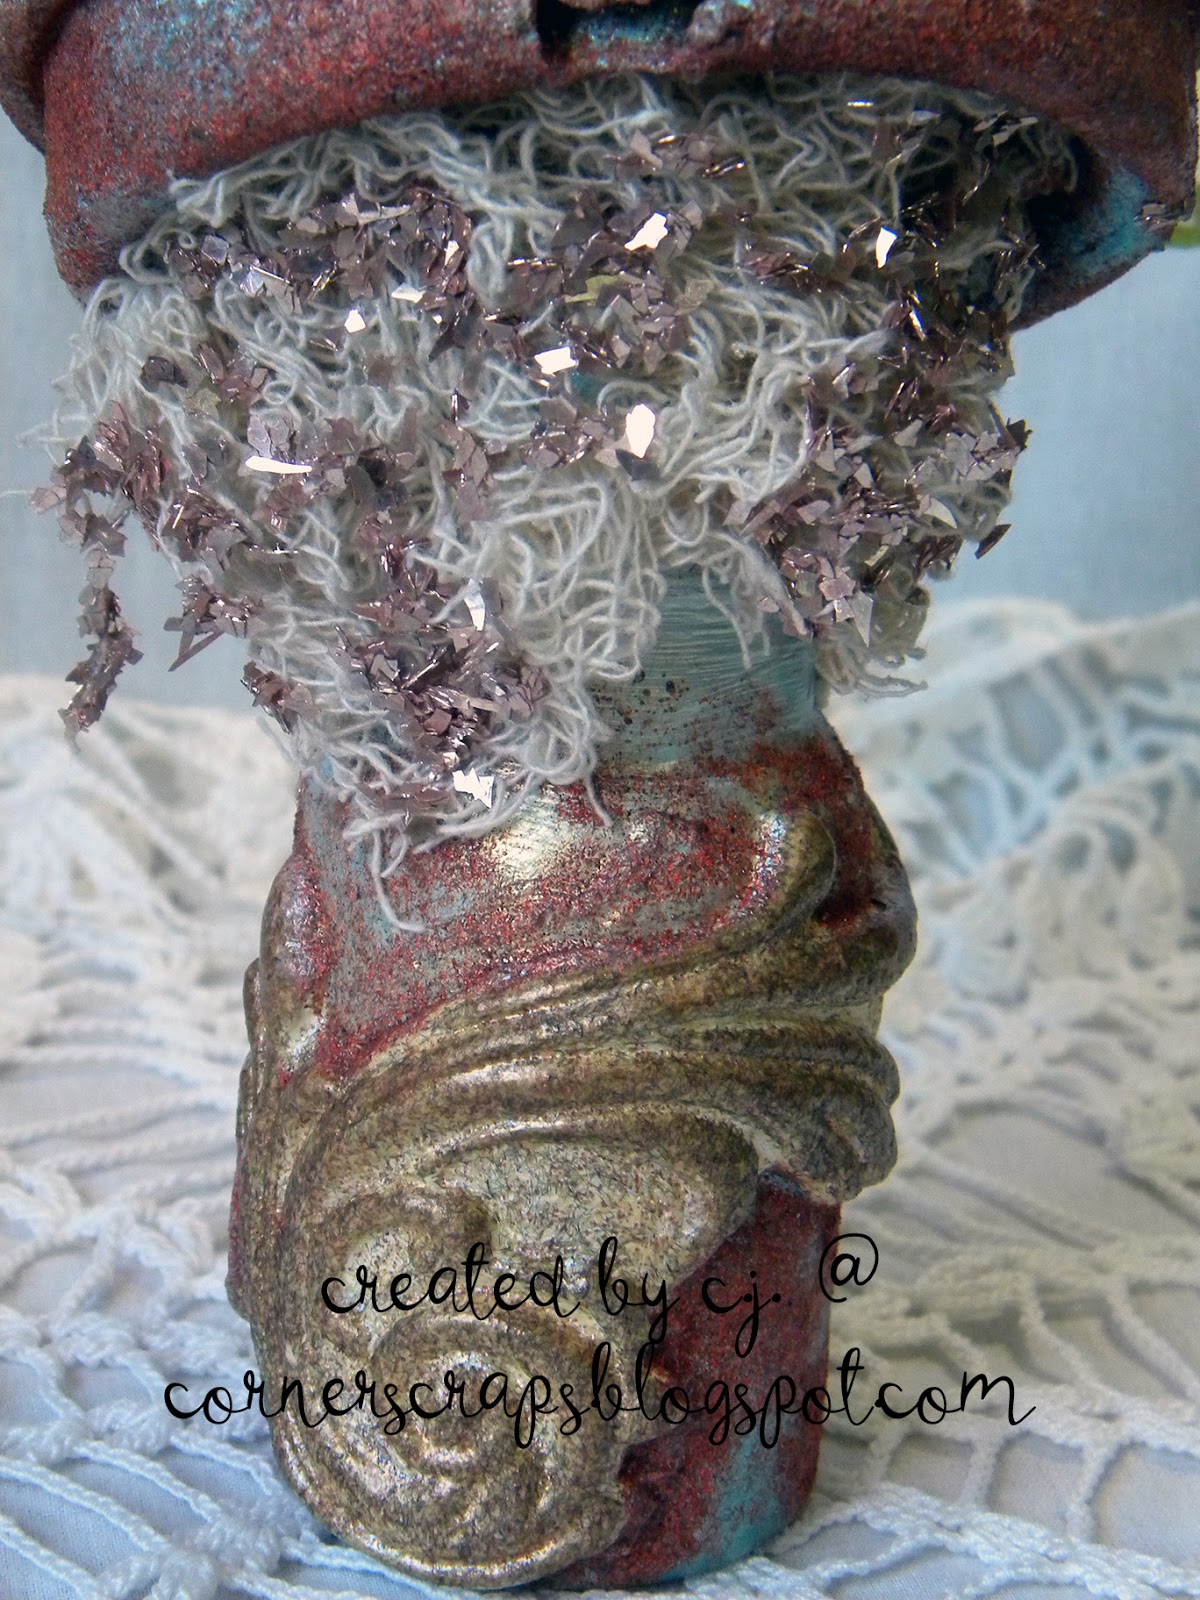
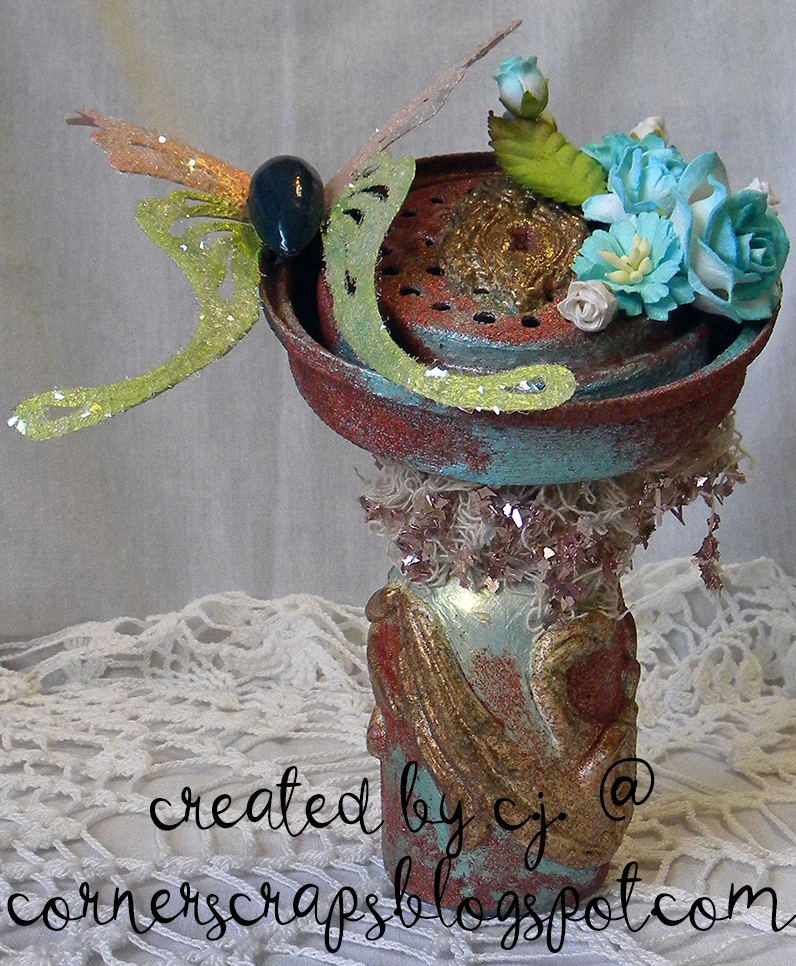
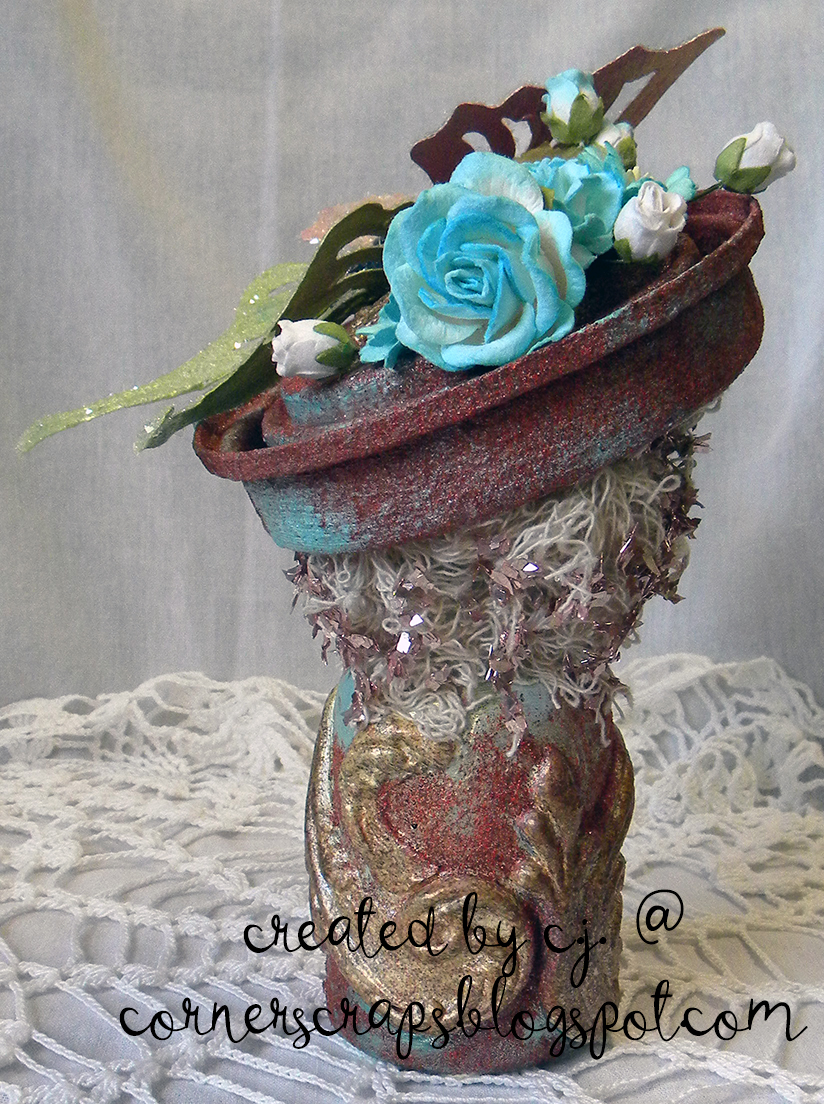
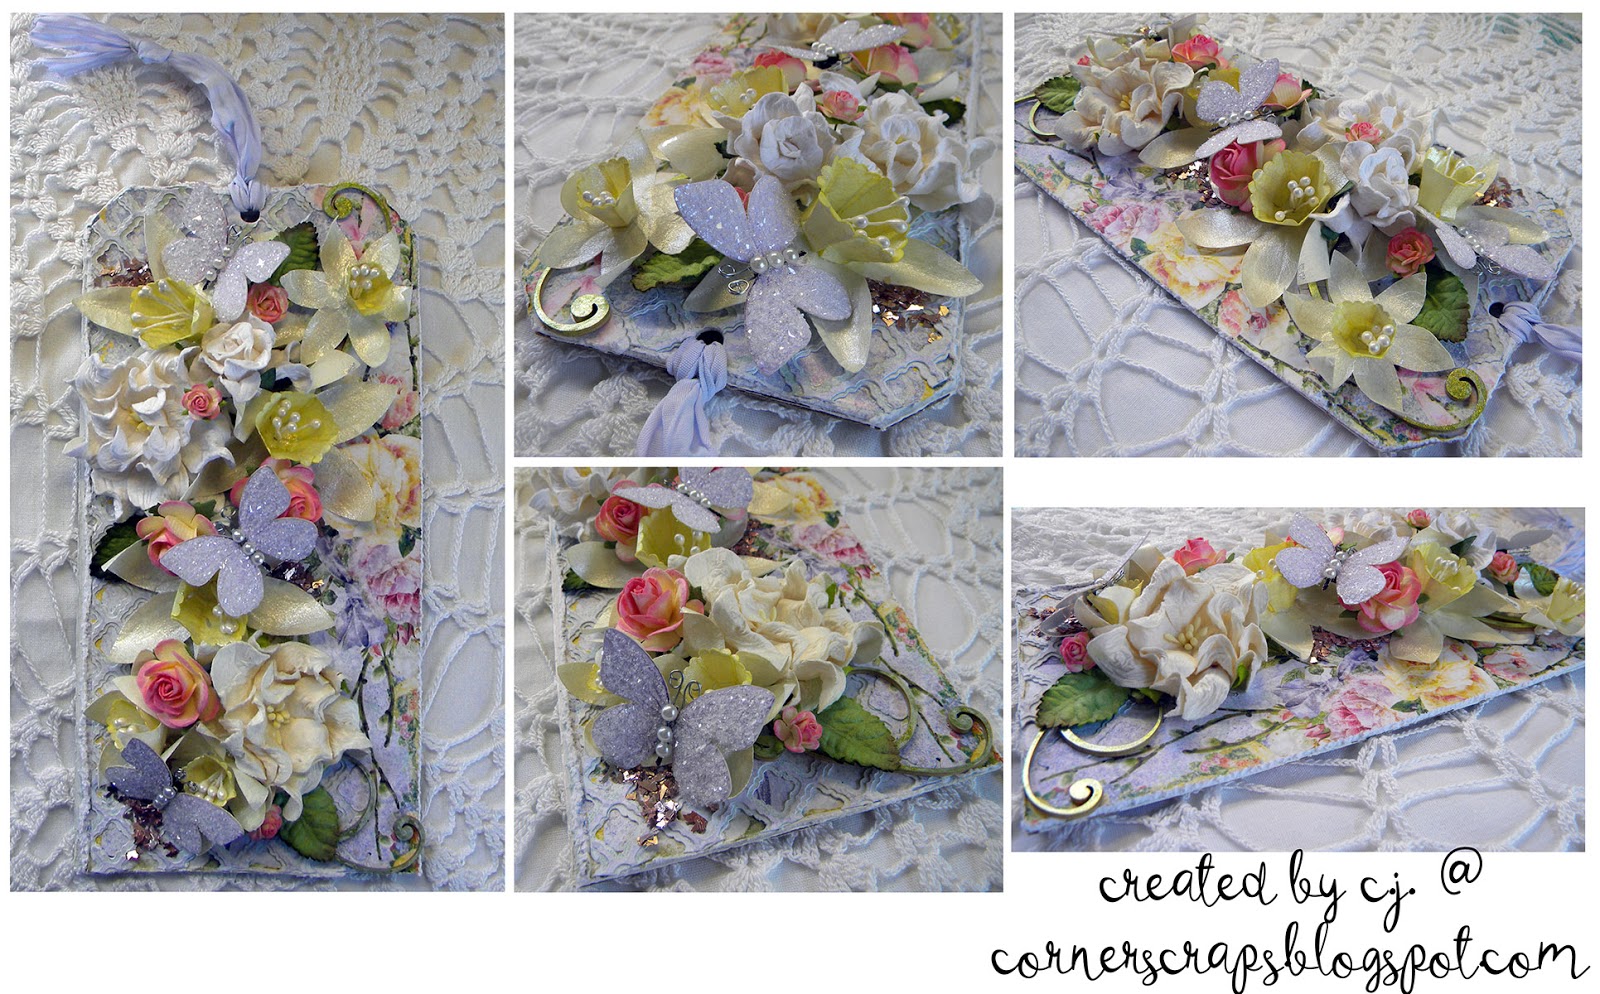
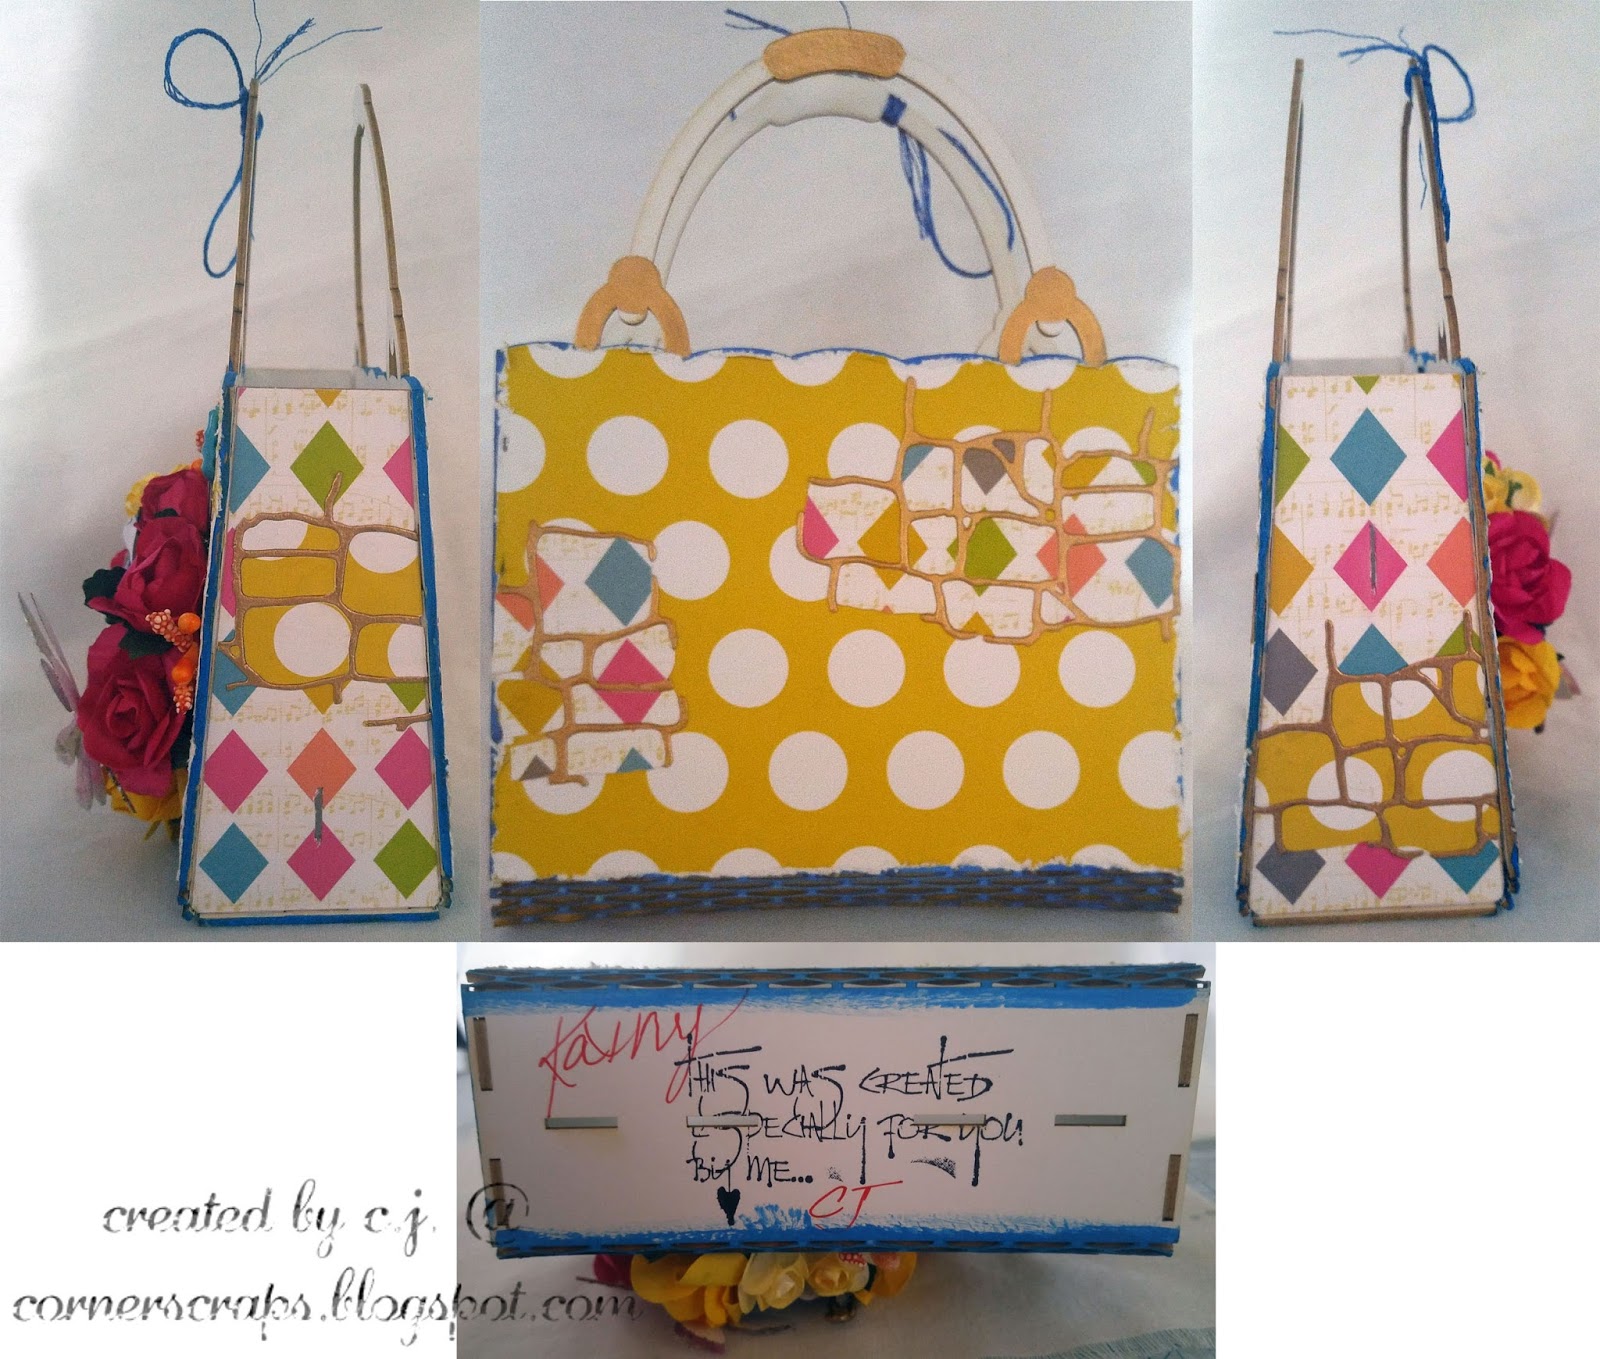
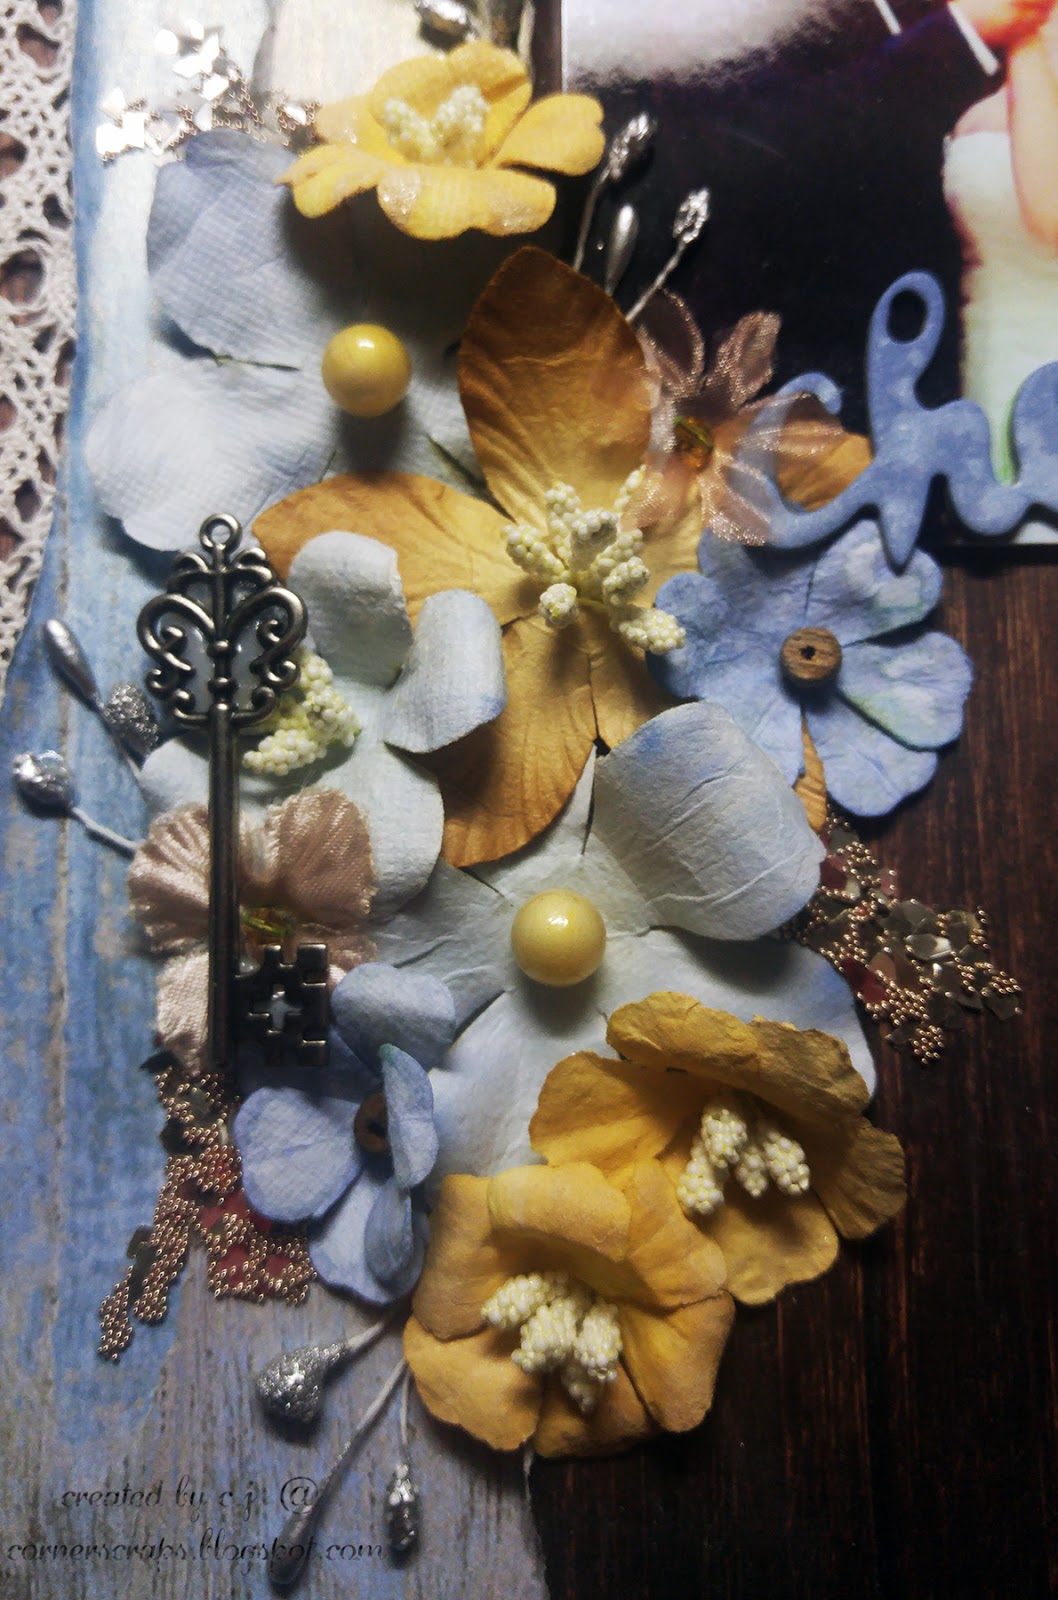
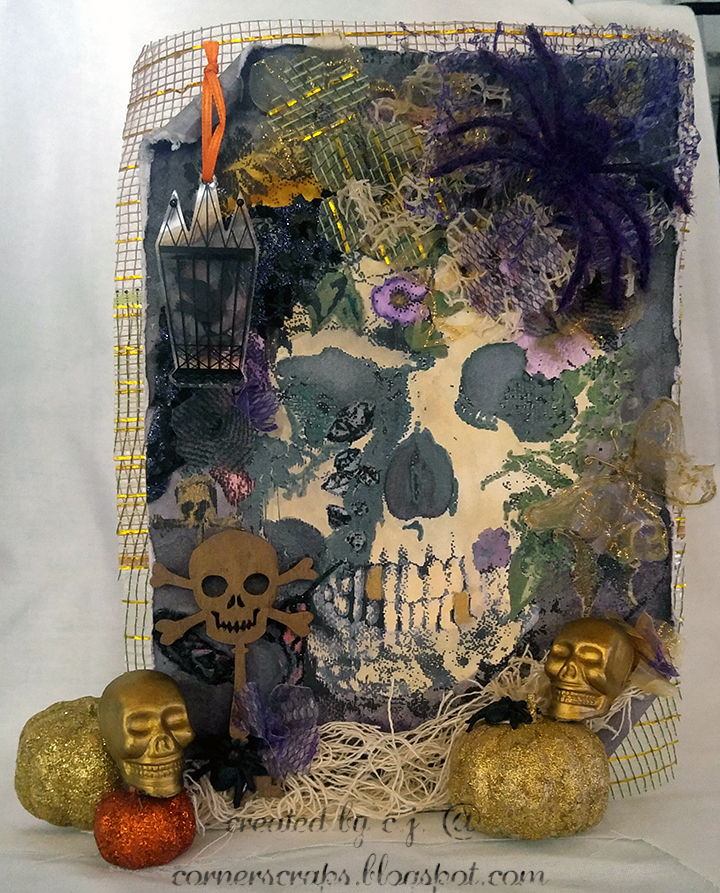
After I primed the shadow box (Kilz spray primer because I didn’t want to use a paintbrush on chicken wire!) I put on a coat of DecoArt “Lavender” Acrylic Paint. After that was dry I applied a thin coat of Prima’s “Frozen Berries.” The chicken wire was sprayed with Ayeeda Mist “Patina Bronze”by 13 @rts. The doily is a Creative Embellishments doily that I used black gesso on then painted with Prima’s “Rustic Brown.”

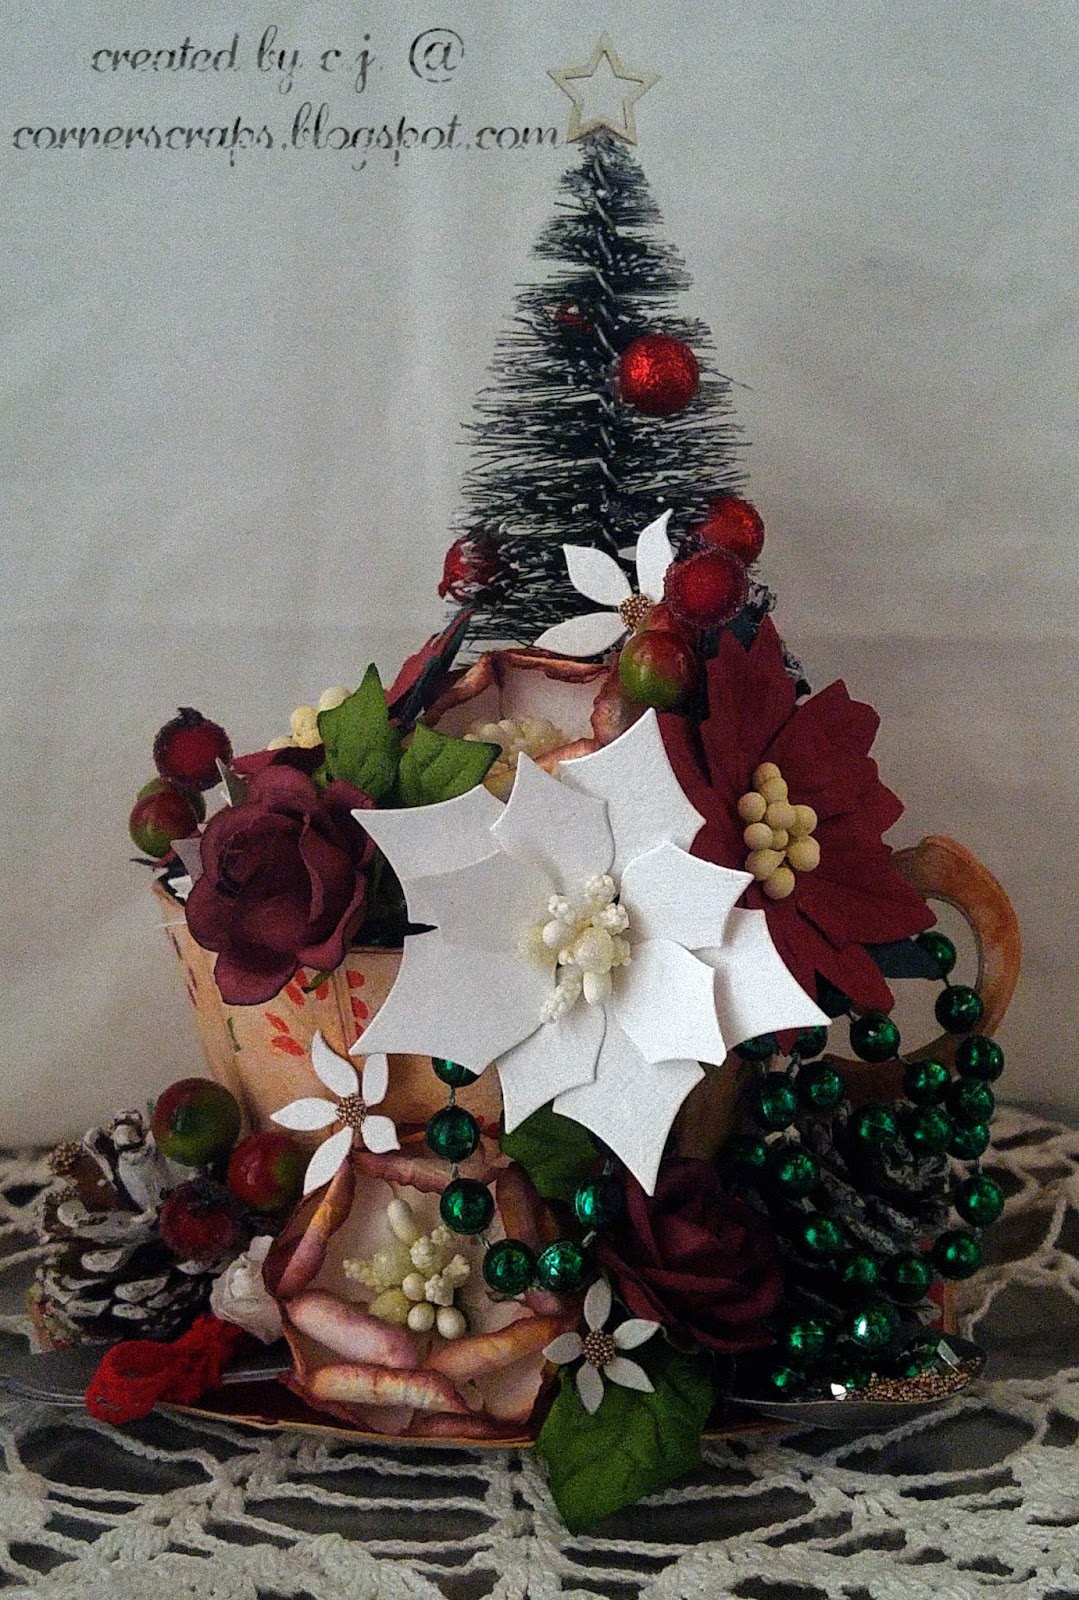
After all that it was just a matter of playing with placement until I thought it “looked right.” (All the products I used are listed at the bottom of this post.)

All lit up!

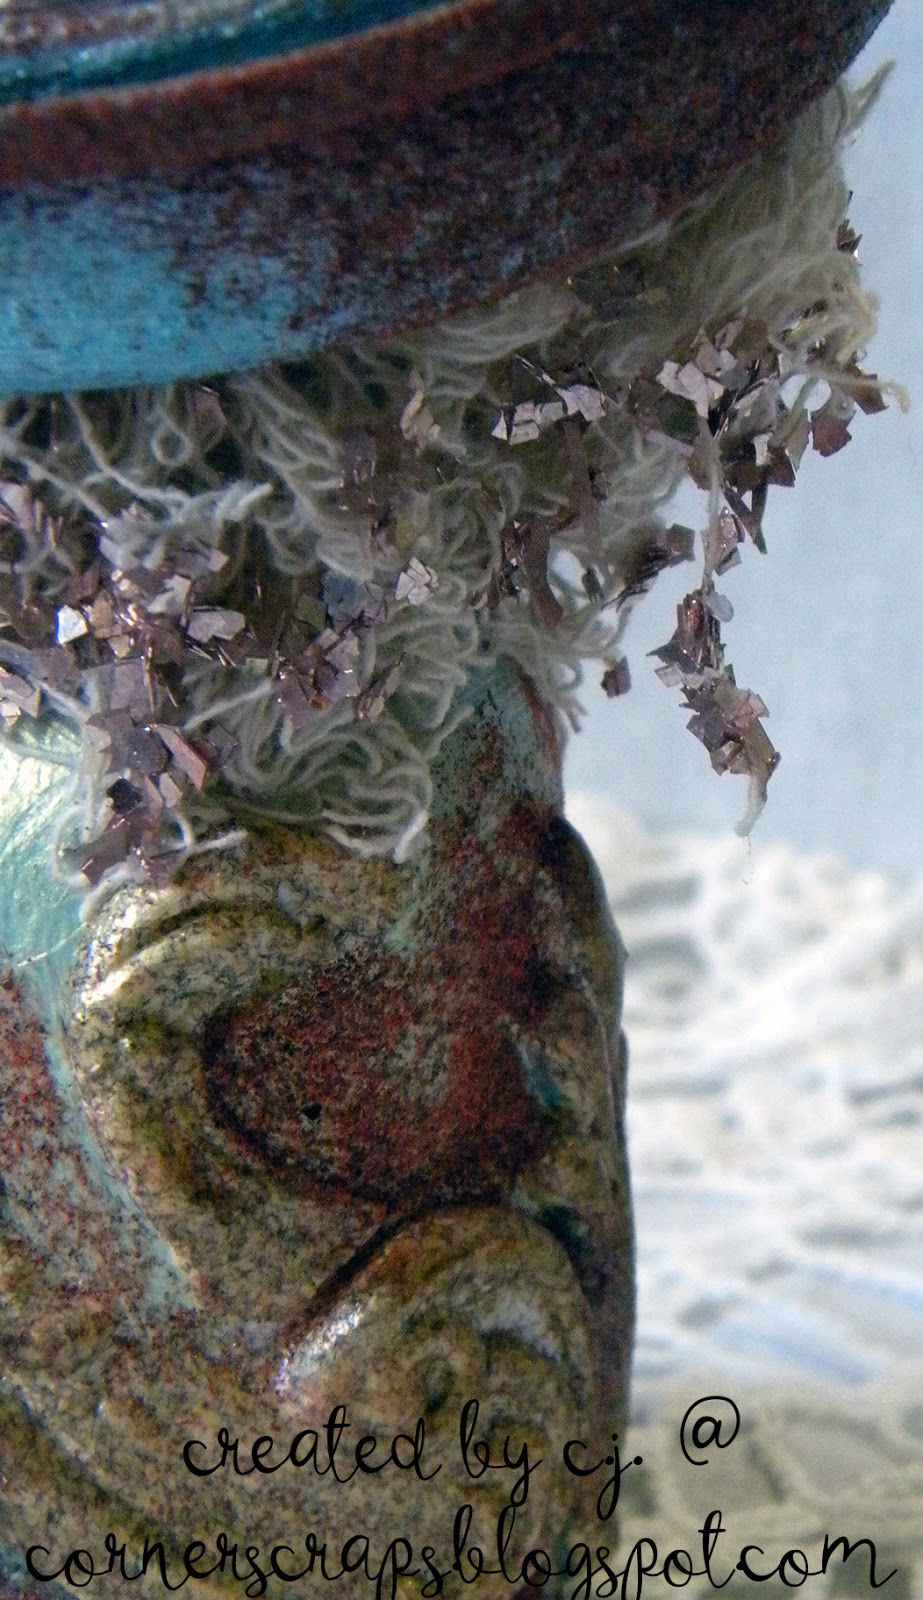
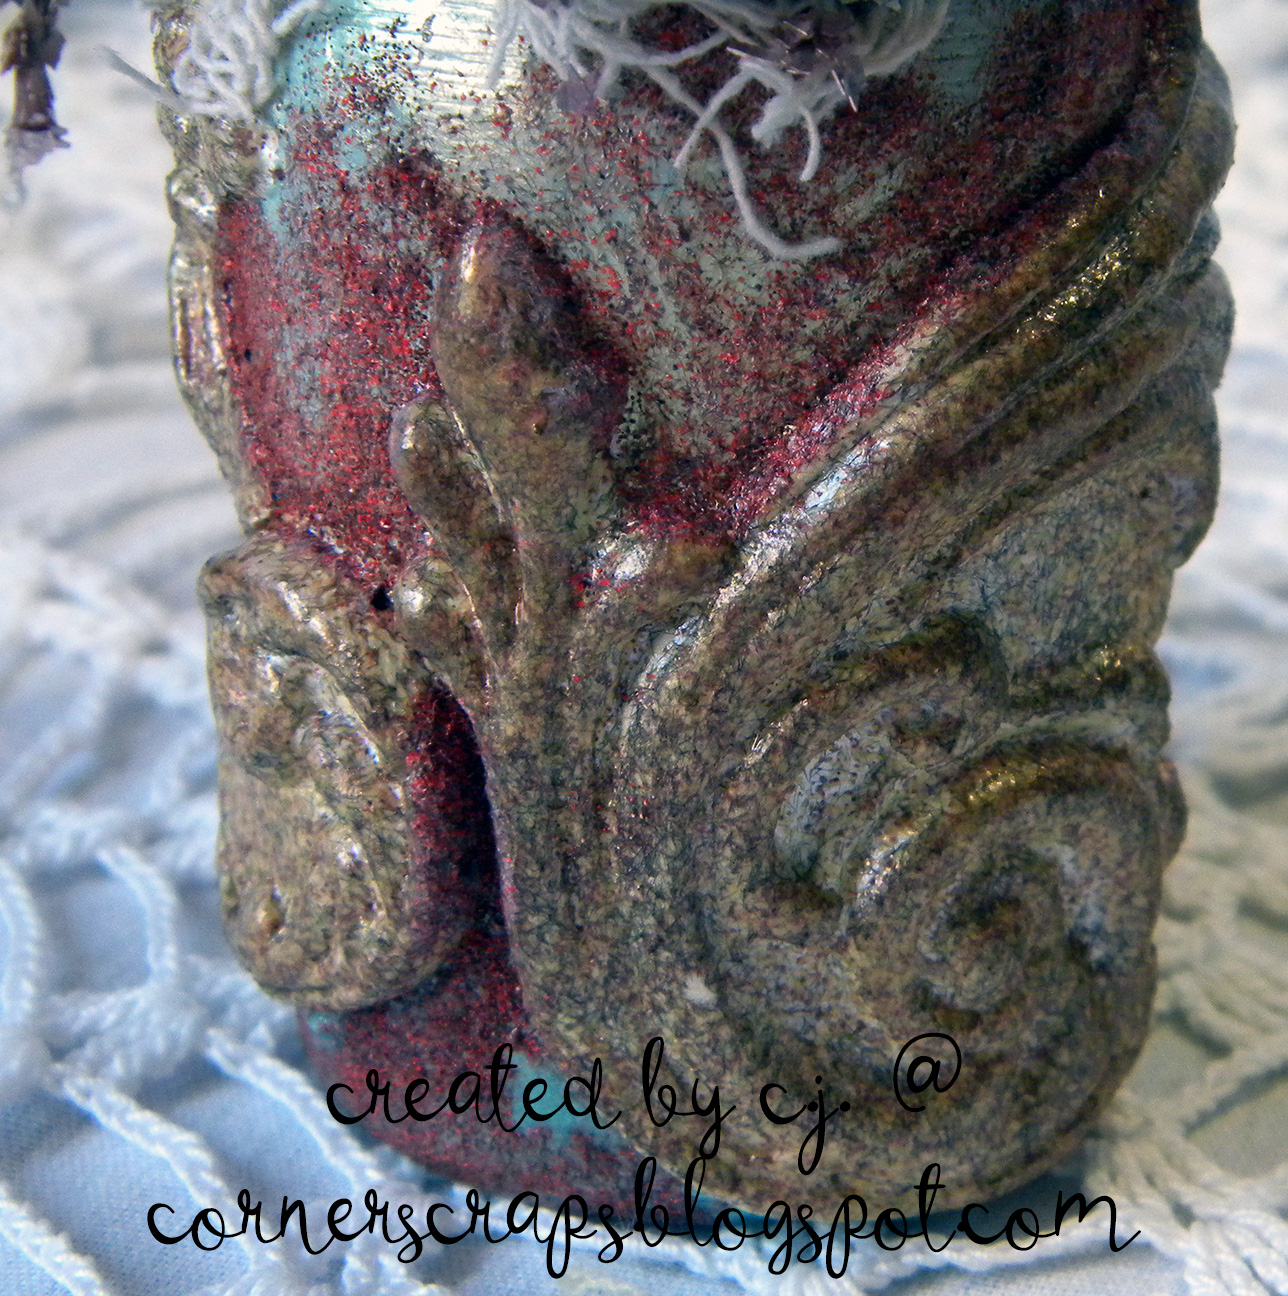
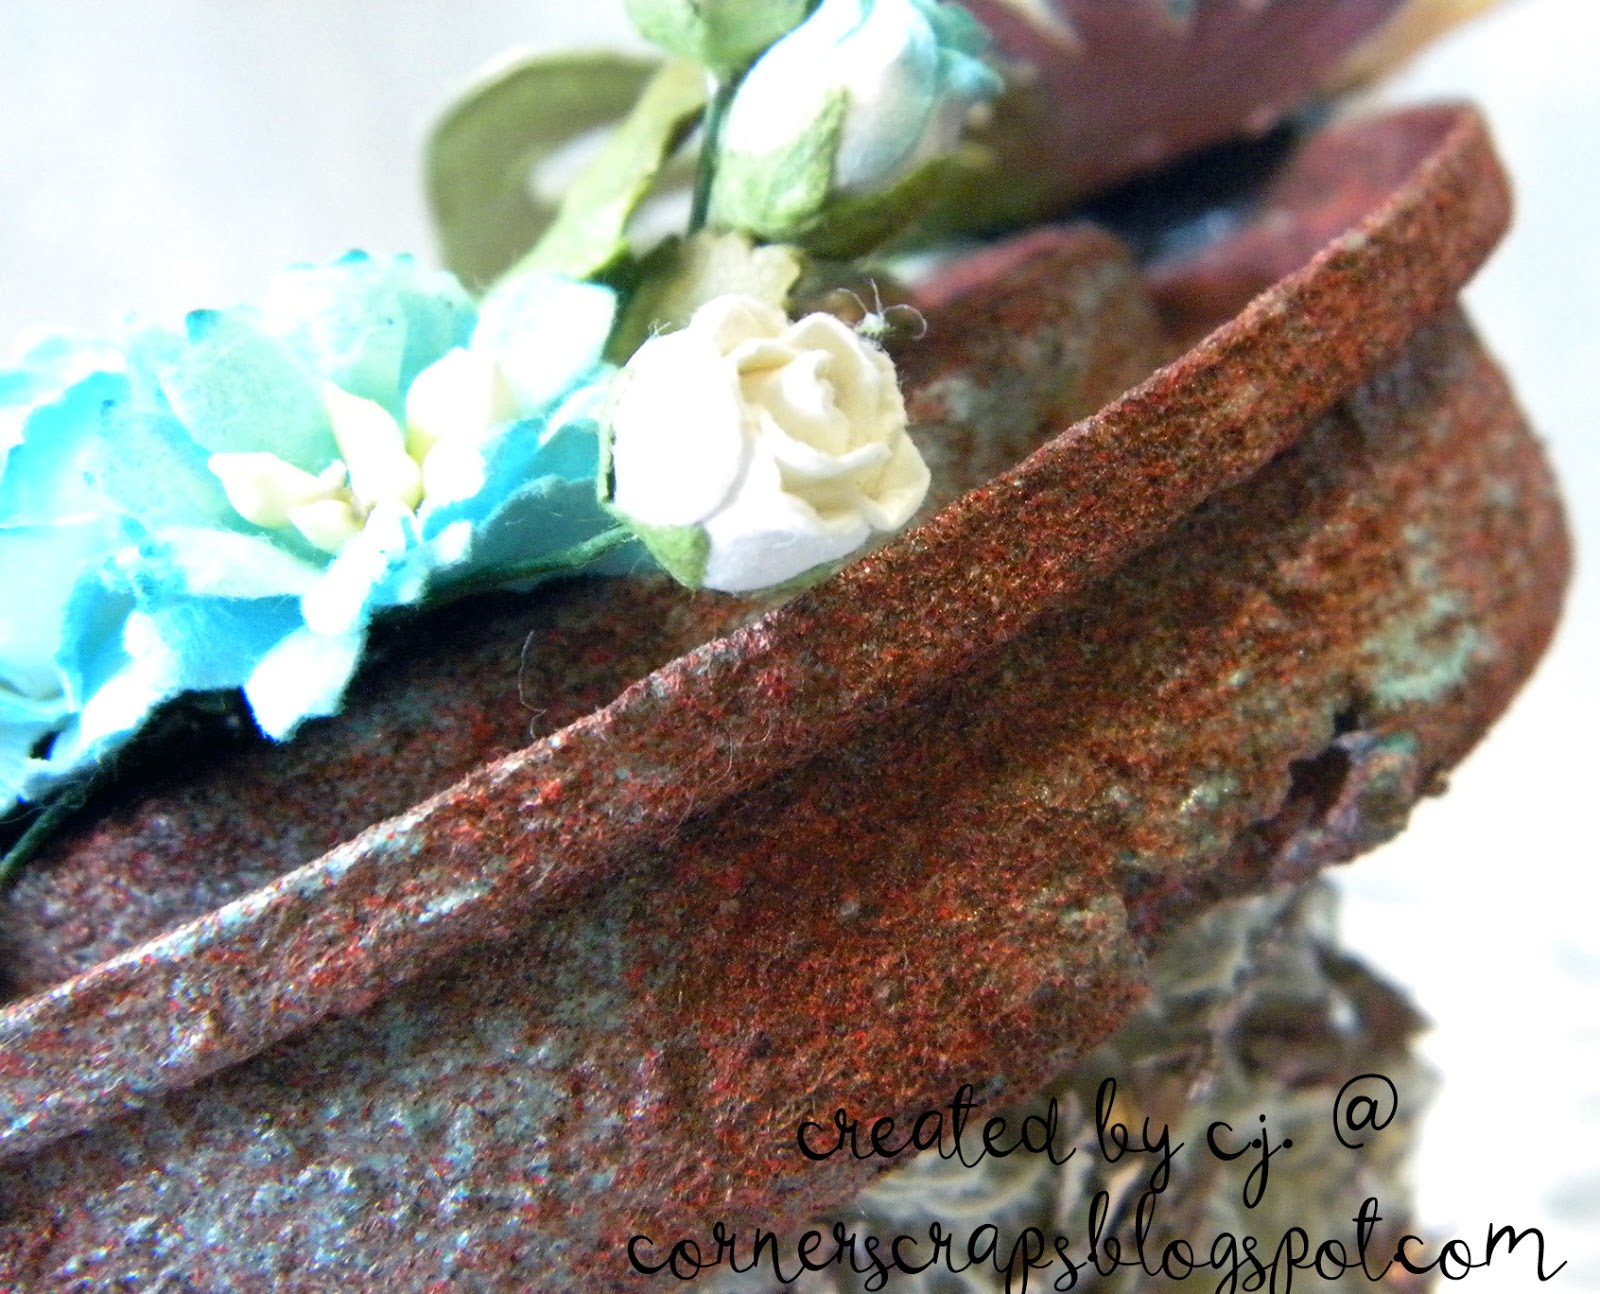
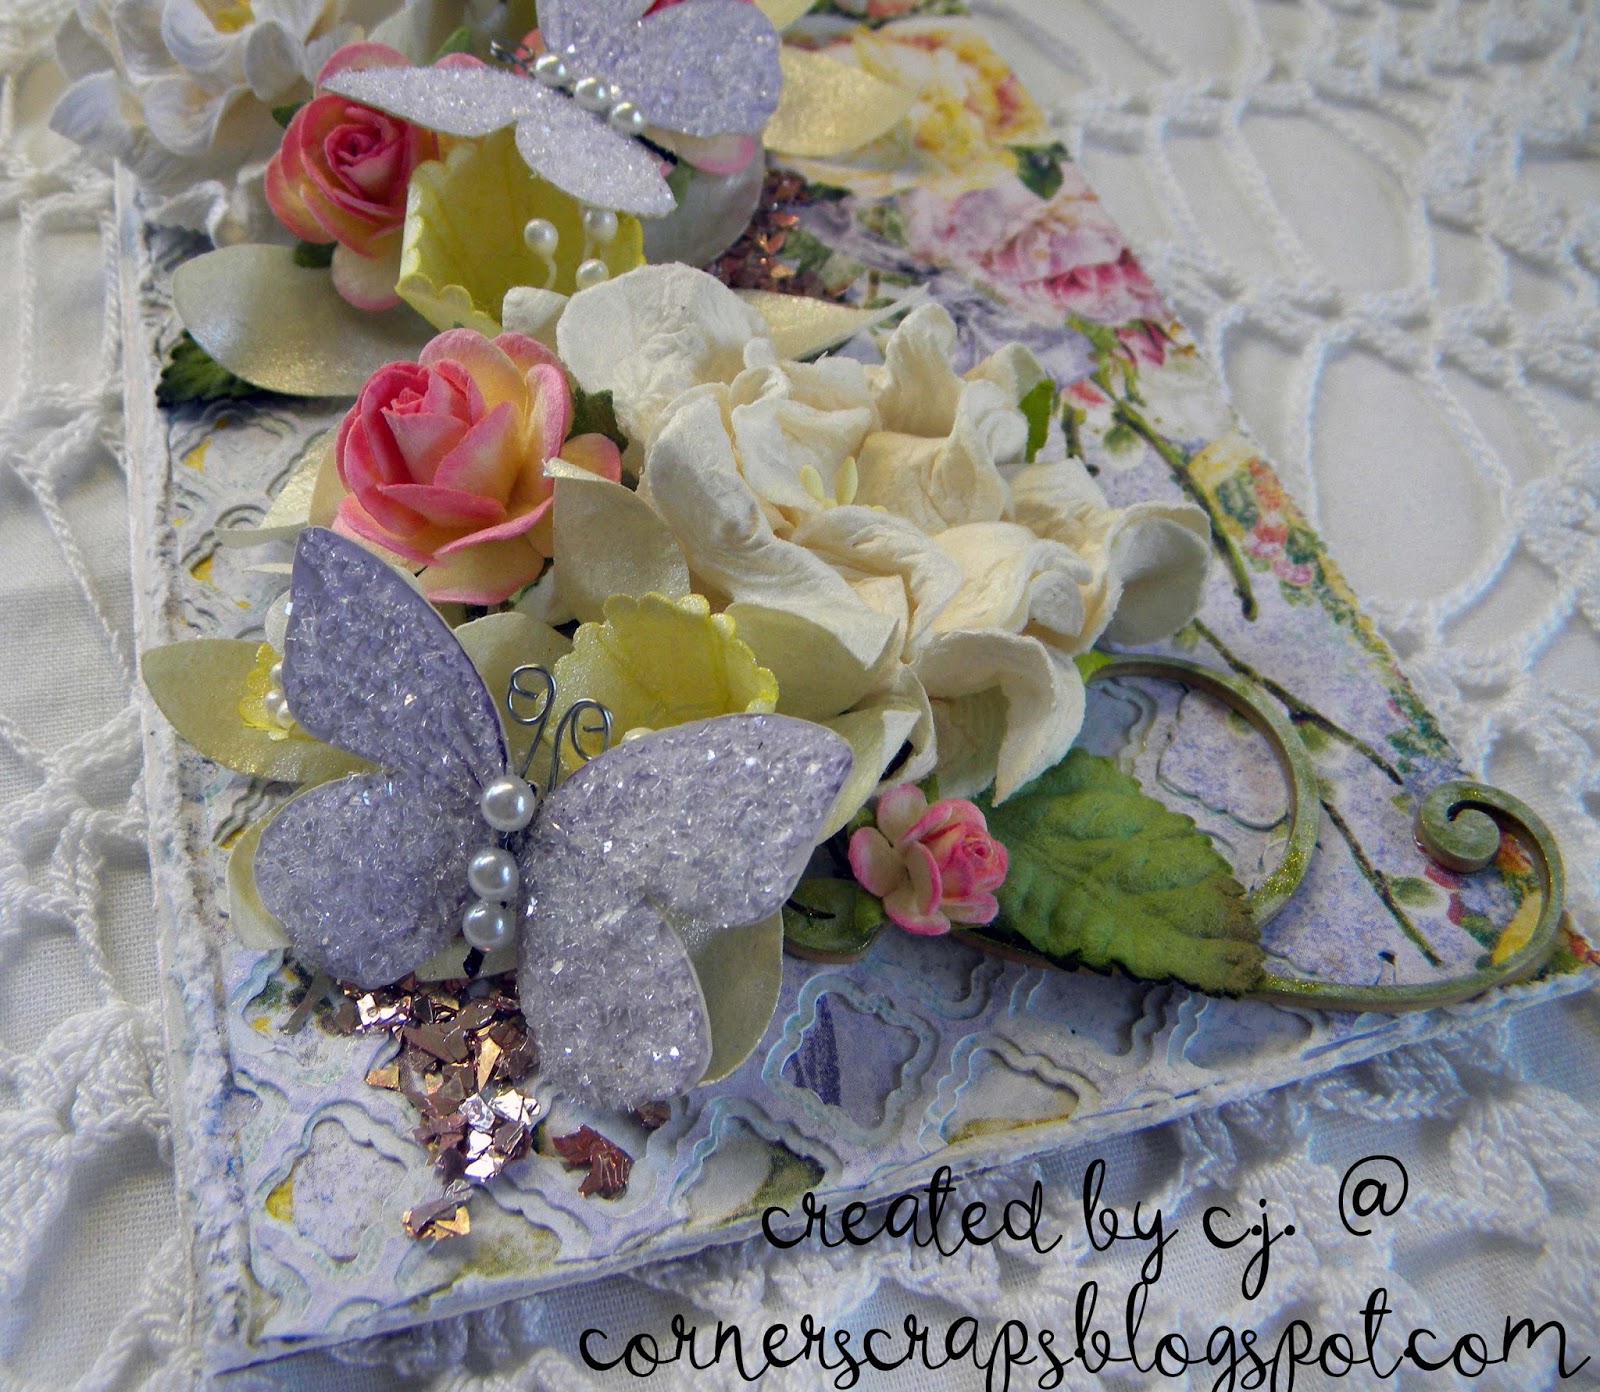
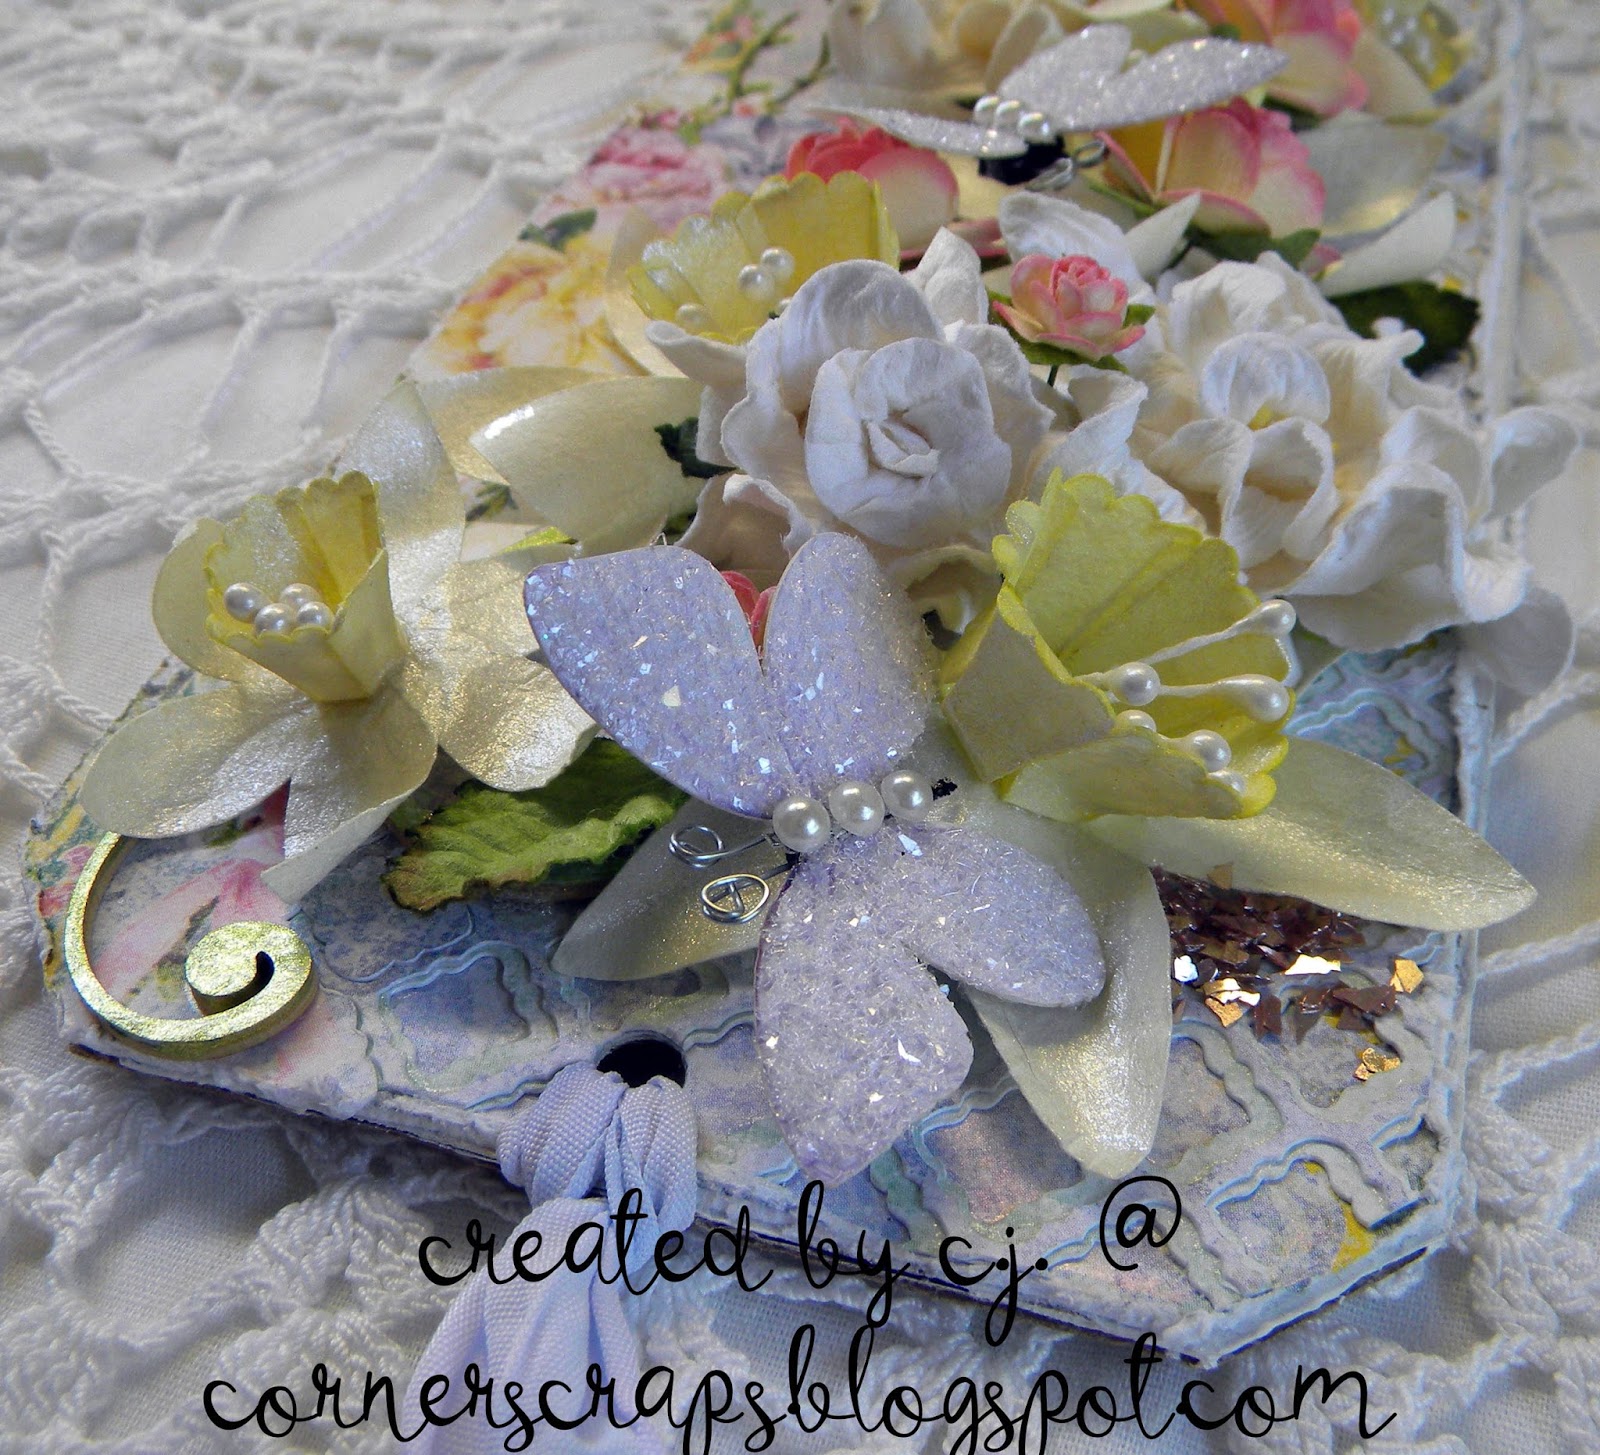
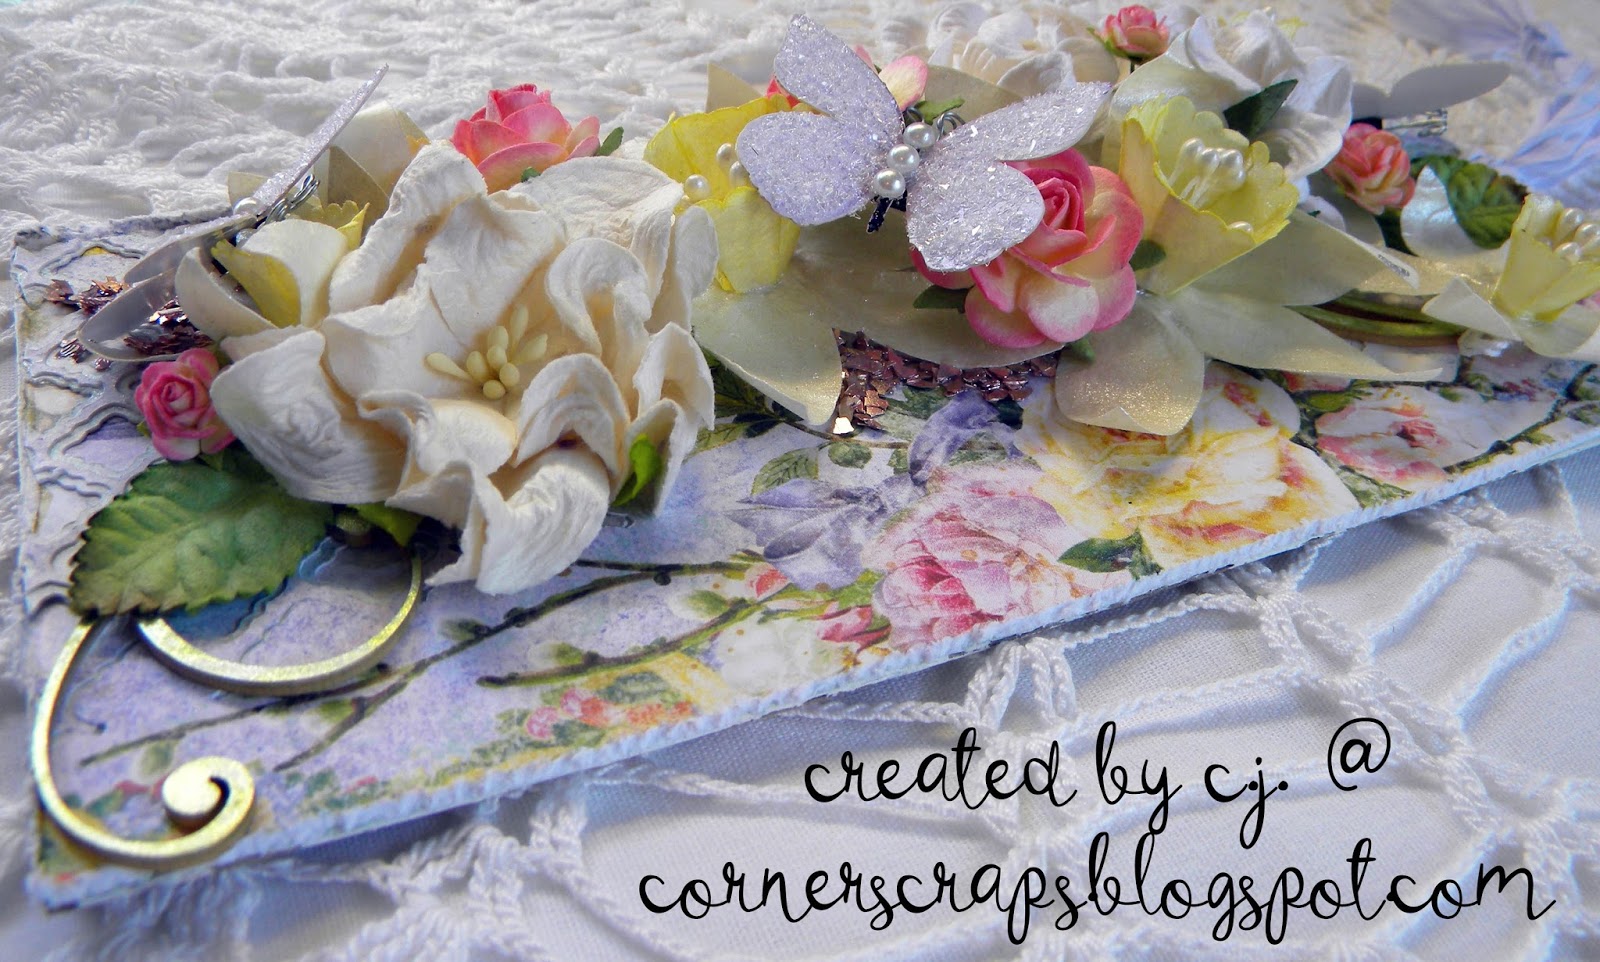
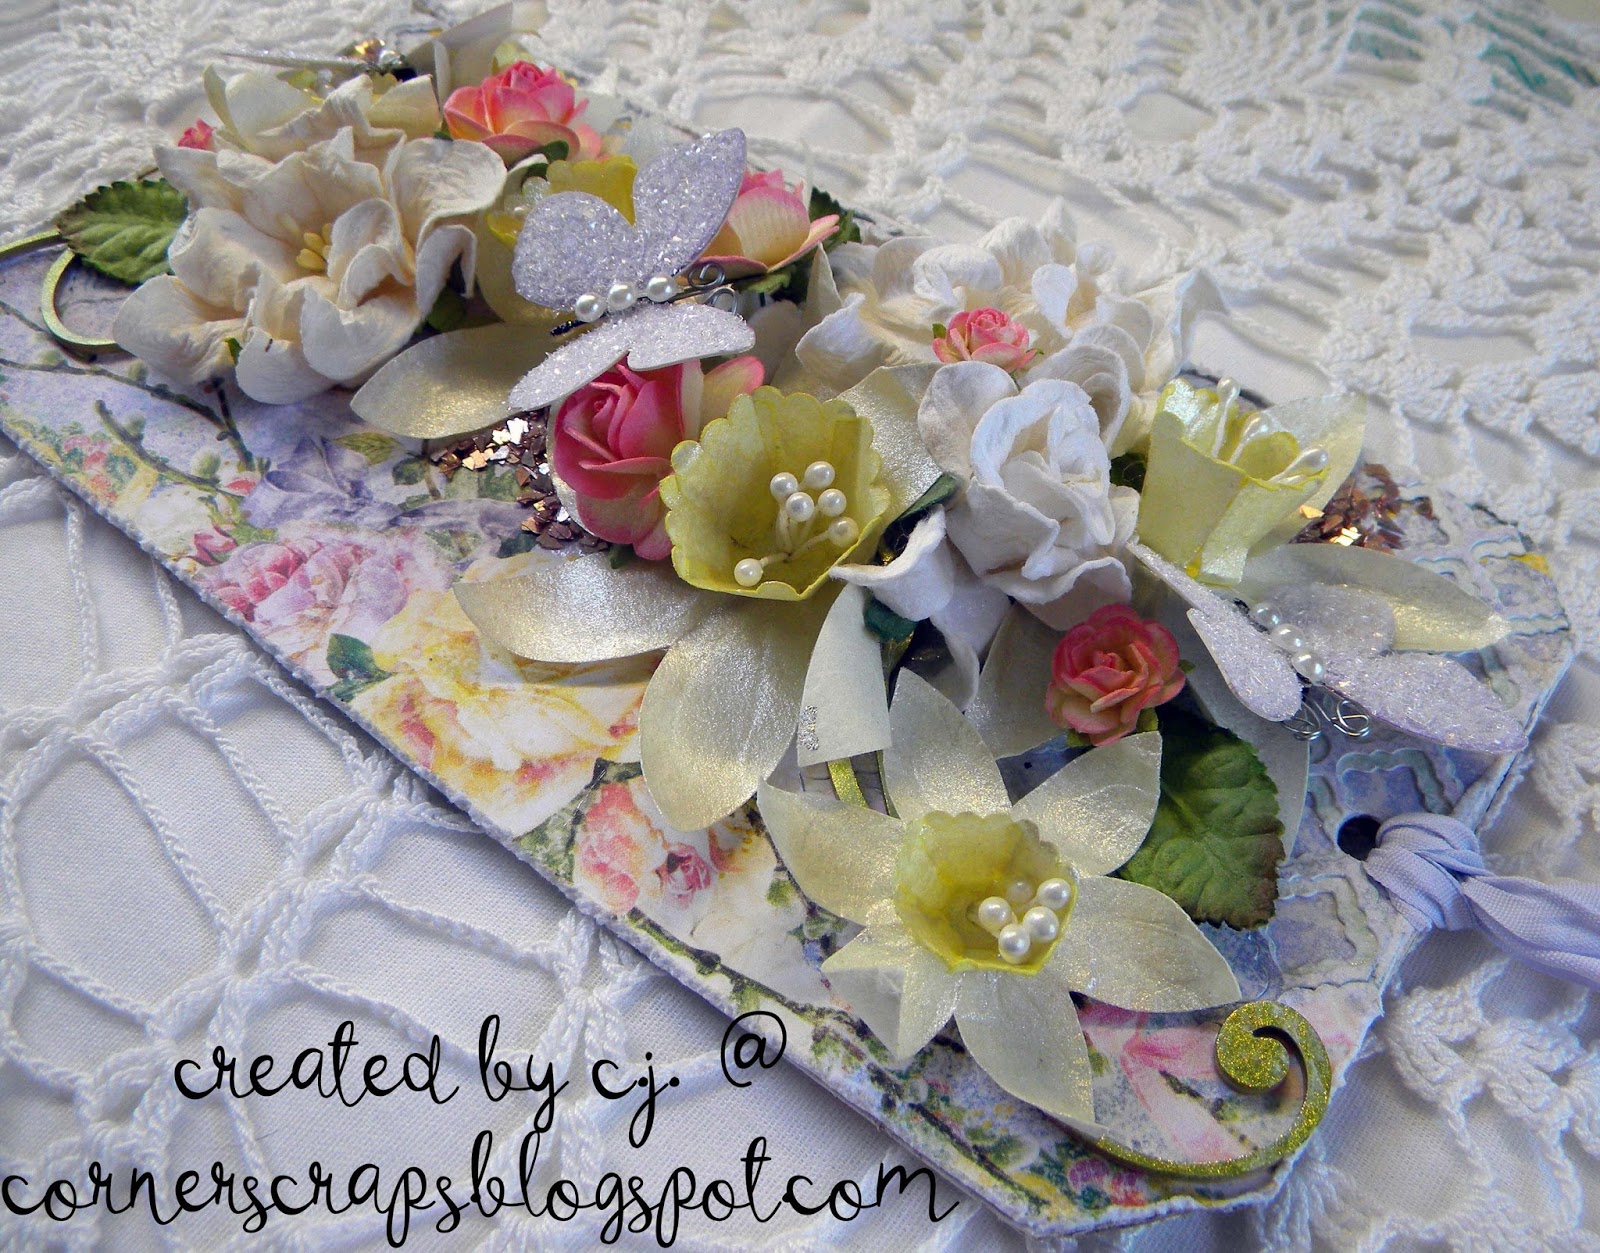
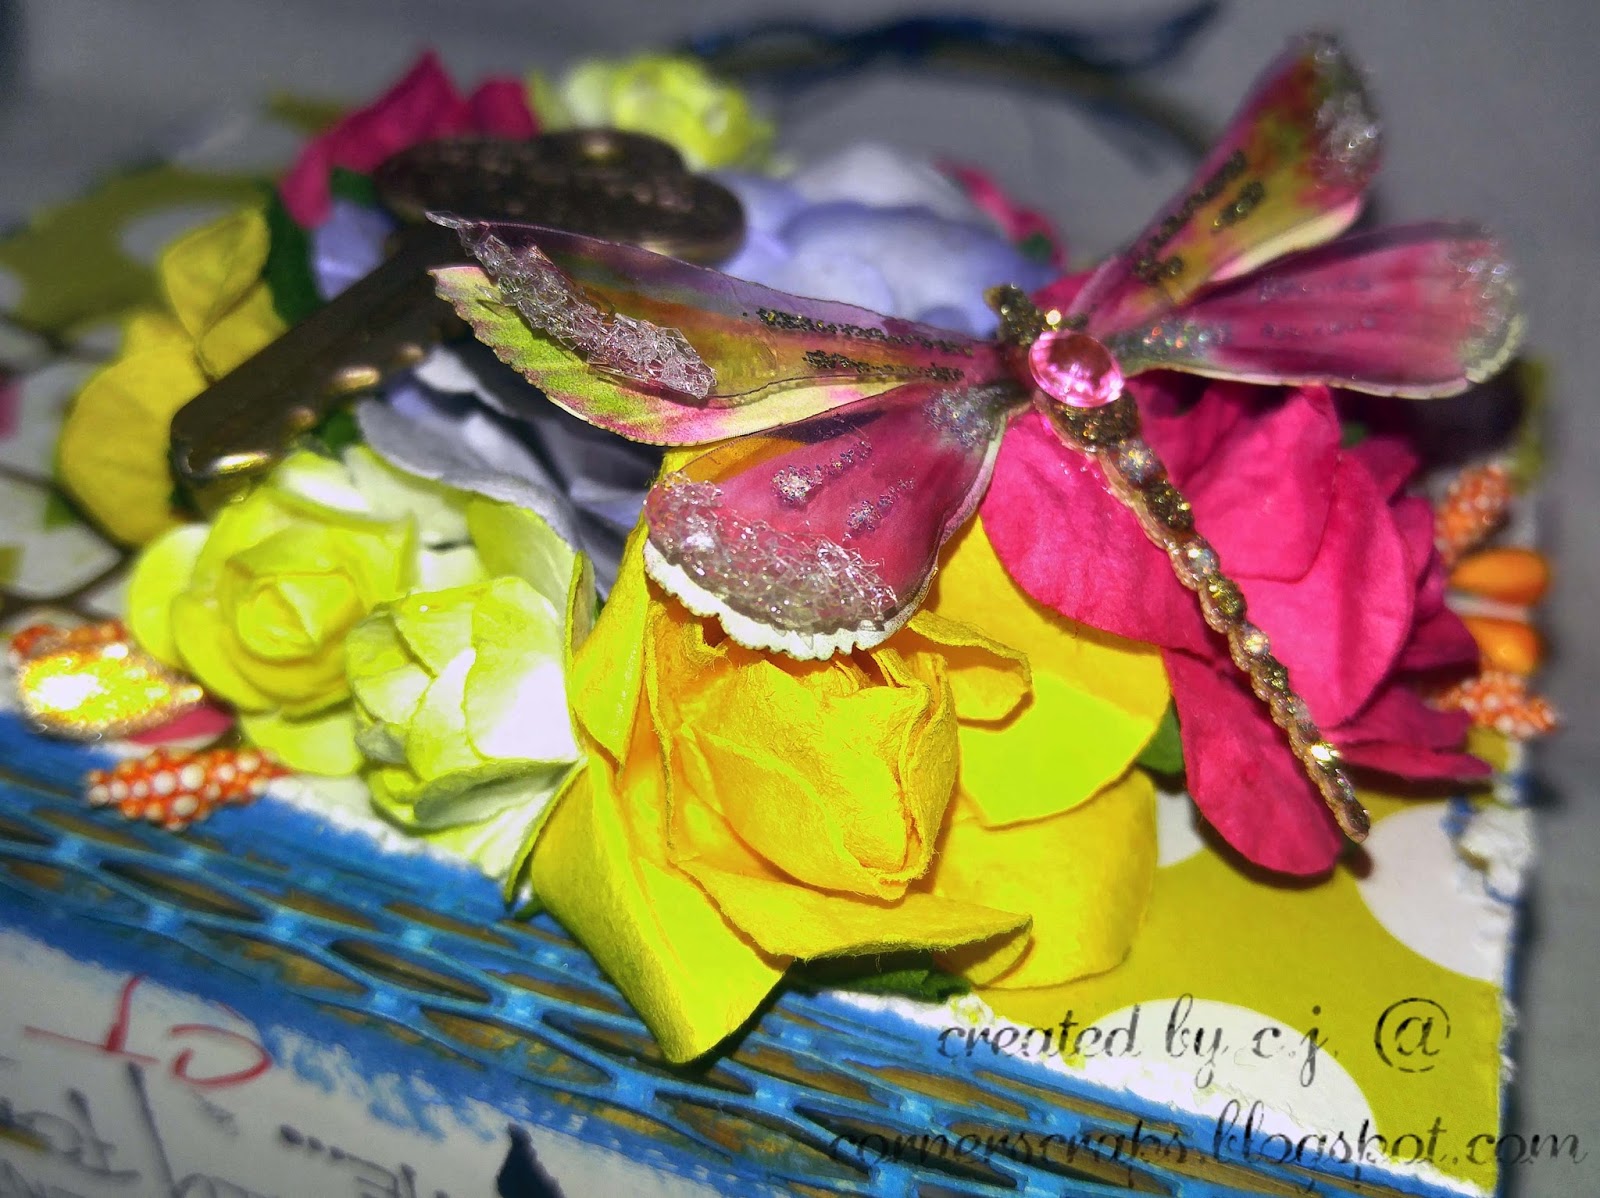
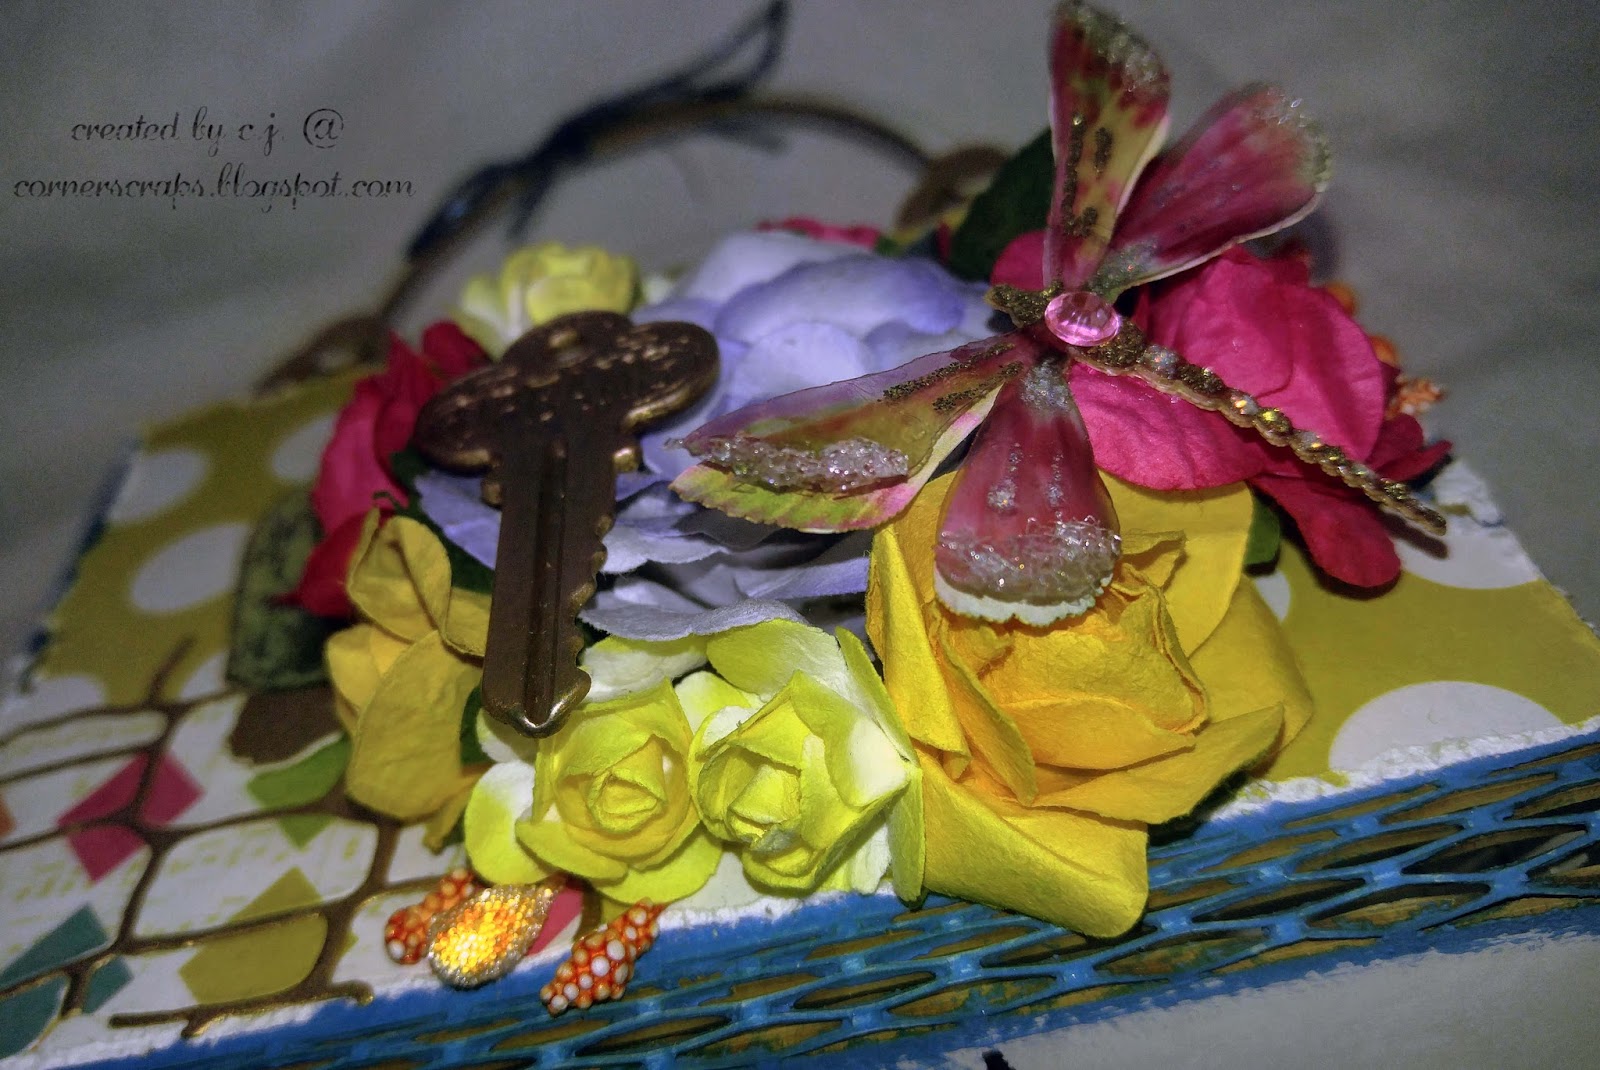
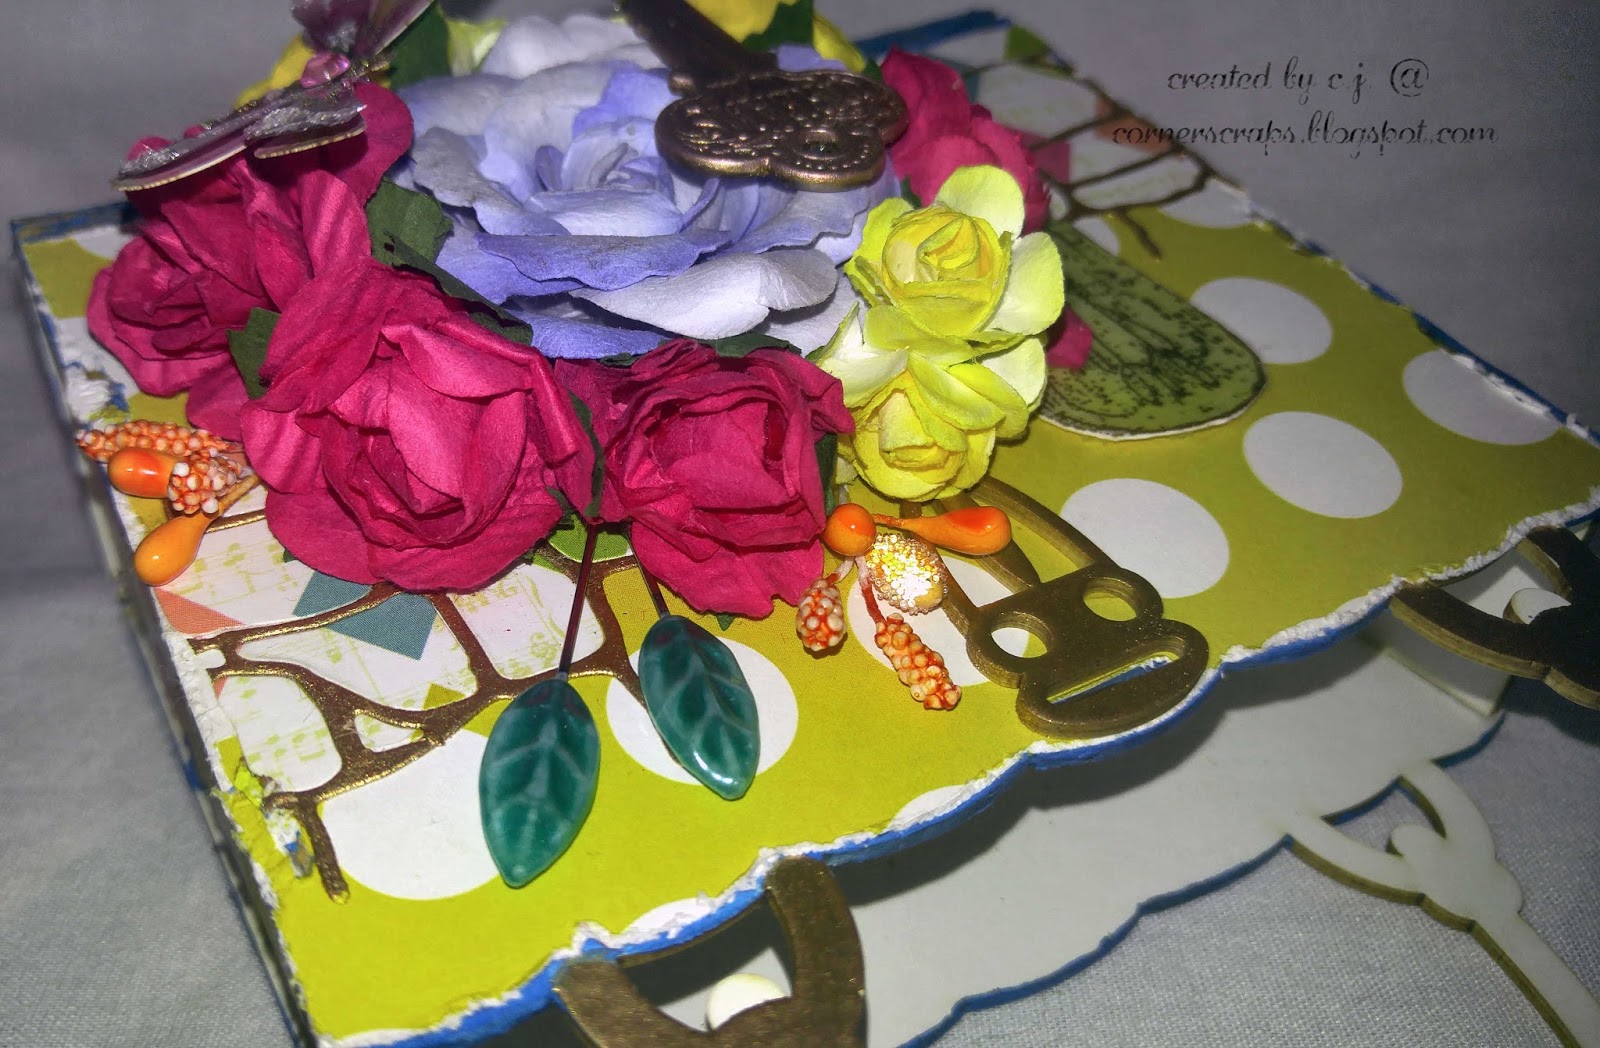
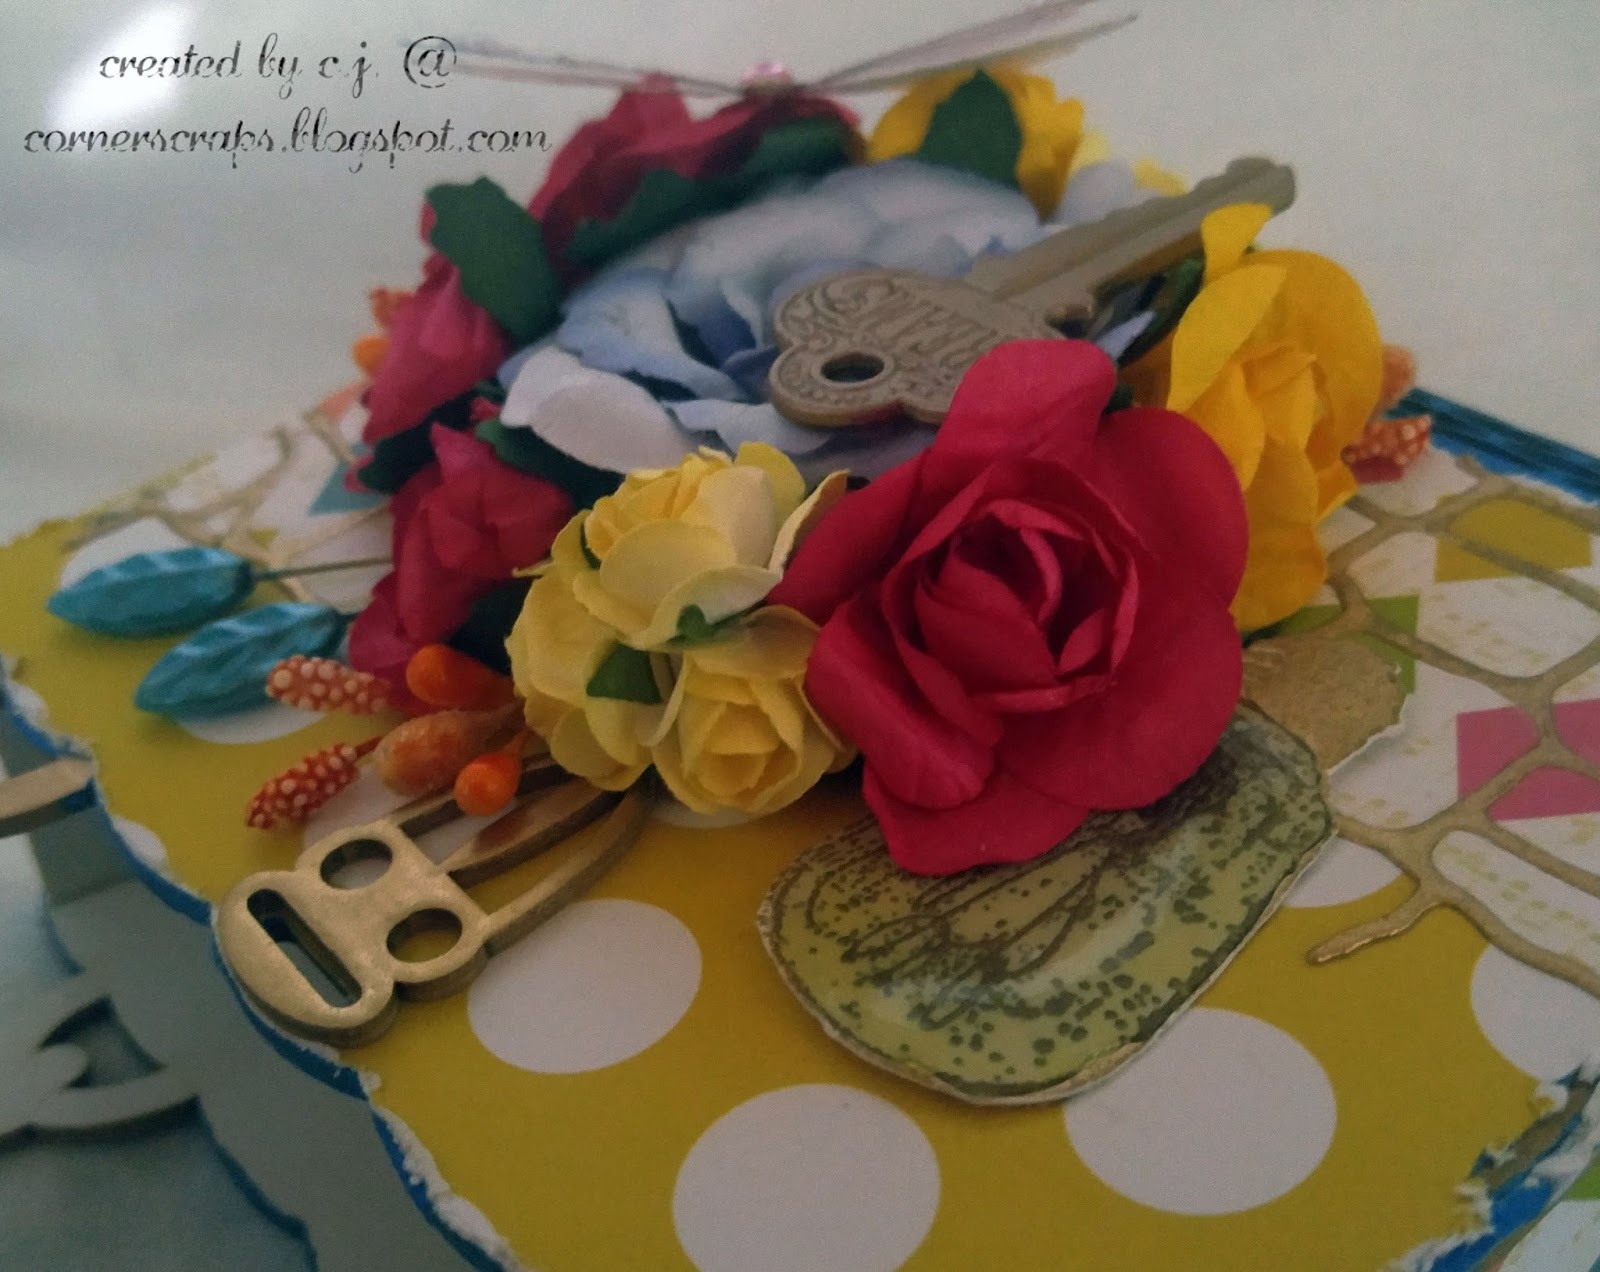
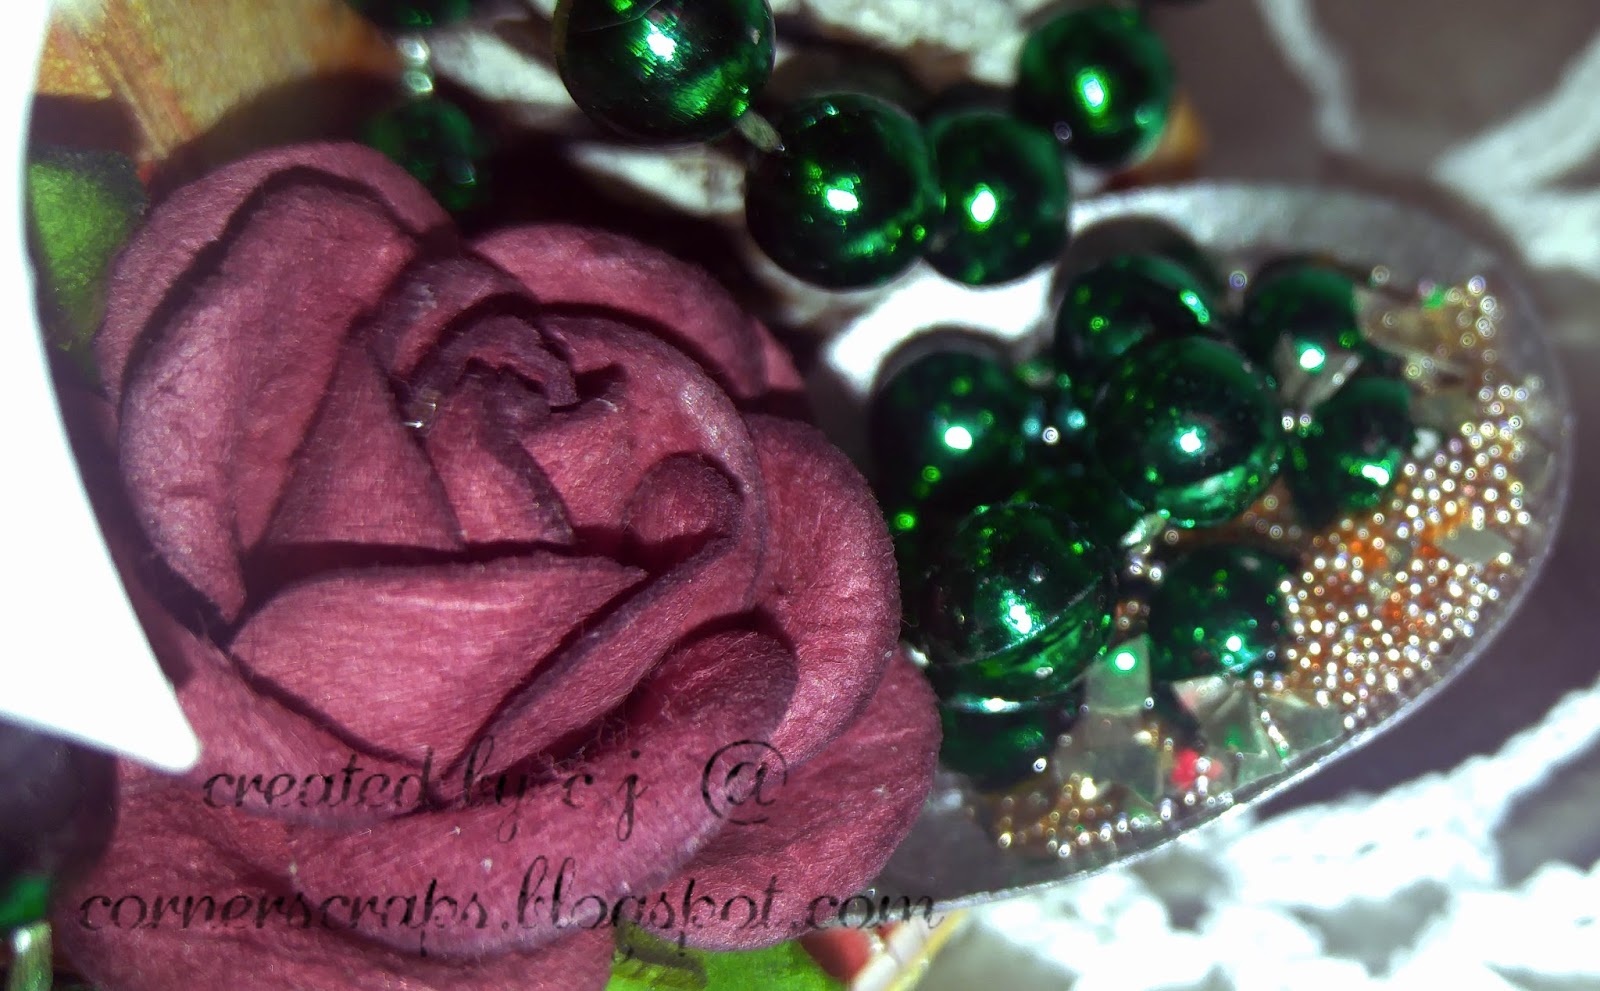
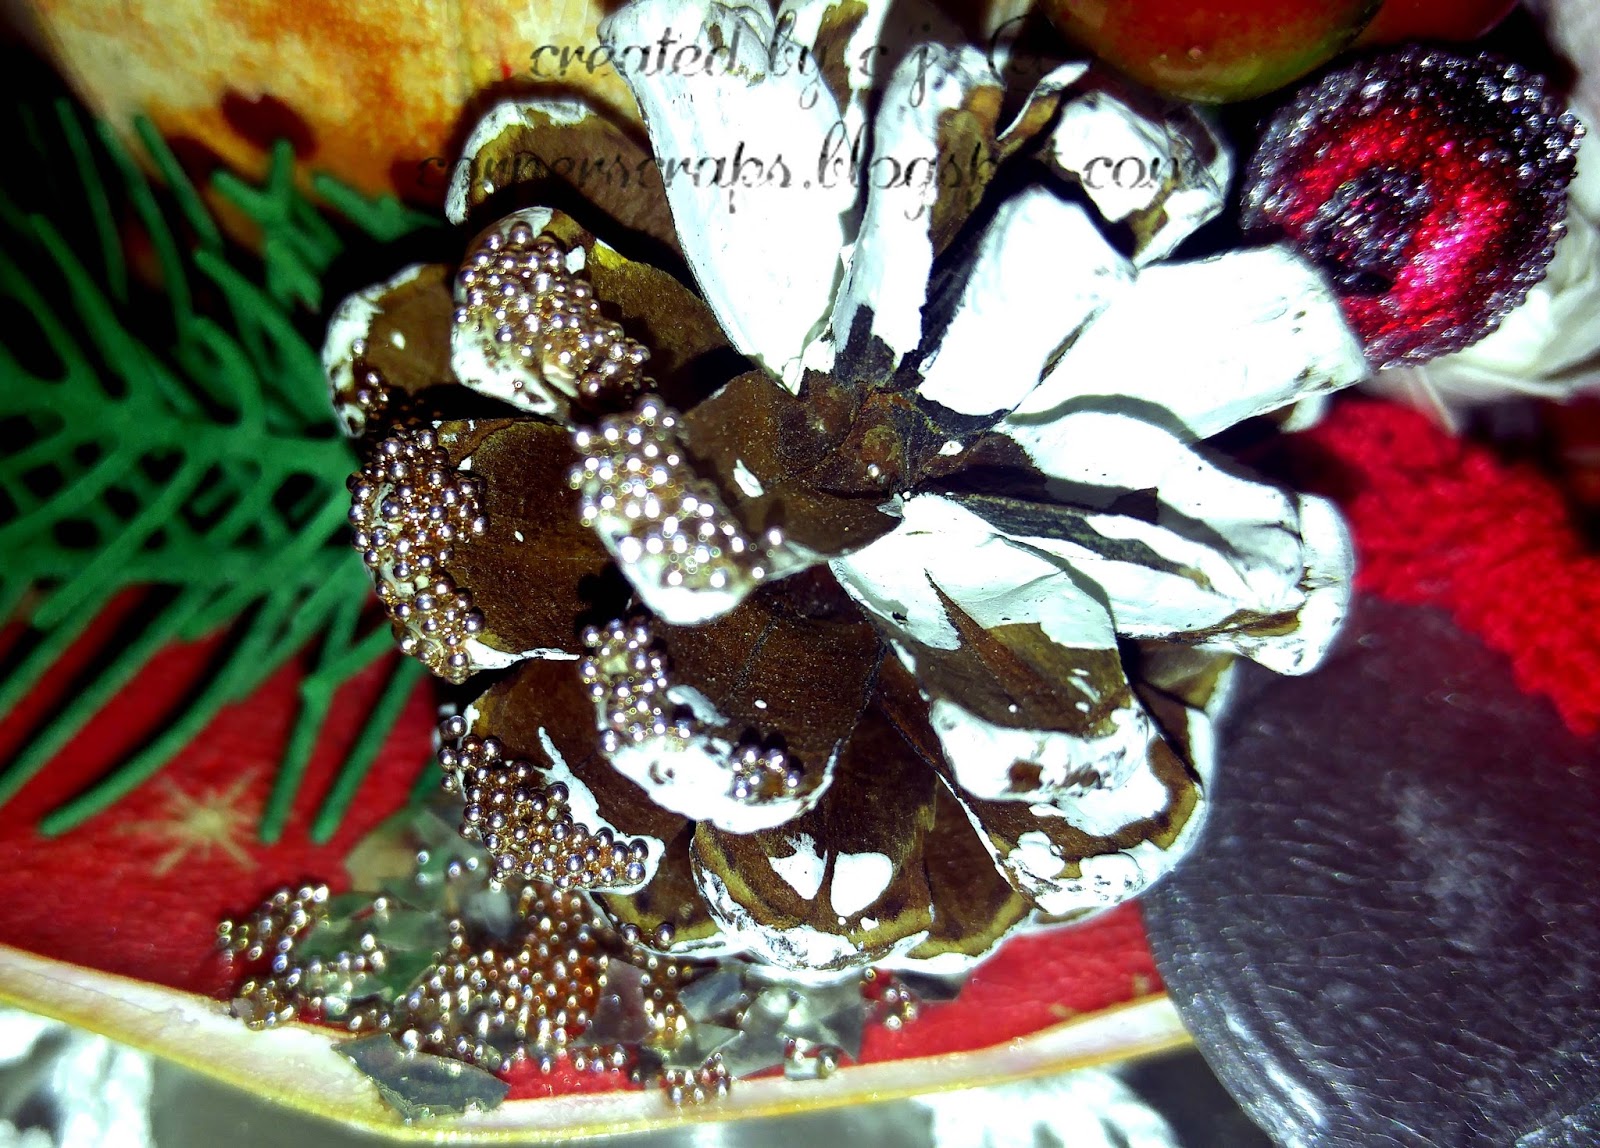
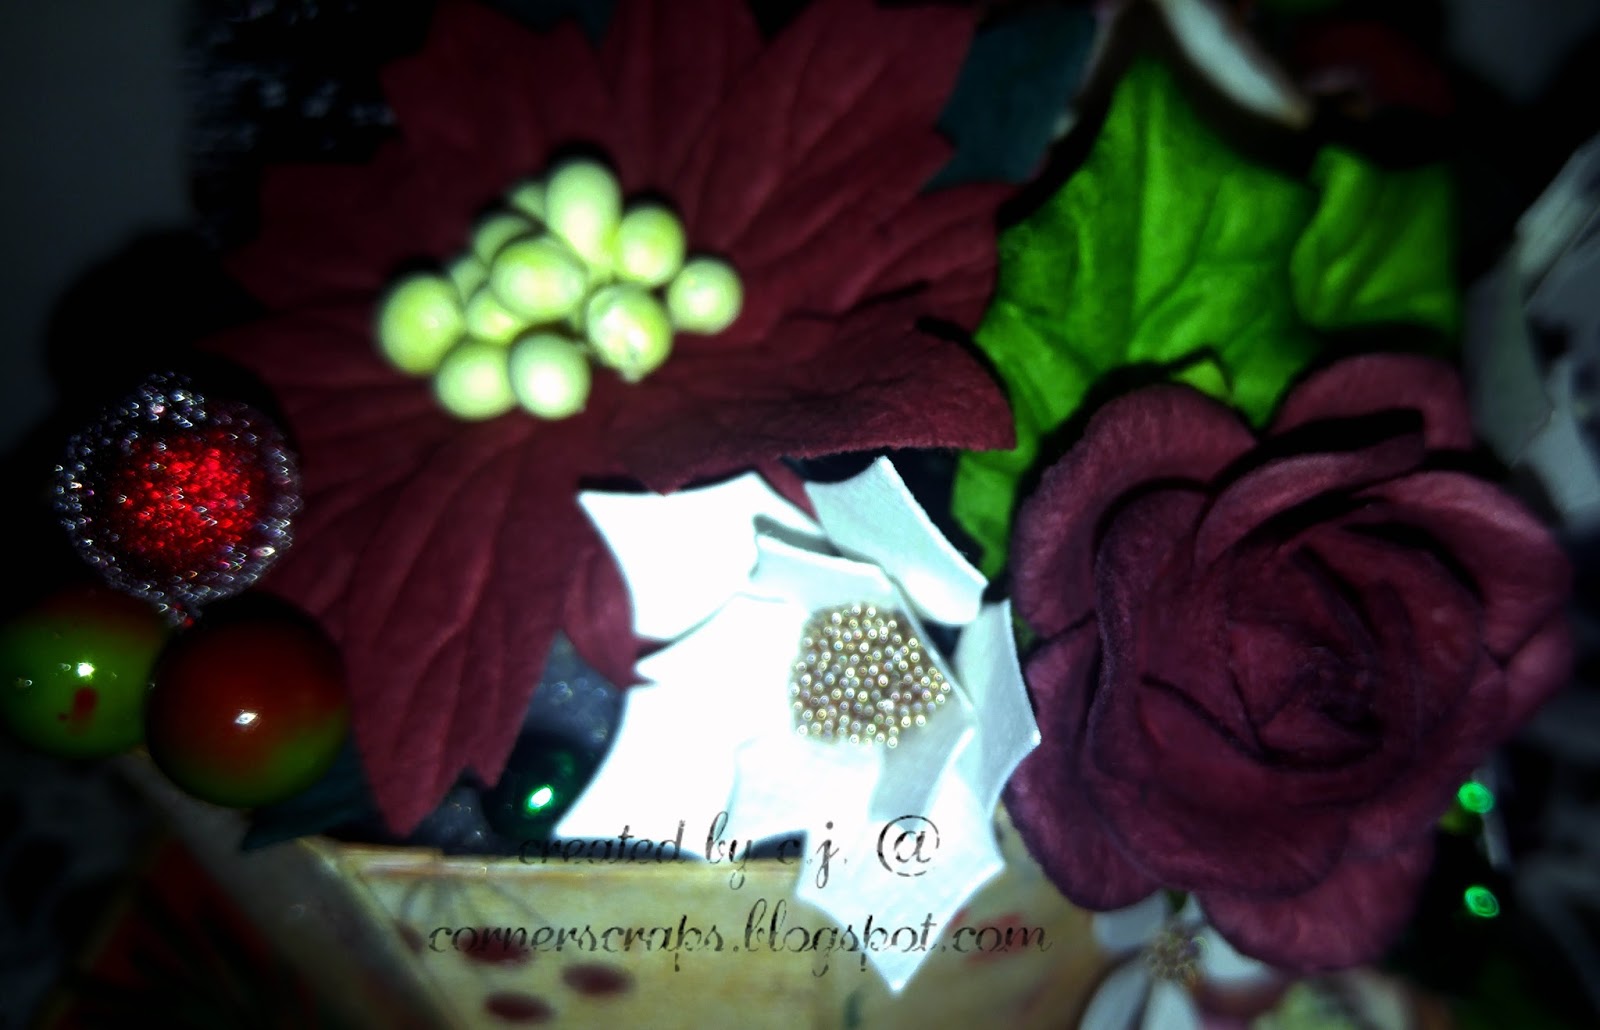
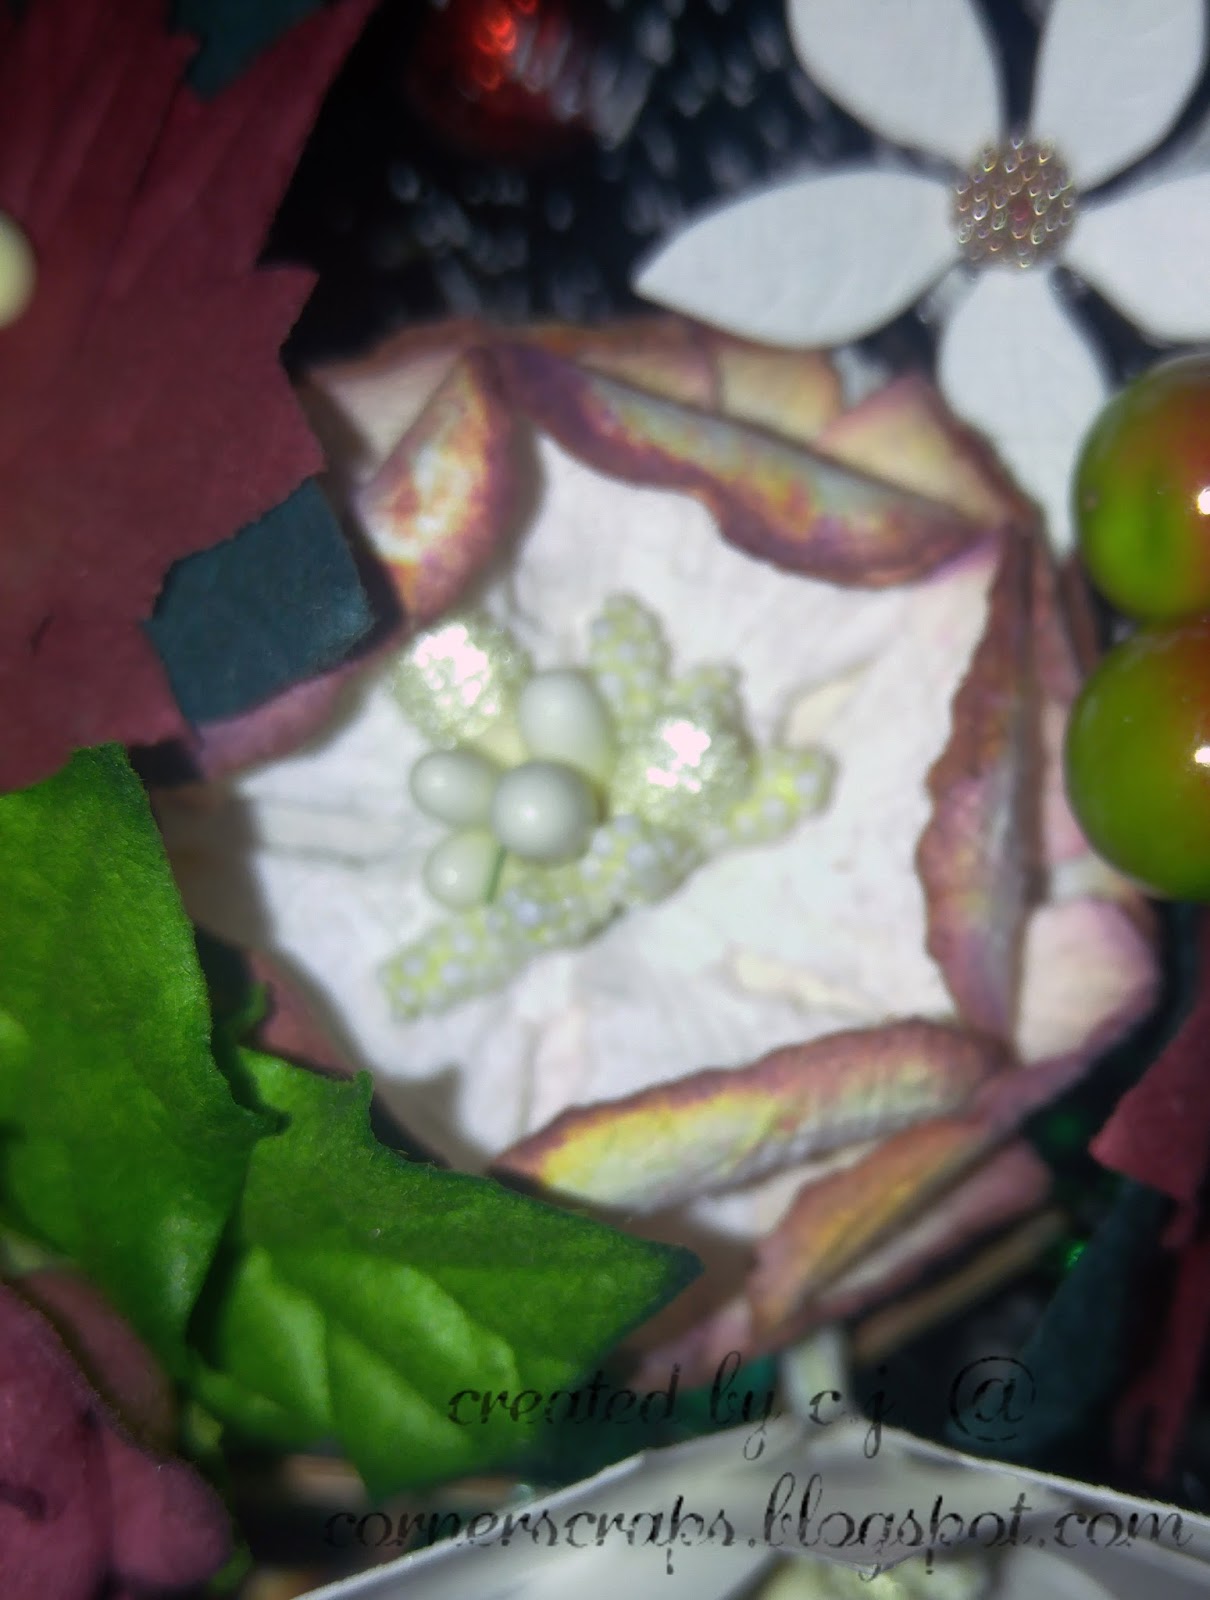
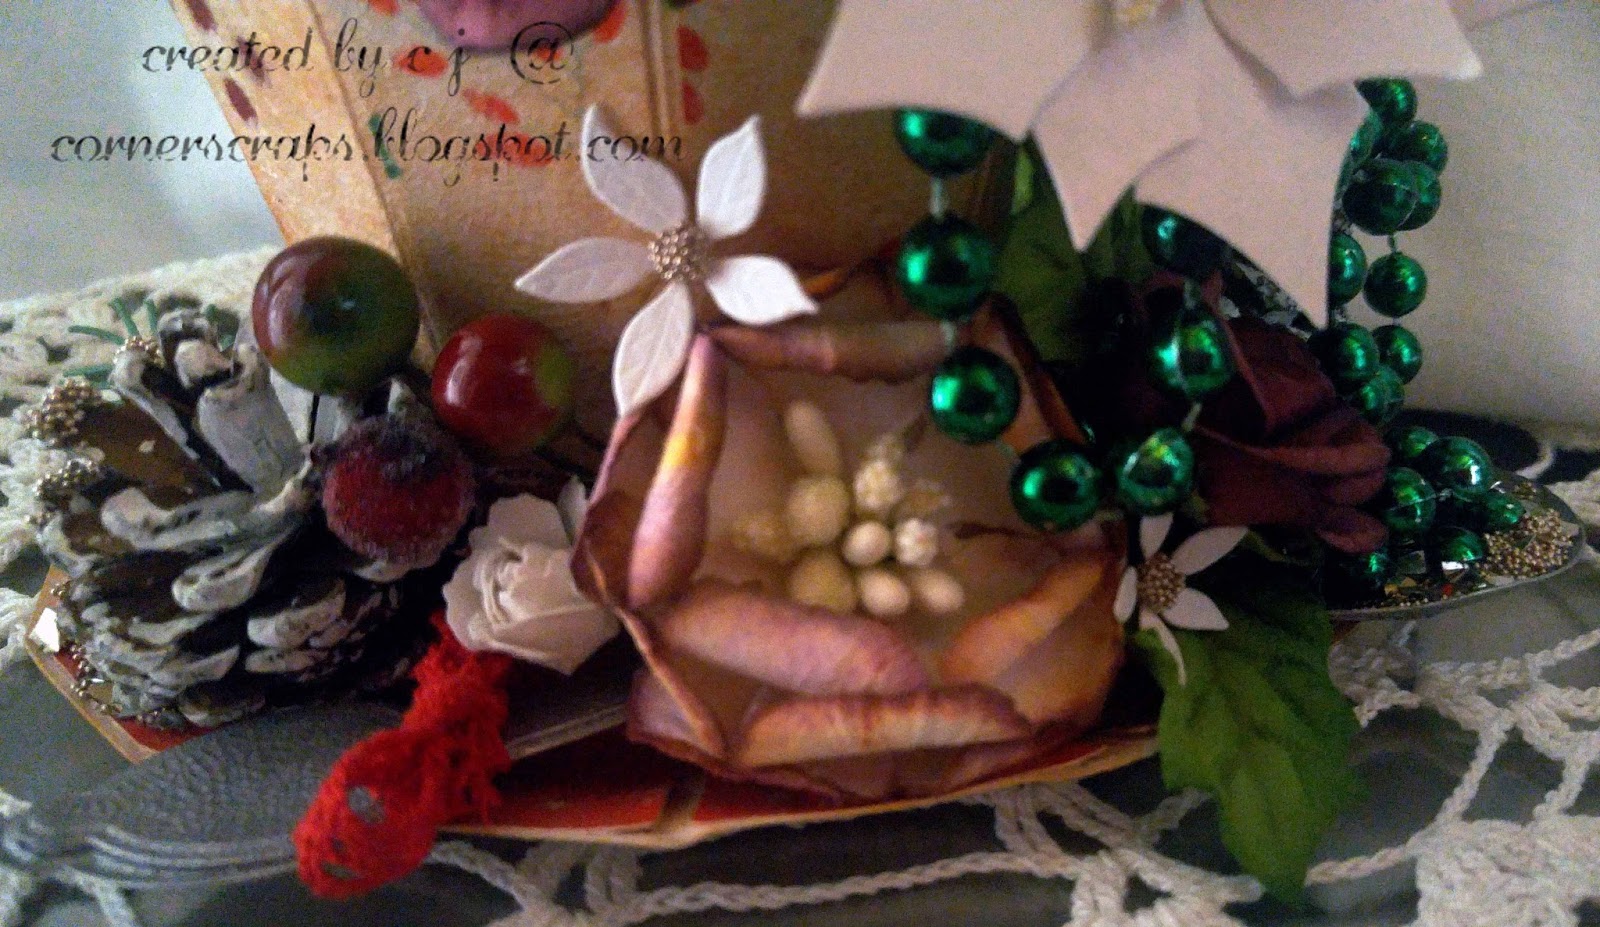
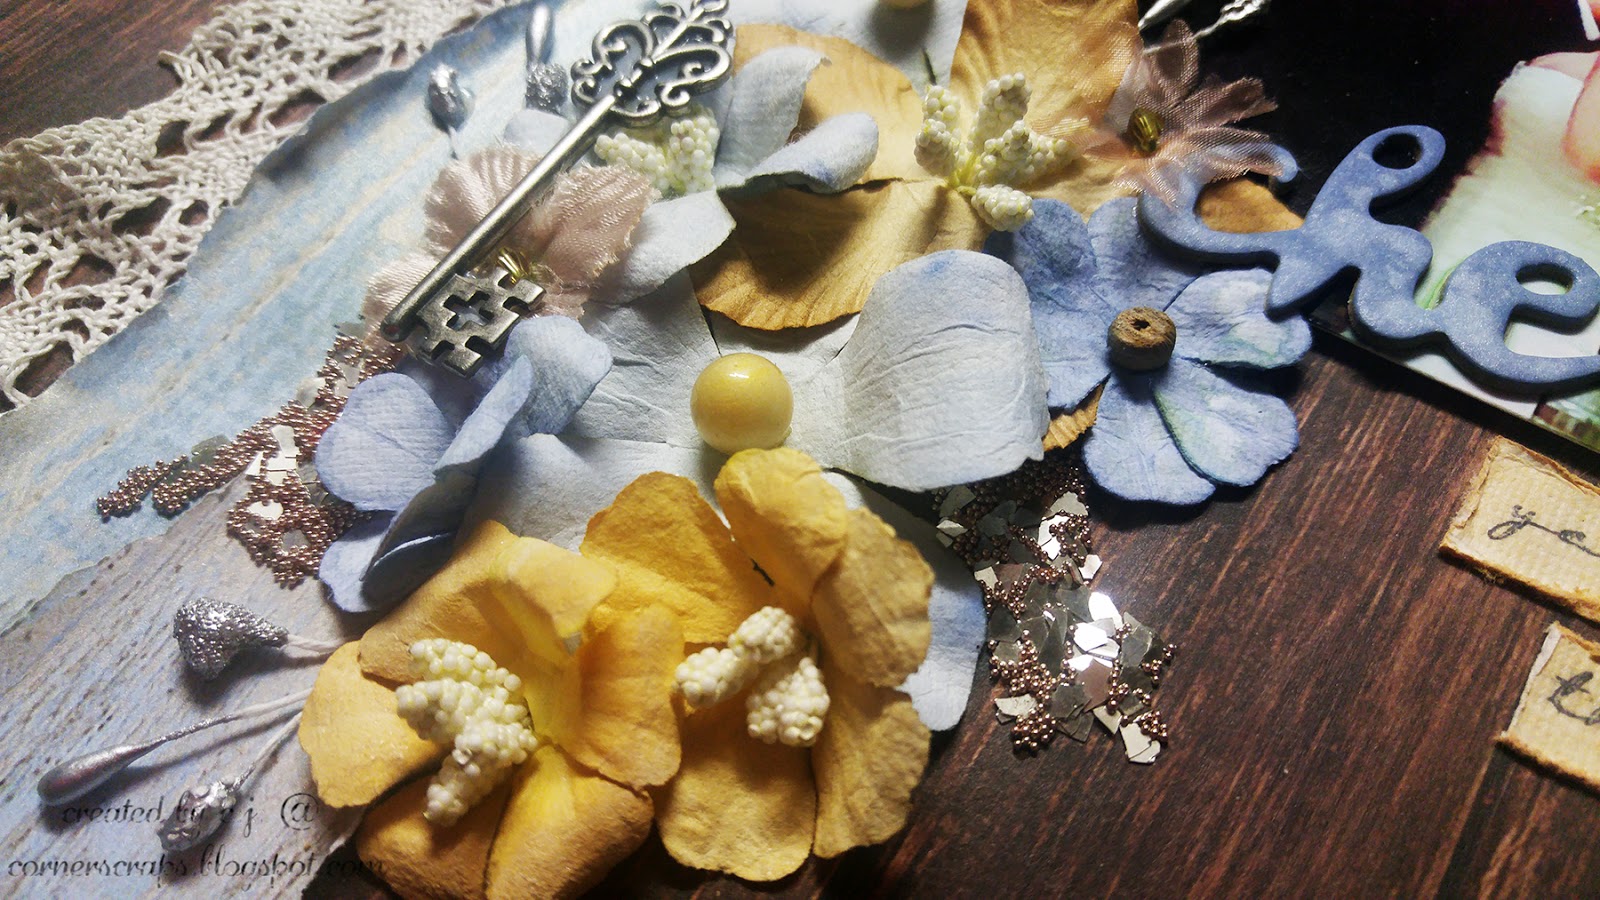
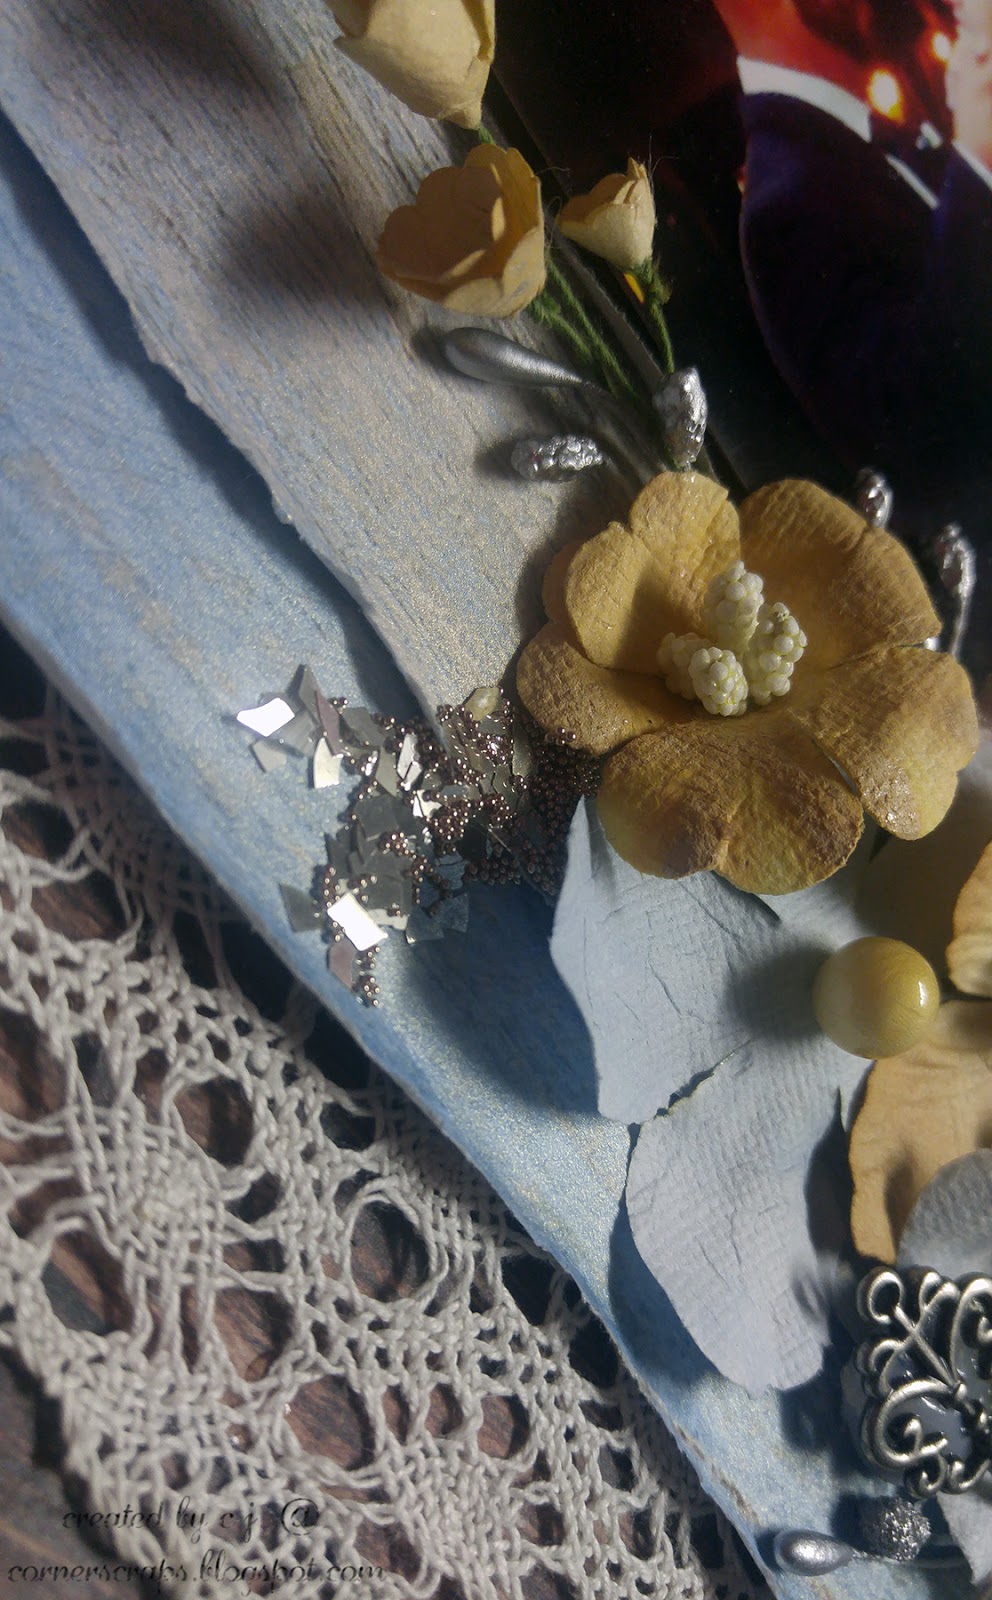
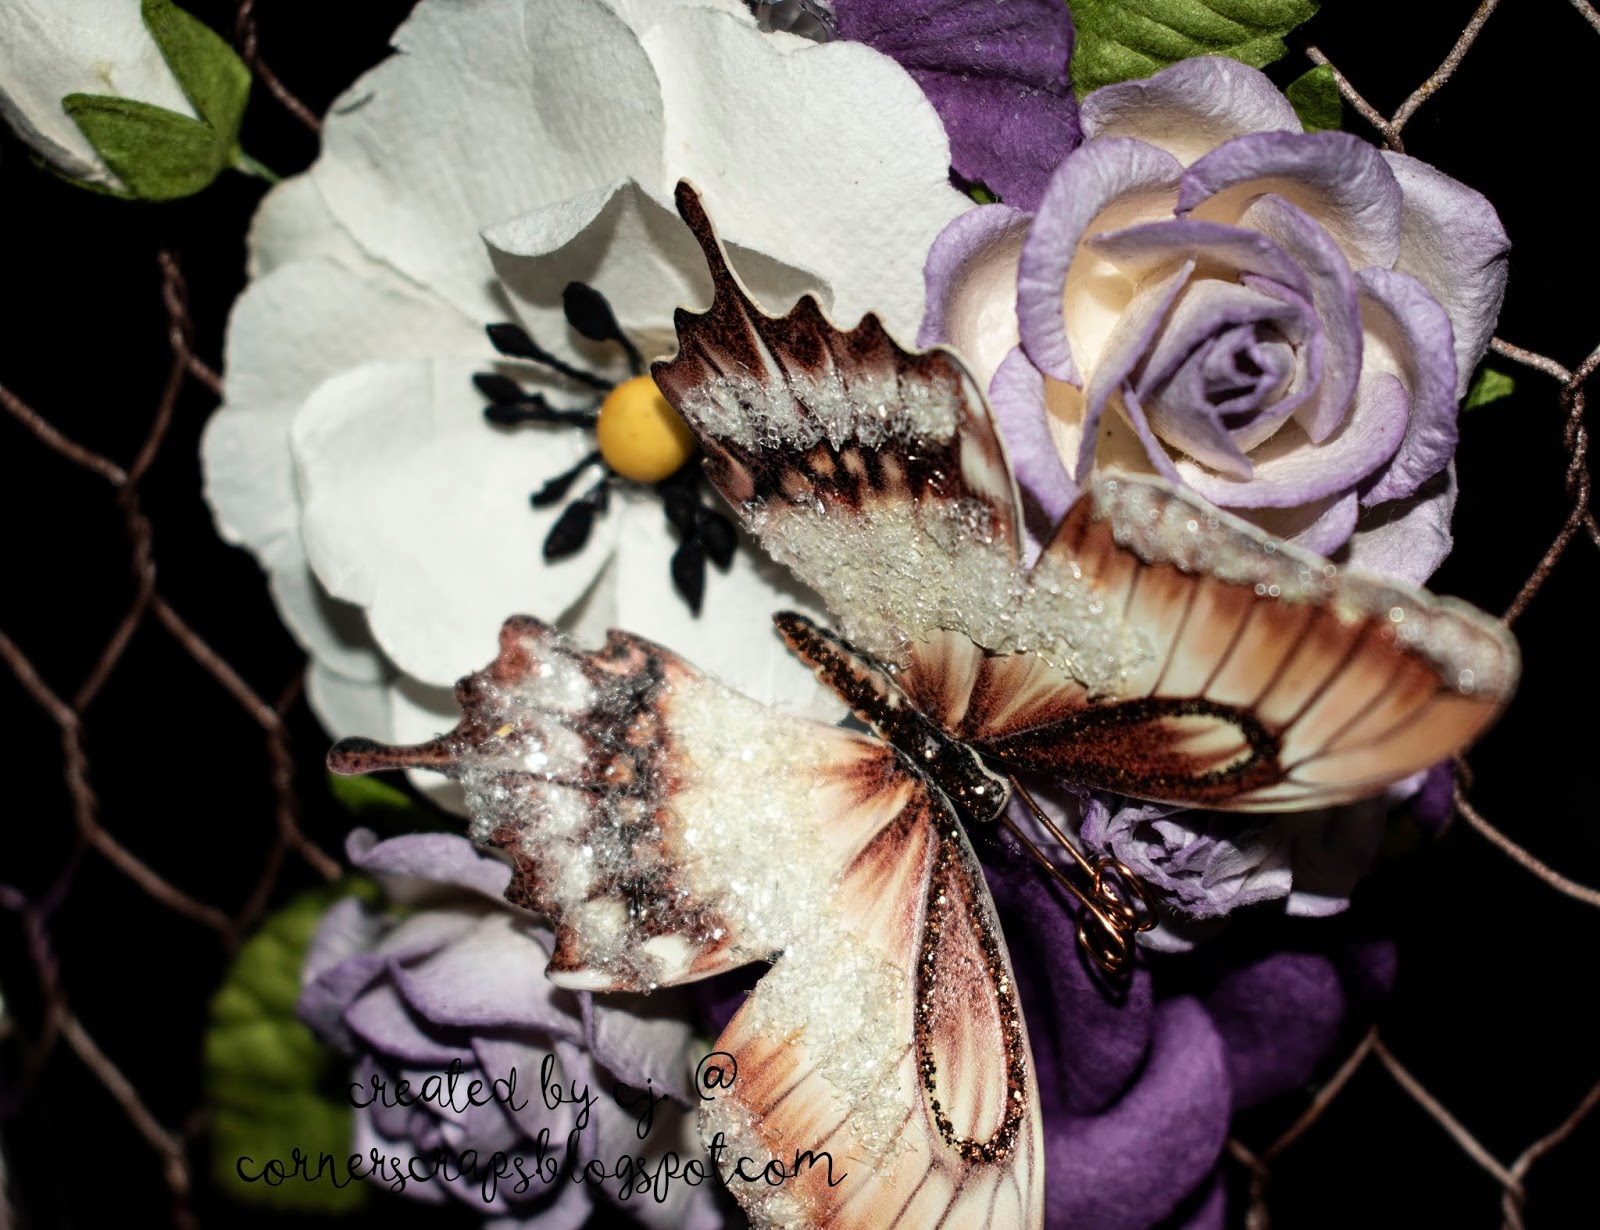
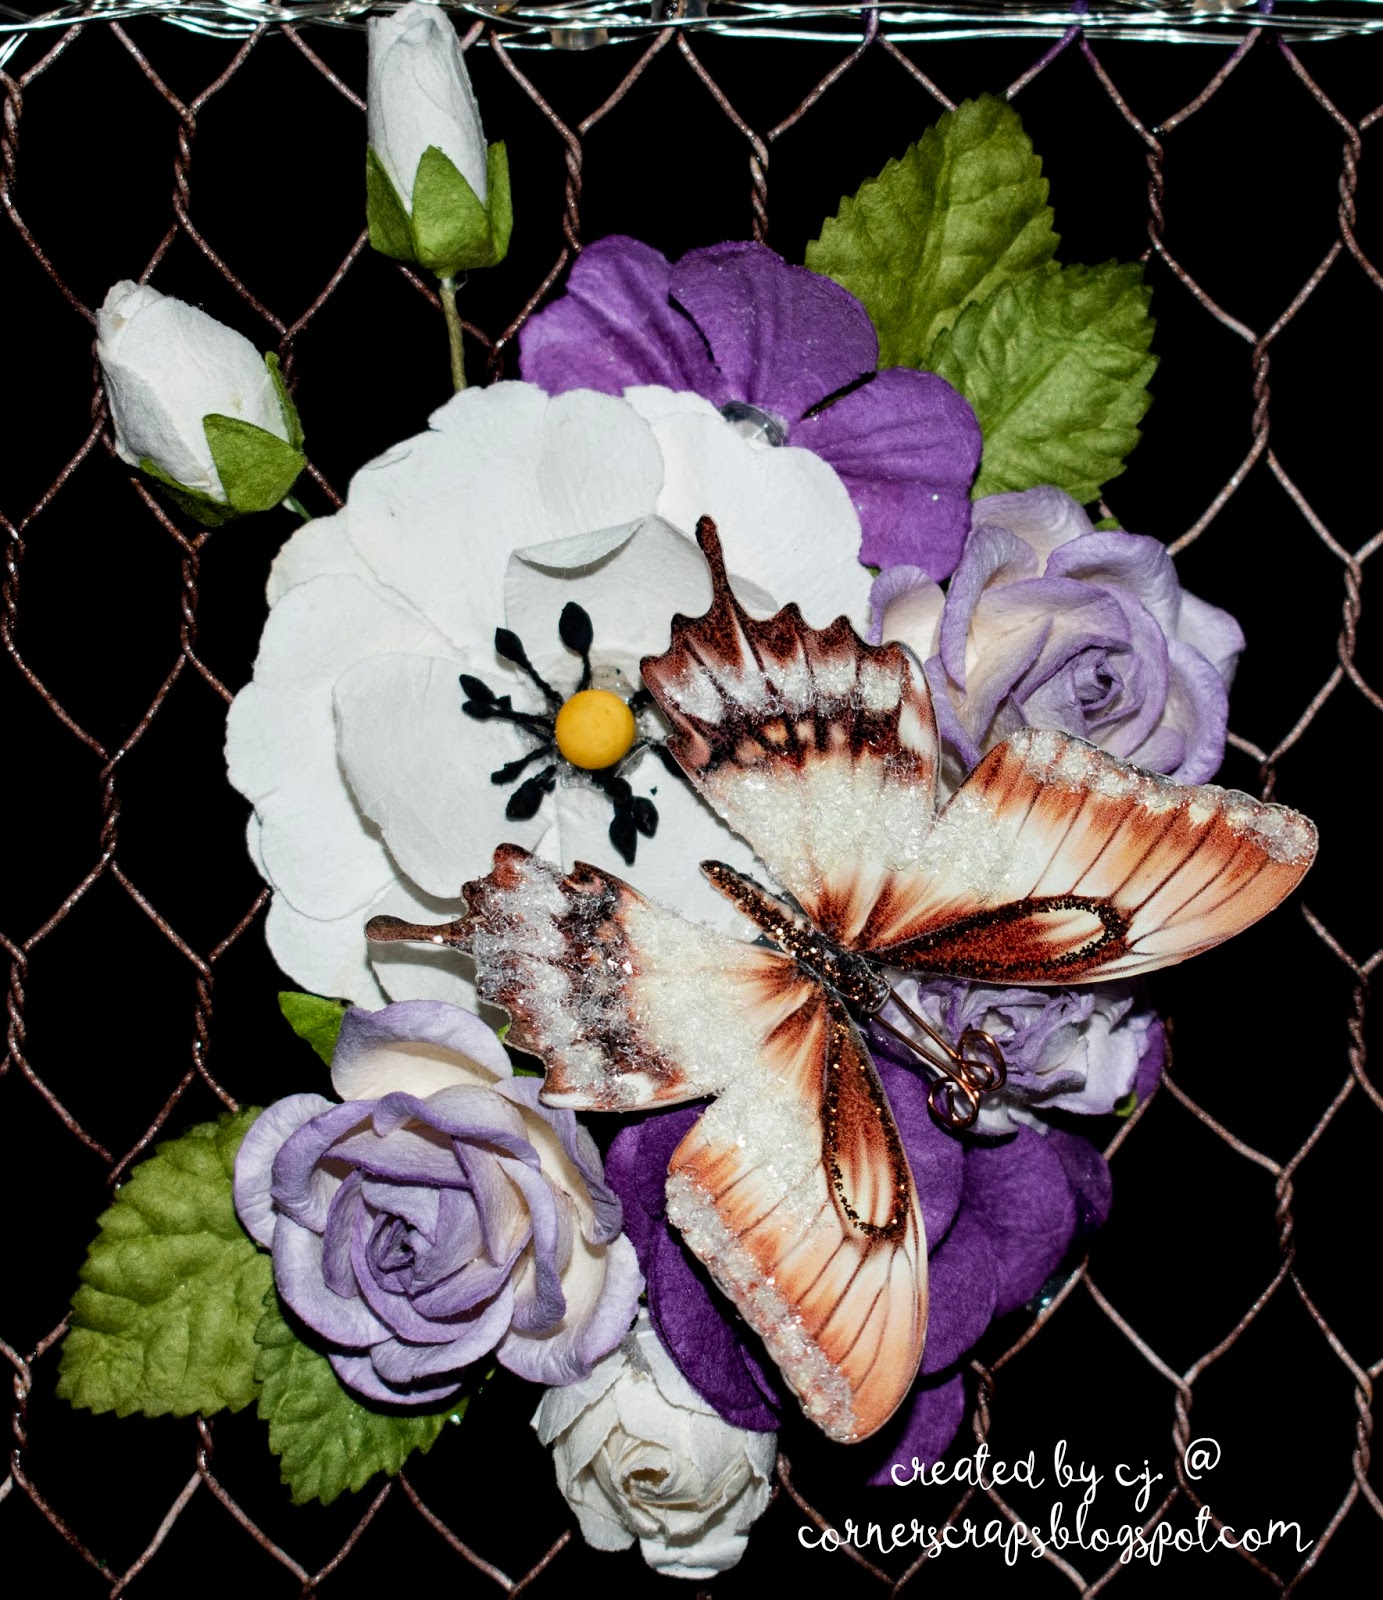
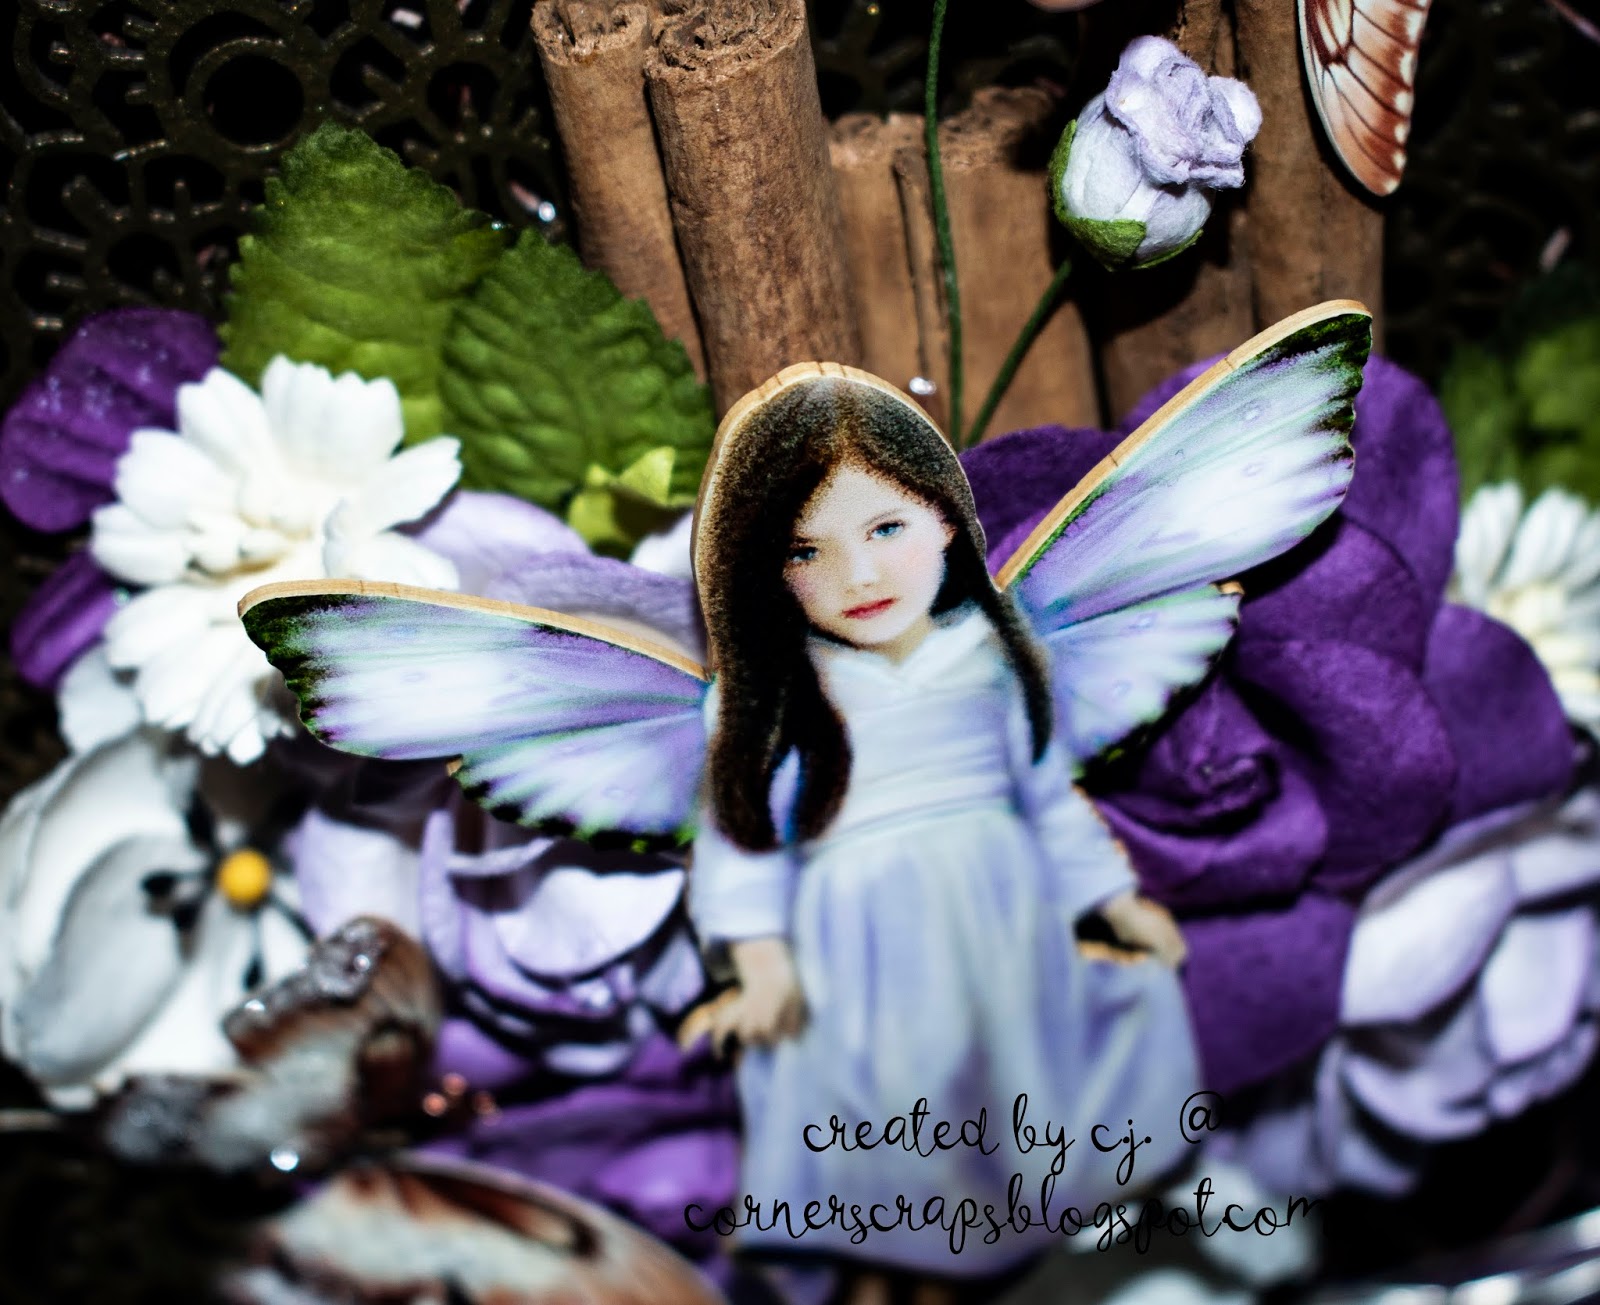
 Here are some close ups:

This darling little fairy, “Tessie B Darling,” can be found over at ReneaBouquets.com, as well as the butterflies and the (light) purple flowers.

Products:
[From the] Tres Jolie Mixed Media Kit (January 2019)
-DecoArt “Lavender” Acrylic Paint
-Creative Embellishments “Doily”
-Prima Flowers (Most of the White flowers)
-Darice Flowers (Dark Purple)
-Shadow Box

ReneaBouquets
-Printed Beautiful Board Fairy – “Tessie B Darling”
-“Salted Caramel” Premium Paper Glitter Glass, Tiny Treasures Premium Paper Glitter Glass, and Magical Miniatures Double Side Printed Butterflies
-Purple & White Roses & Leaves Mulberry Flowers
-Mulberry Paper Leaves

Prima Art Alchemy Acrylic Paint
-Rustic Brown
-Frozen Berries

Prima Heavy Bodied Gel

Judi-Kins Diamond Glaze

13 @rts
-Ayeeda Mist: Patina Bronze

Liquitex Black Gesso
Kilz Spray Primer … because I didn’t want to try use a paintbrush on chicken wire! LOL
Cinnamon Sticks (“generic” – from the grocery store)
Unbranded light string

Altered Jar!

An altered jar I made, mostly just to see where it would go, but also entered in the May (2018), Reneabouquets Mood Board Challenge on Facebook.

The jar I’ve had sitting around for a while, the top I found while digging up part of the yard last month, and the butterfly was left hanging on a stump by the previous owners. I washed everything up and set them aside without any plan for them at the time, but I decided to see what I could glue together this month.

After I added the Moulds to the jar, I coated everything with white gesso, then started layering on the paints & when I thought that was too “bright” I decided I should FINALLY try out the Baked Textures!

That mass of “netting” on the underside of the top piece is actually some “spider web” I picked up at the 99¢ store this past Halloween! I needed something to…cover…the top of the bottle, but I also wanted something different. After I got the “web” on I just randomly dribbled some JudiKins Diamond Glaze on and added the Silver Pink Shard Glitter Glass from Reneabouquets!

To add some shine to the butterfly, that was painted with Vicki Boutin paints, I added Diamond Chunky Glitter Glass from Reneabouquets!

The jar was painted with Prima’s Opal Magic “Blue Gold” on the bottom side of the flourishes, and Prima’s Sparks “Mermaid Sparkle” above the flourishes, while the flourishes themselves were painted with Opal Magic “Yellow-Blue” before having a layer of “Ancient Amber” Baked Texture added!

A close up of the beautiful, handcrafted flowers from the Reneabouquet Shop! For the coloring of the lid, I mixed some “Mermaid Lagoon” Distress Oxide with some Vicki Boutin Iridescent Glaze, spritzed in a bit of water for easier mixing, and painted it on! And that rust all over? “Chunky Rust” Baked Texture! Absolutly Awesome!

Product List:

  • Reneabouquet Exclusive Products: 
  • Diamond Chunky Glitter Glass 
  • Silver Pink Shard Glitter Glass 
  • All of the flowers and leaves! (From a couple “Teal and White” sets) 
  • Seth Apter/Emerald Creek: Baked Texture: 
    • Ancient Amber (Keyhole & Flourishes – After painting Yellow-Blue) 
    • Deep Sea (Butterfly Body) 
    • Chunky Rust (for the rust) 
  • Ranger Perfect Medium™ brush 
  • American Crafts – All The Good Things Collection – Mediums – Acrylic Color Pop
  • American Crafts – Mixed Media Collection – Glaze – Iridescent
  • Ranger Ink – Tim Holtz Distress Ink Pads – Embossing Ink Clear
  • Prima – Iron Orchid Designs – Vintage Art Decor Mould – Large Fleurish
  • Prima – Finnabair – Art Alchemy – Acrylic Paint – Opal Magic – Yellow Blue
  • Prima – Finnabair – Art Alchemy – Acrylic Paint – Opal Magic – Blue Gold
  • Prima – Finnabair – Art Alchemy – Sparks Acrylic Paint – Mermaid Sparkle
  • Ranger Ink – Tim Holtz – Distress Oxides Ink Pads – Mermaid Lagoon
  • JudiKins Diamond Glaze
  • Creative Paperclay
  • The netting is actually “spider web” from the 99¢ store I bought back at Halloween.
  • Happy Layout!

    My Great Dane, Lucy, laying in the pond after an afternoon walk.

    Over at scrapbook.com I host a monthly challenge, “The Ugly Games.” Each month “tributes” are given someone to send two papers and (at least one) embellishment to. The receiver is then challenged with creating a layout using all or part of the papers, as long as they are recognizable, well the embellishment(s) are optional and count towards two extra votes! This isn’t to say the papers are ugly, but the combination is meant to be U-G-L-Y, or at least something that wouldn’t normally be used together! It really teaches one to think about papers differently and how to combine different colors and patterns!

    For the May 2018 Challenge I was sent the following papers and set of stickers:

    The layout they became is at the top of this post and here:

    The cut file used here is “Piece of the Pie,” from The Cut Shoppe (Etsy). I cut the outer edge of the shape in the yellow paper, then the “outline” in the red & white paper! With the stickers I coated them in clear gesso so I could apply watercolors to them, then used the hearts and flowers on the layout!

    Product List: 

    • Hip Kit Club Exclusive Die Cuts 
    • Pentel Water Brush 
    • Clear gesso 
    • American Crafts – Lovely Day Collection – 12 x 12 Double Sided Paper – Up
    • American Crafts – Little By Little Collection – 12 x 12 Double Sided Paper – Li’l Bit
    • American Crafts – Little By Little Collection – Thickers – Hello Joy
    • Echo Park – Summer Dreams Collection – Enamel Dots
    • Scotch ATG – Adhesive Applicator Gun – Pink
    • Sharpie – Fine Point – Writing Pens – Black – 2 Pack
    • Silhouette America – Cameo Version 3 – Electronic Cutting System
    • Silhouette America – Cameo Version 3 – Autoblade
    • Tonic Studios – Tim Holtz – Non-Stick Micro Serrated Scissors – 7 Inches
    • Prima – Watercolor Confections – Tropicals
    • Tonic Studios – Tim Holtz – Mini-Snips – 5 Inches
    • Crate Paper – Chasing Dreams Collection – 12 x 12 Double Sided Paper – Moment
    • American Crafts – Little By Little Collection – 12 x 12 Double Sided Paper – Cultivate Joy

    Spring Fling Tag Swap at Reneabouquets!


    Over on Facebook, Reneabouquets hosted a “Spring Fling” tag swap for May! This is the tag I came up with for my partner! (Well, I added to what I had been thinking of, because I had daffodils on the brain as soon as I signed up! LOL)

    The daffodils are cut from a thin Mulberry Paper and after I put them together I coated them in (watered down) Vicki Boutin Iridescent Glaze and added the stamen. And actually, I didn’t have the right shade of yellow for them, so after cutting the trumputs out I soaked them in Shimmerz: Creameez “Daffodil” (that was just a lucky coincidence the color I was looking for was also appropriately named!) 

    Product List:

    • Reneabouquet Products: 
    • “Silver Pink” Glitter Glass 
    • Beautiful Board Small Quilling Flourish 
    • Tiny Treasures Sweet Pea Lavender Premium Paper Glitter Glass Butterflies 
    • Mini Pink Lemonade Mulberry Roses & Leaves Set 
    • The gardenias were pulled from different rose sets I had from Reneabouquets 
    • The paper is from Blue Fern Studios: Spring Parade, and you can purchase this from Reneabouquet! 
  • Silhouette Cameo 3
  • PixScan Cutting Mat
  • AutoBlade
  • The lattice cut on the background and the daffodils are both files from the Silhouette store (Design IDs #40858 and #112756)
  • Ranger 
    • Multi Medium – Matte
    • Glossy Accents
  • Scotch ATG
  • Prima – Finnabair – Art Alchamey
    • Sparks Acrylic Pain – Fairy Wings
    • Opal Magic Wax – Royal Robes
    • Art Basics – 3D Gloss Gel
  • Vicki Boutin Iridescent Glaze
  • Shimmerz: Creameez “Daffodil”
  • Tim Holtz Distress Oxide “Shaded Lilac”
  • JudiKins Diamond Glaze
  • Altered Purse using ReneaBouquets Beautiful Board Purse!

    Altered Purse for the ReneaBouquet Purse Swap using ReneaBouquets Beautiful Board 4D Purse
    A close up of the beautiful dragonfly by ReneaBouquets (Link in Product List)
    Another angle!

    And another!

    Ok, the final one!
    The other sides of the purse!

    I also made this wand to go along with the purse using the same paper line and rosette cuts from the Silhouette Store.


    Product List Purse:

    • ReneaBouquets
  • Shimmerz Paints
    • AcriTonez – Blue My Top
  • Pink Paislee
    • House of Three
    • Soiree
    • Diamond
    • Collage
  • Prima
    • Del Mar (large, light purple rose)
    • 3D Gloss Gel
    • Metallique Wax
    • Vintage Gold
    • Rose Gold
  • 1″ Art Basics Silicone Brush
  • Tim Holtz
    • Word Keys
    • Water Pen – Nib
    • Mini Blending Tool
    • Distress Ink – Squeezed Lemonade
    • Mini Snips
  • Studio 490
    • Wendi Vecchi
    • Steampunk Art Stamp Set (lightbulb)
    • Destination Art Stamp Set (on bottom of purse)
  • Sizzix Big Shot Plus
  • Mod Podge
    • Matte
  • Ranger Ink
    • Glossy Accents
    • Gold Embossing Powder
    • Brayer (3.5″)
    • Emboss It Pen
  • Tonic Studio
    • Paper Distresser
  • DMC Metallic Embrodiary Floss (E3843)
  • Maya Road
    • Trinket Pens – Leaf
  • Unknown/Unbranded
    • Orange Stamen
    • “Mulberry Type” flowers (all of the pink & yellow roses)
    • watercolor paper (used to stamp lightbulb on)
    • “Stone wall” die
    Product List Wand: **all of the cuts for the wand top came from the Silhouette Store**
    • Ranger Ink
    • Gold Embossing Powder
    • Wendi Vecchi “Fern Green” Embossing Powder
  • Pink Paislee
    • House of Three
    • Soiree
    • Diamond
    • Collage
    • Music
  • Chickaniddy Crafts
    • “365” Mini Brads
  • WOW! Glitter
    • “Pool”
  • The Paper Company
    • “Bright Lace Ribbon Scrap Pack”
  • E6000 Spray Adhesive (for the glitter, including on top to [try] and keep it in place!)
  • Silhouette Cameo
  • Christmas Teacup

    My first tea cup art, just in time for Christmas!

    Handle side, side view! This was a learning experience for me, and I learned that I need more Mod Podge to hold down the pieces against the strain of the Crackle Paint! You can also se some of the beautiful Shard Glitter Glass & Microbeads I added to the spoon!

    The other side of the cup. Here I added some of the Microbeads to the pine cone & some Shard Glitter Glass & Microbeads just under the edge of the pine cone. Plus, in the center of the poinsettias are some more Microbeads.

    A closer look at the spoon.

    A closer look at the pine cone!

    One of the poinsettias that has the Microbeads for the center.

    One of the posies I made using the tutorial found at Live The Dream ….

    A closer look at the bottom with the second posie I made.

    A view from the top!

    *The cut file for the teacup, saucer, and spoon can be found at svgcuts.com*

    Product List:

    • Glass Microbeads in Champagne
    • Shard Glitter Glass in Silver
    • Beautiful Board Beautiful Bits – Star
    • Burgundy Roses, Poinsettias, & leaves
  • Hip Kit Club (November 2017 Main Kit)
    • Tis The Season by Kimberly Hutchison
    • Baby It’s Cold Outside (cup exterior)
  • Crate Paper
    • FALALA Collection
    • Twinkle
  • Ranger
    • Tim Holtz
    • Distress Ink
    • Tea Dye
    • Fossilized Amber
    • Seedless Preserves
    • Rusty Hinge
  • Distress Crackle Paint
    • Clear Rock Candy
  • Mini Round Blending Tool
  • Silhouette Cameo
  • Sizzix
    • Big Shot Plus
    • Precision Base Plate
    • Tim Holtz
    • Small Tattered Florals (the one little rosebud!)
  • Spellbinders
    • Shabby Posies
    • Layered Poinsettia
  • Simon Says Stamp
    • Pine Needles Trio
  • Poppy
    • Small Blooming Poinsettia
  • Mod Podge
    • Paper – Gloss
  • Beacon Fabri-Tac
  • Judi-Kins Diamond Glaze
  • White Card stock – American Crafts I think
  • Mulberry Bear 2
    • “Grass Green” Mulberry Paper – Pine Needles
  • The Paper Studio
    • White “Handmade” Paper (white poinsettias, posies, & rosebud)
  • Prima
    • Finnabair
    • Metallique Wax – Old Silver
    • Silicon Brushes – 1″ & 2″
  • 99¢ Store finds
    • Pine cones
    • Bottle brush tree
    • Green bead garland
  • Unbranded/Unknown
    • Stamen in large white poinsettia & posies
    • Holly berries (frosted red & green & red)

    Smile!

    Smile layout, featuring your truly!

    Over at scrapbook.com there is the “Round Robin” challenge, which is basically how it sounds. Inspiration is posted, in the case of this month, a lovely autumn themed image with the quote “Even though we can’t have all we want, we ought to be thankful we don’t get what we deserve” on it. So, it inspired me this way: I am 4 1/2 years old in this photo, and obviously upset about SOMETHING which I’m sure at the time was because I didn’t get what I wanted or didn’t get my way, hence why I linked this photo with the quote. And, I also threw in some leaves and I have mostly autumn colors on this layout. So there you have it, my Round Robin layout! Now it’s week two’s turn to be inspired by my layout!

    This layout is also going to be entered in the Stuck?! Sketches November 1st sketch challenge, which is to use the following sketch! Instead of three photos, I cut one photo into three pieces! I also flipped the sketch on its head for my layout!

    Stuck?! Sketches Nov. 1, 2017 Sketch

    Product List:

    • Shimmerz 
    • Vibes: Mango Tango 
    • Inklingz: Old Yeller 
    • Creameez: Lapis Dance 
  • Hip Kit Club 
    • Harvest Dreams: Warm & Fuzzy 
  • Elle’s Studio 
    • Black Letters & Numbers Sticker Sheet
  • American Crafts
    • Star Gazer Collection
    • 12 x 12 Double Sided Paper – Make a Wish
  • Crate Paper
    • Gather Collection
    • Ephemera
  • Pinkfresh Studio
    • Escape the Ordinary Collection
    • 12 x 12 Double Sided Paper – Transform
    • Chipboard Stickers
    • Ephemera Pack with Foil Accents
  • Prima
    • Finnabair
    • Art Basics – Mixed Media Silicone Brush – 2 Inch
  • Ranger Ink
    • Tim Holtz
    • Water Brush – Detailer Brush Nib
  • Sharpie – Fine Point – Writing Pen
  • Teresa Collins
    • Daily Stories Collection
    • Cardstock Stickers – Alphabet and Label
  • Tonic Studios 
    • Tim Holtz
    •  Mini-Snips – 5 Inches
  • Orange & White Twine … umm, I kinda threw the wrapper in the trash! 
  • White tissue paper 
  • Clear Gesso 
  • The pink gems I got in a Birds of a Feather Kit back in 2014 … I think 
  • Cherish

    Cherish

    During the last weekend of October, the husband and I went to the wedding of two very dear friends (the couple I made this card for), this is a layout I did featuring a photo I took during their first dance as husband and wife.

    All of the papers on here I’ve had for at least 18 months. Apparently they were all waiting for this wedding! The lace is some eBay “vintage lace” I bought a few months back, and the flowers have been in hording for a long, long time!

    This layout was entered into a couple of Challenges over at scrapbook.com, the October Music Inspiration Challenge (the song picked for me was “A Taste of Honey,” and I used the line “yours was the kiss that awoke my heart” it just seemed rather fitting for the occasion!), the November Die Cutting Machine Challenge, and scrapbook.com’s Handmade for the Holidays.

    I absolutely LOVE the shard glitter glass and glass micro-beads from ReneaBouquets! (Links in Product List)

    Not a lot of “special” techniques used here. I tore the papers, layered them with some lace, and then just started arranging flowers! Well, I did “dye” the paper flowers with some Distress Oxides & Shimmerz Paint!

    Product List:

  • Shimmerz 
    • Butter Cream Paint 
    • Tuscan Sun Spritz 
  • Dear Lizzy Date Stamp 
  • Prima E-Line White Flower Mix 
  • Bazzill “Vanilla” Cardstock (song lyrics are on) 
  • Bella! Something Blue Paperz “Tittle” 
  • Bella Blvd – Ciao Chip – Self Adhesive Chipboard – Words – Today
  • Chickaniddy Crafts – 365 Collection – 12 x 12 Double Sided Paper – Weekend Wonders
  • Little Birdie Crafts – Classic Elements Collection – Beaded Fancies – White
  • McGill Paper Blossoms Collection – Tool Kit
  • Prima 
    • Finnabair – Art Basics – 3D Gloss Gel – 8 Ounces
    • Paintables – 12 x 12 Paper – Roses
  • Ranger Ink
    • Archival Ink Pad – Jet Black
    • Glossy Accents
  • Tim Holtz 
    • Distress Oxides Ink Pads – Antique Linen
    • Distress Oxides Ink Pads – Faded Jeans
    • Mini Ink Blending Tool – Round
  • Scotch ATG – Adhesive Applicator Gun – Pink – Uses One Fourth Inch Adhesive
  • Silhouette America 
    • Curio 3T Version – Electronic Cutting System
    • Pen Holder
  • Sizzix – Big Shot Plus – Starter Kit – White and Gray
  • Tonic Studios – 
    • Tim Holtz – Mini-Snips – 5 Inches
    • Tim Holtz – Paper Distress
  • Unknown/Unbranded 
    • 5 petal flower die 
    • Ivory & Silver Stamen 
    • Green floral wire 
    • Vintage lace 
    • key 
    • Ivory “pearl” flower centers 
    • Tan-ish-Gold-ish Beads (on the two fabric flowers)

    Happy Halloween!

    Happy Halloween!

    Over at Creative Embellishments’ October Challenge a wonderful image was post at the beginning of the month to be used as inspiration for a project. The directions say to “Simply be inspired by 1 element from the picture below and the twist is to make your project black and white. I will let a very teeny tiny bit of color slip on by” I don’t know if being inspired by the WHOLE photo counts as “1 element” or if it would be the skull … mainly … or if it qualifies at all, but I HAD to use that image somehow!!

    Anyhow, I saved the image to my computer, did a bit of editing to it, then used the stippling feature on my Silhouette Curio. For eight hours. It took eight hours to stipple the image out, and it wasn’t even the “whole” image! Good thing I had other things to occupy myself with!

    I’ll also be entering this into the Simon Says Stamp Wednesday “Anything Goes” Challenge!

    Product List:

  • Ranger
    • “Emboss It” Pen
    • Water Pen – Nib
    • Embossing Powder
    • Enchanted Gold
    • Antiquities Frosted Crystal
  • Multi Medium Matte
  • Perfect Pearls
    • Forever Green
    • Pewter
    • Heirloom Gold
    • Blue Patina
    • Green Patina
  • Tim Holtz
    • Distress Oxides:
    • Fired Brick
    • Antique Linen
  • Distress Ink
    • Dusty Concord
  • Distress Markers
    • Black Soot
    • Wilted Violet
    • Lucky Clover
    • Tumbled Glass
    • Wild Honey
    • Forest Moss
    • Abandoned Coral
  • Thinlits
    • Cobweb
  • Prima
    • Metallique Wax
    • Vintage Gold
    • Bronze Age
  • 3D Gloss Gel
  • Sizzix
    • Big Shot Plus
  • a la mode clear embossing powder
  • homemade alcohol inks
  • 99¢ Store finds
    • Green Mesh
    • Orange Mesh
    • Purple Lace
    • Pumpkins
    • Skulls
    • Gold Lace
    • String “web” (that became flowers – sorta)
    • Purple Spider
  • Received in a PocketLetter
    • Bird/Birdcage
    • Small black spiders
    • Wood Skull Key
    • the string “web” at the bottom
  • unknown
    • bluish-black glitter