Creative Embellishments May 2020 Challenge-Steampunk Card

Hey, all! This is the last project I’m doing for May, but I’ll be back on June 1, 2020 with the Tres Jolie Kit Club Reveal!

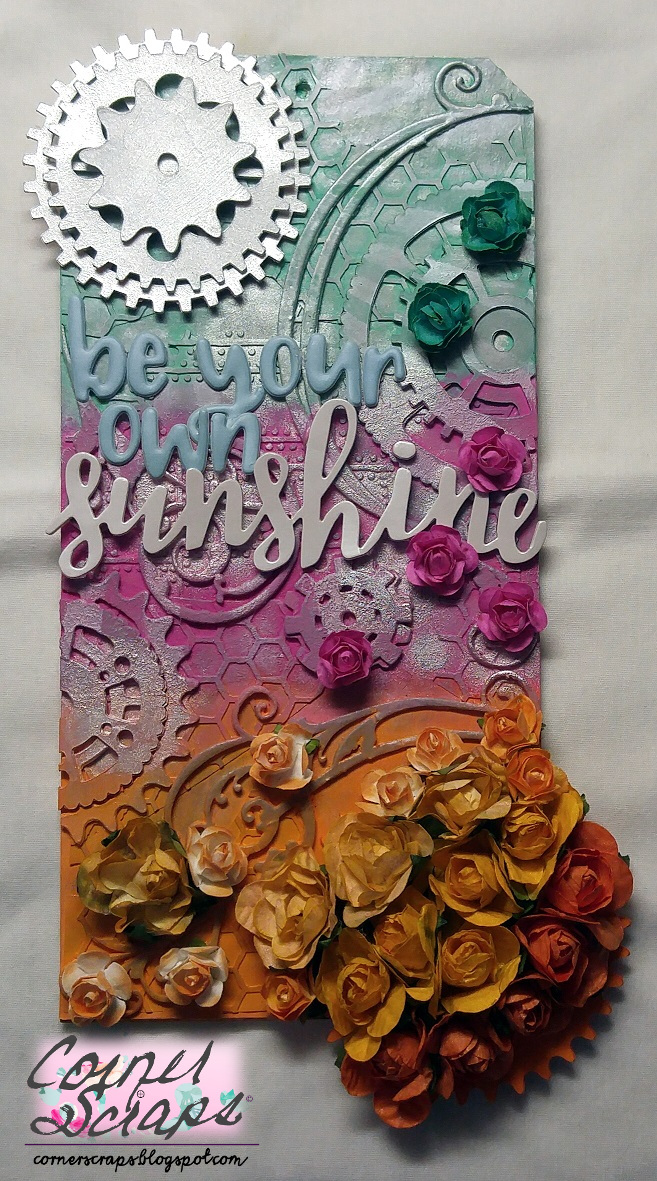
Today I have a steampunk card I created for the May Challenge over on the Creative Embellishments Blog.

20200530_123729-wm

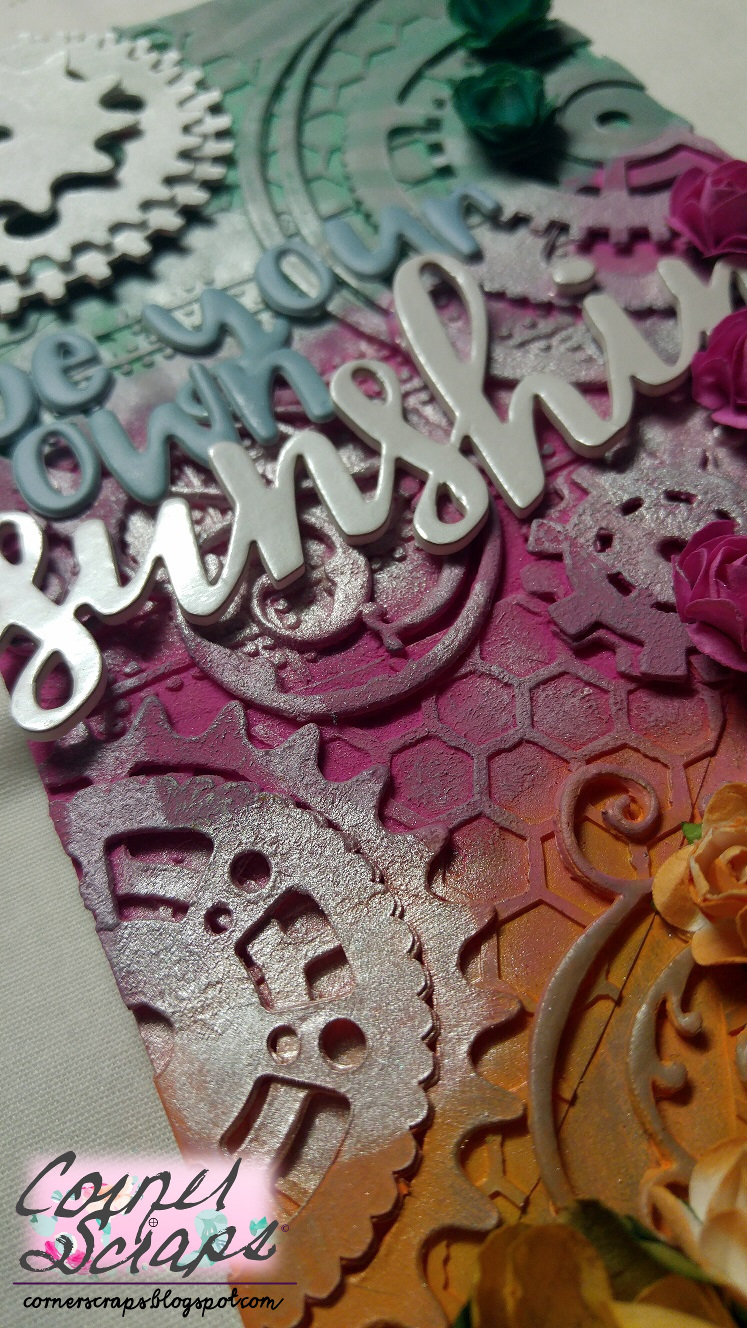
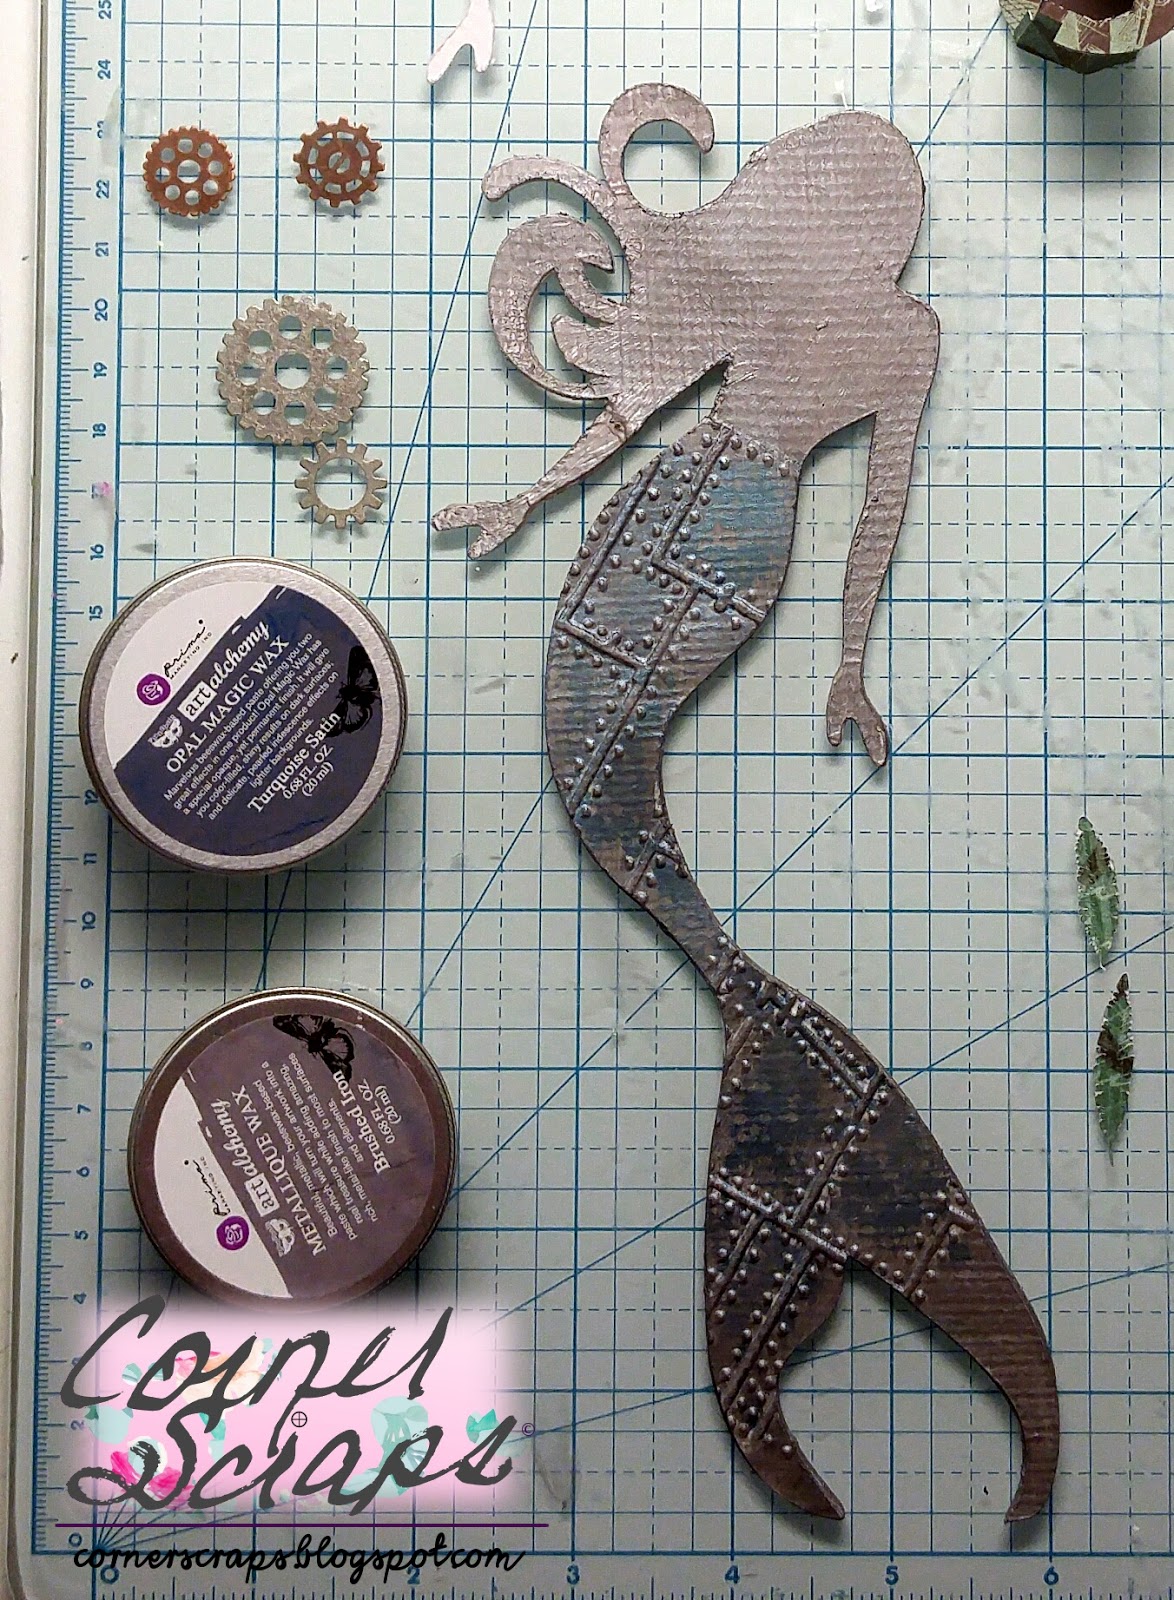
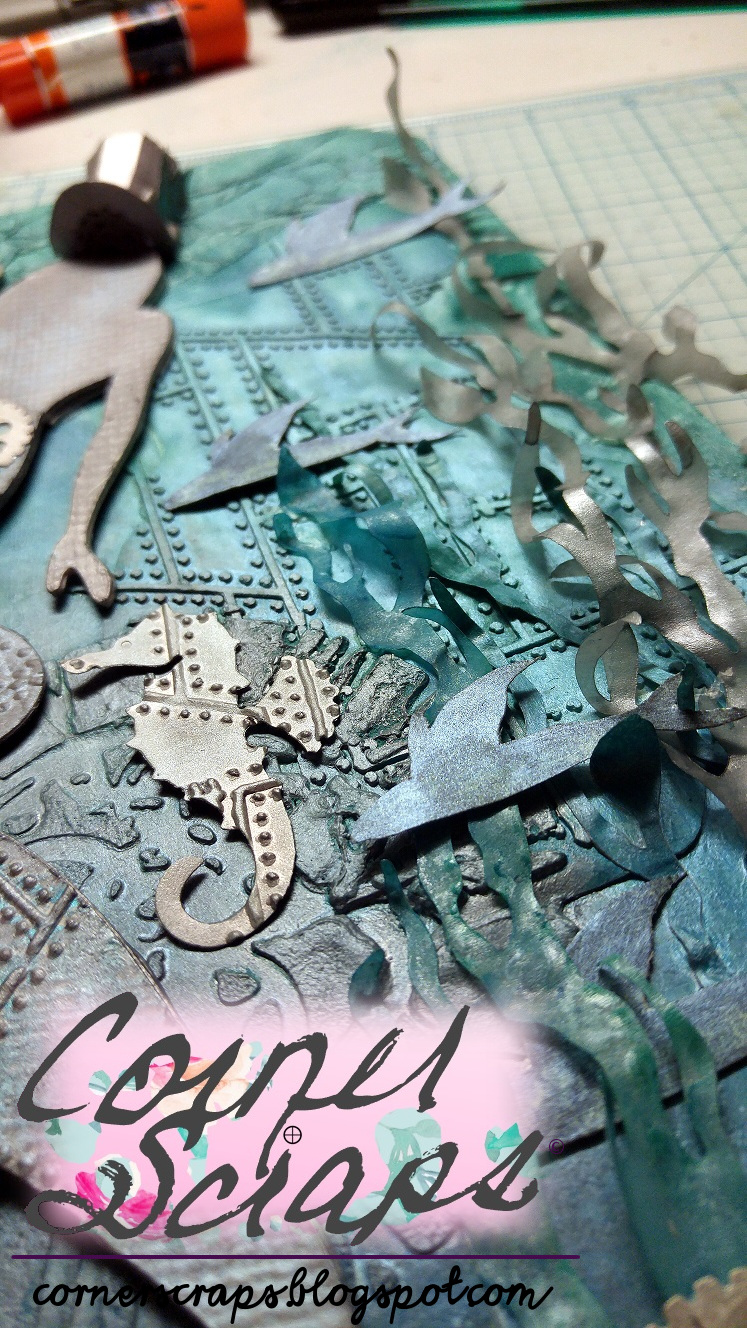
I don’t know what I’ll be doing with the card yet, but it’s good to have some one hand! Or so I’ve heard, I’m not a real big card maker, I find them difficult to do! But I’m happy with how this one has come out! All of the chipboard gears, the ATCoins, and the Circle Shaker Set are from Creative Embellishments, I just added the Patina and Rust Effect Pastes to go with my old, DCWV paper.

may-challenge

Creative Embellishments Challenge Inspiration – Twist: Use Numbers


Check out my quick process video!


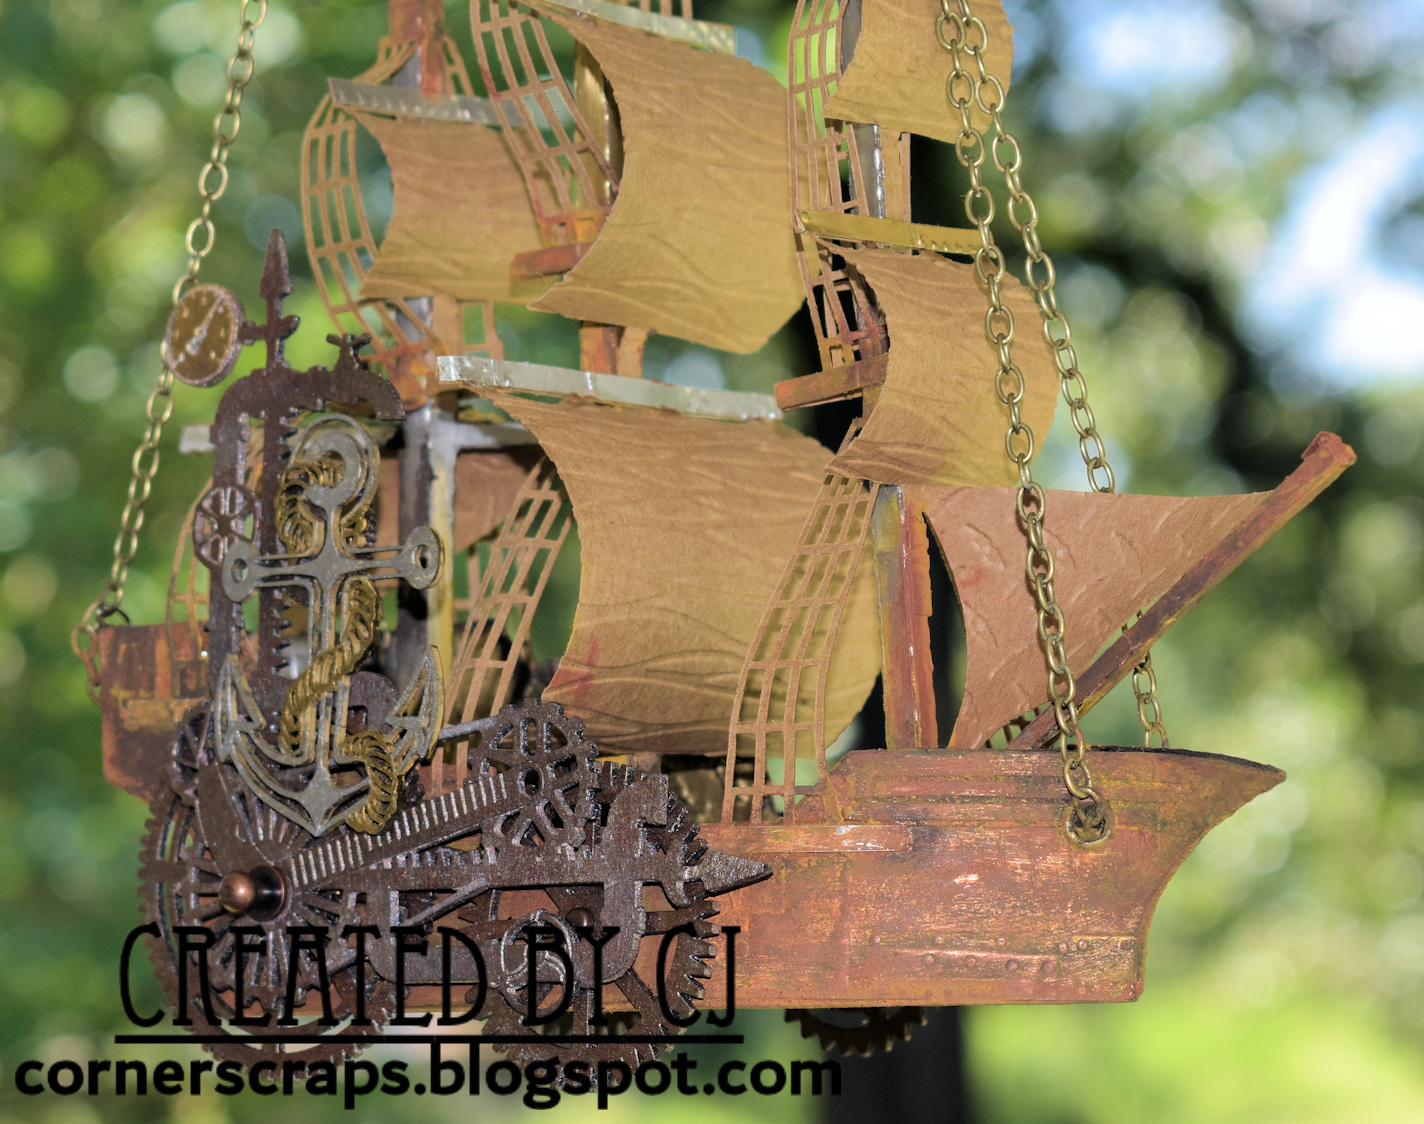
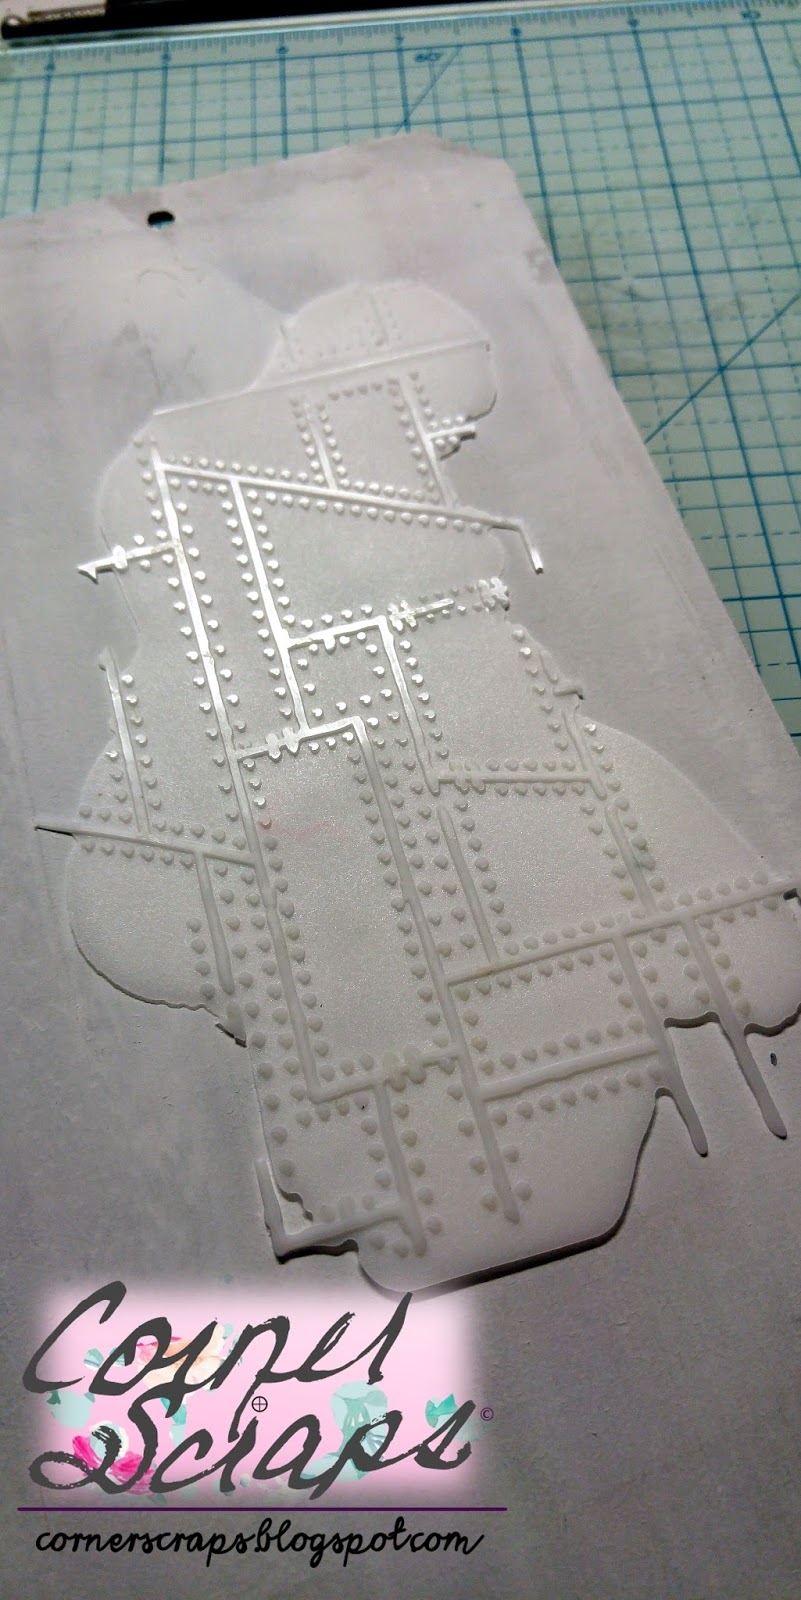
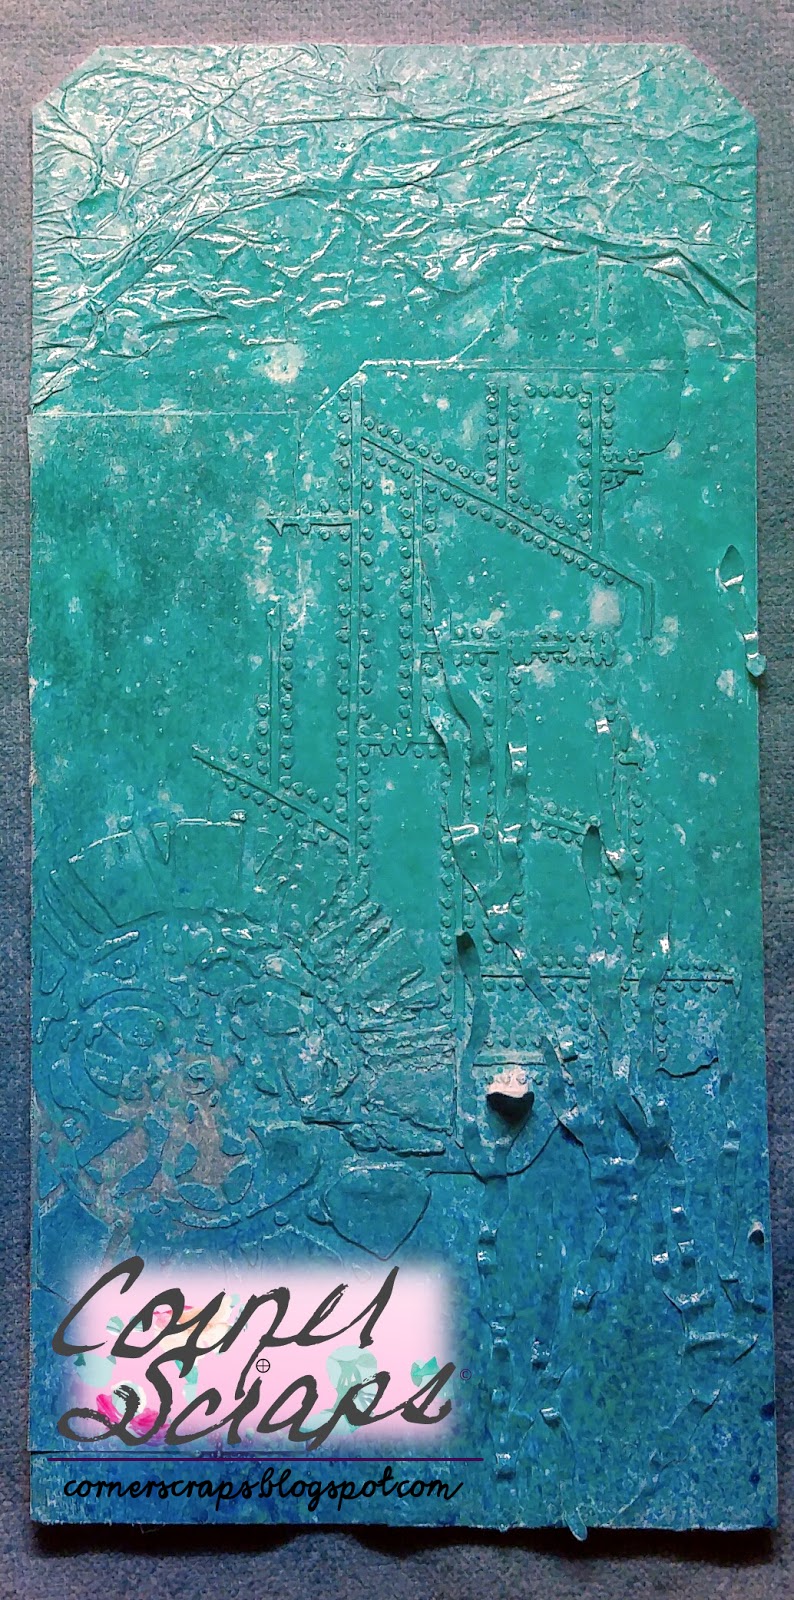
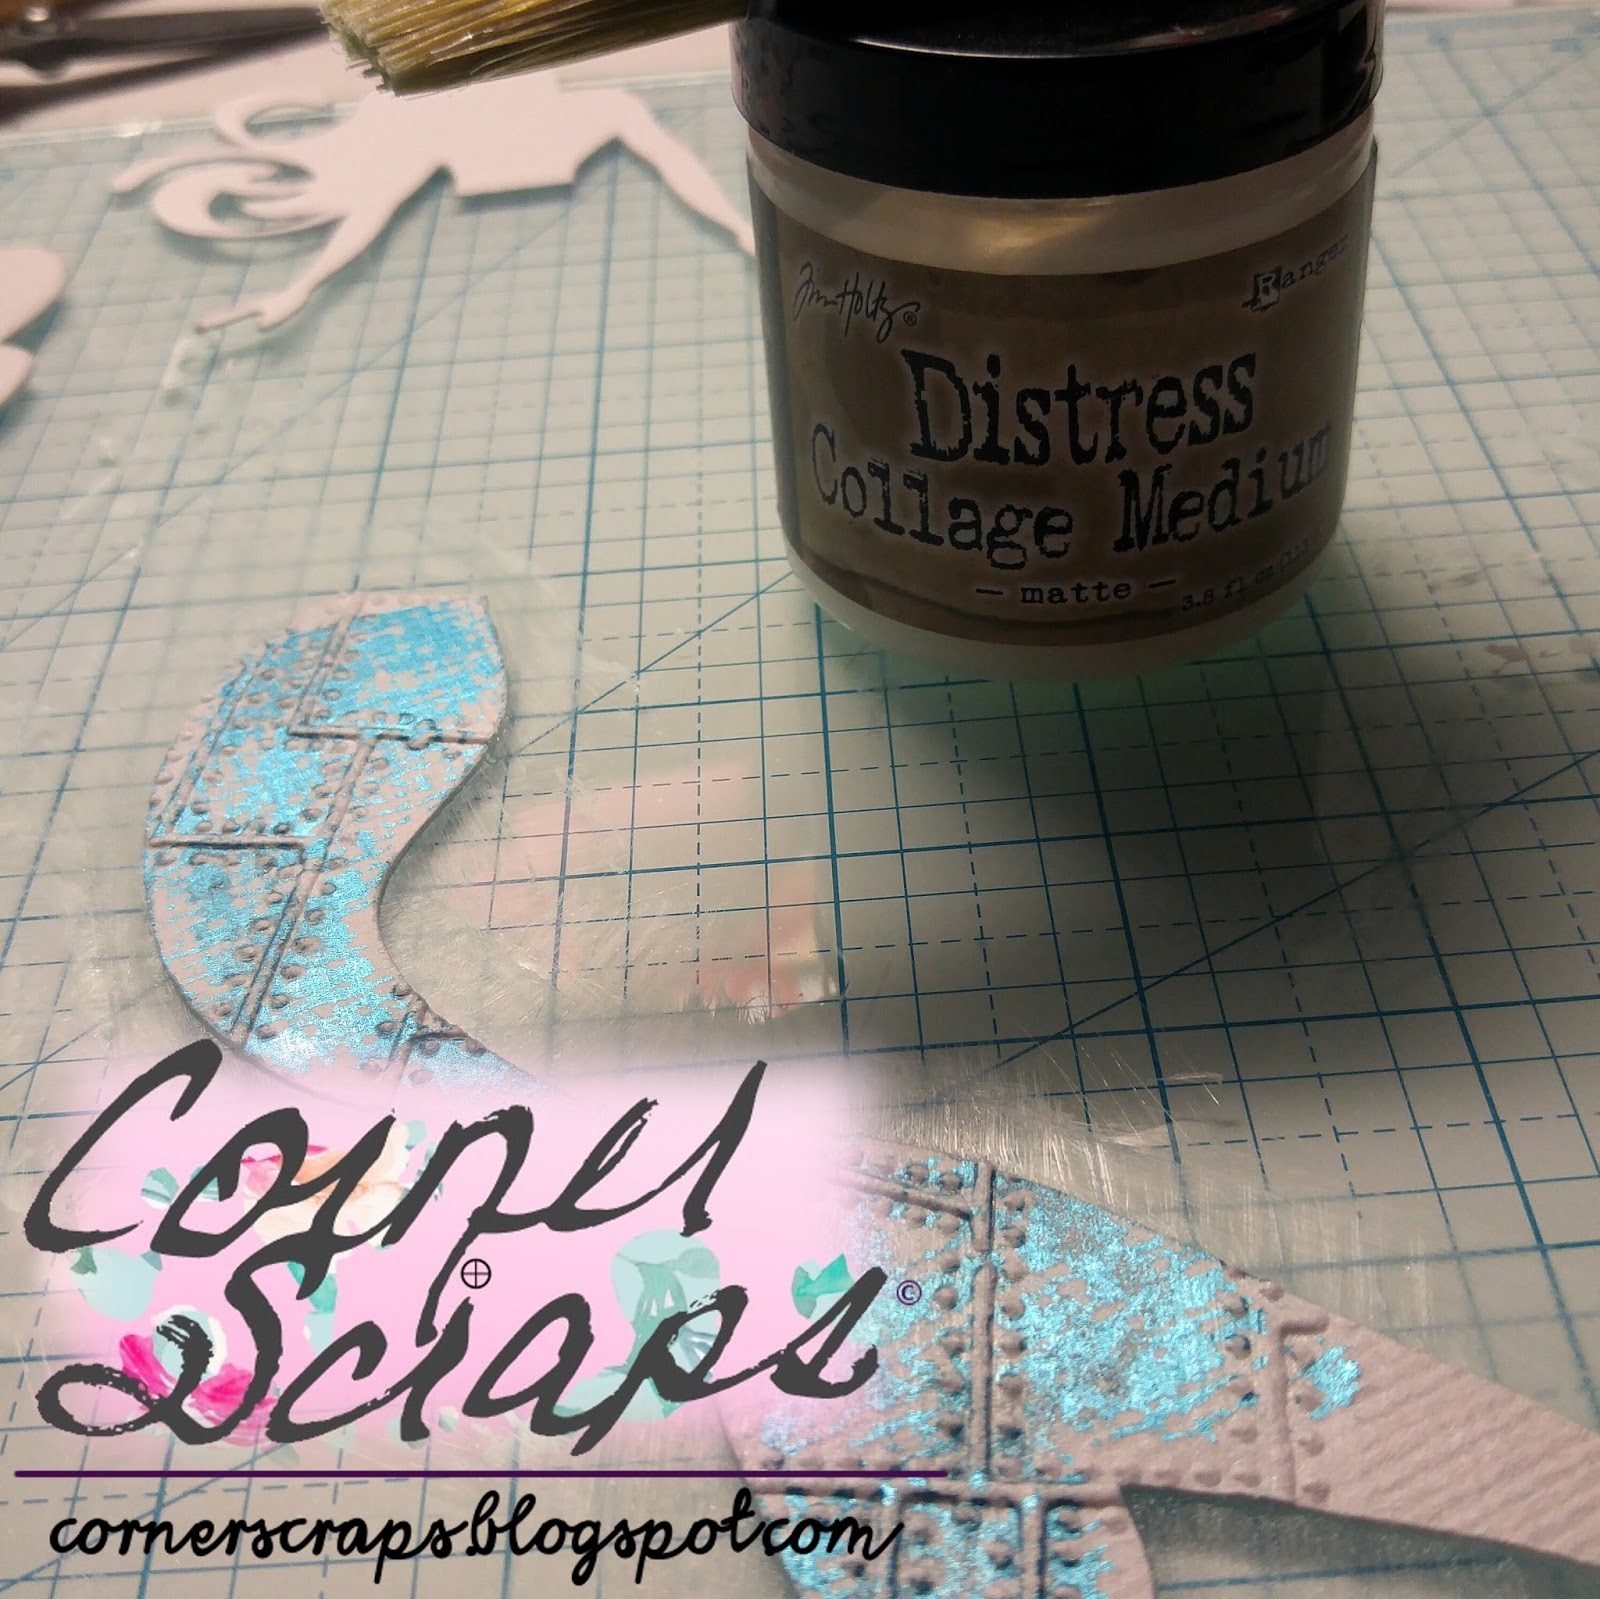
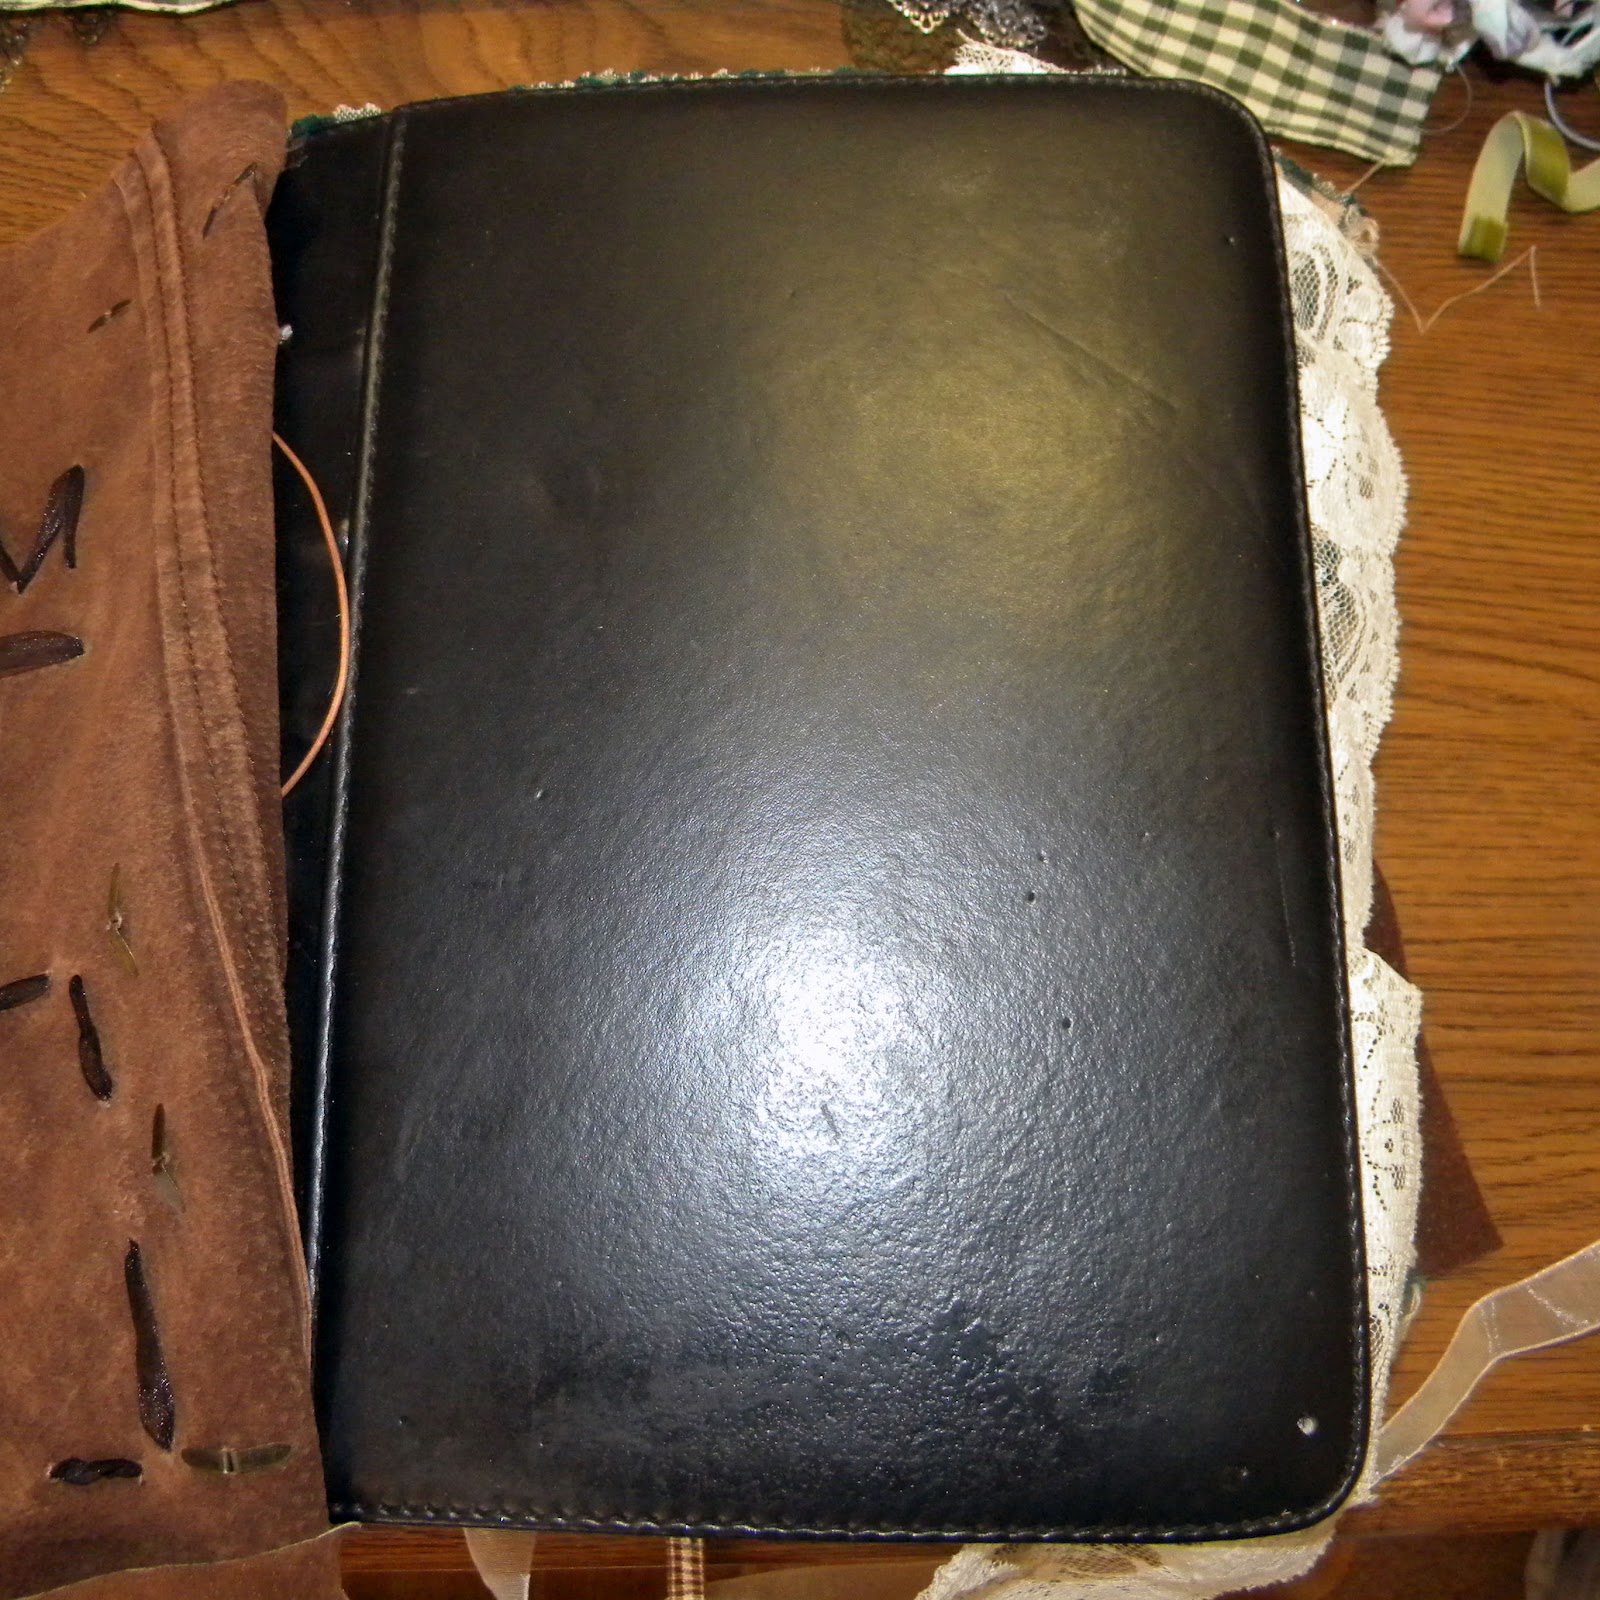
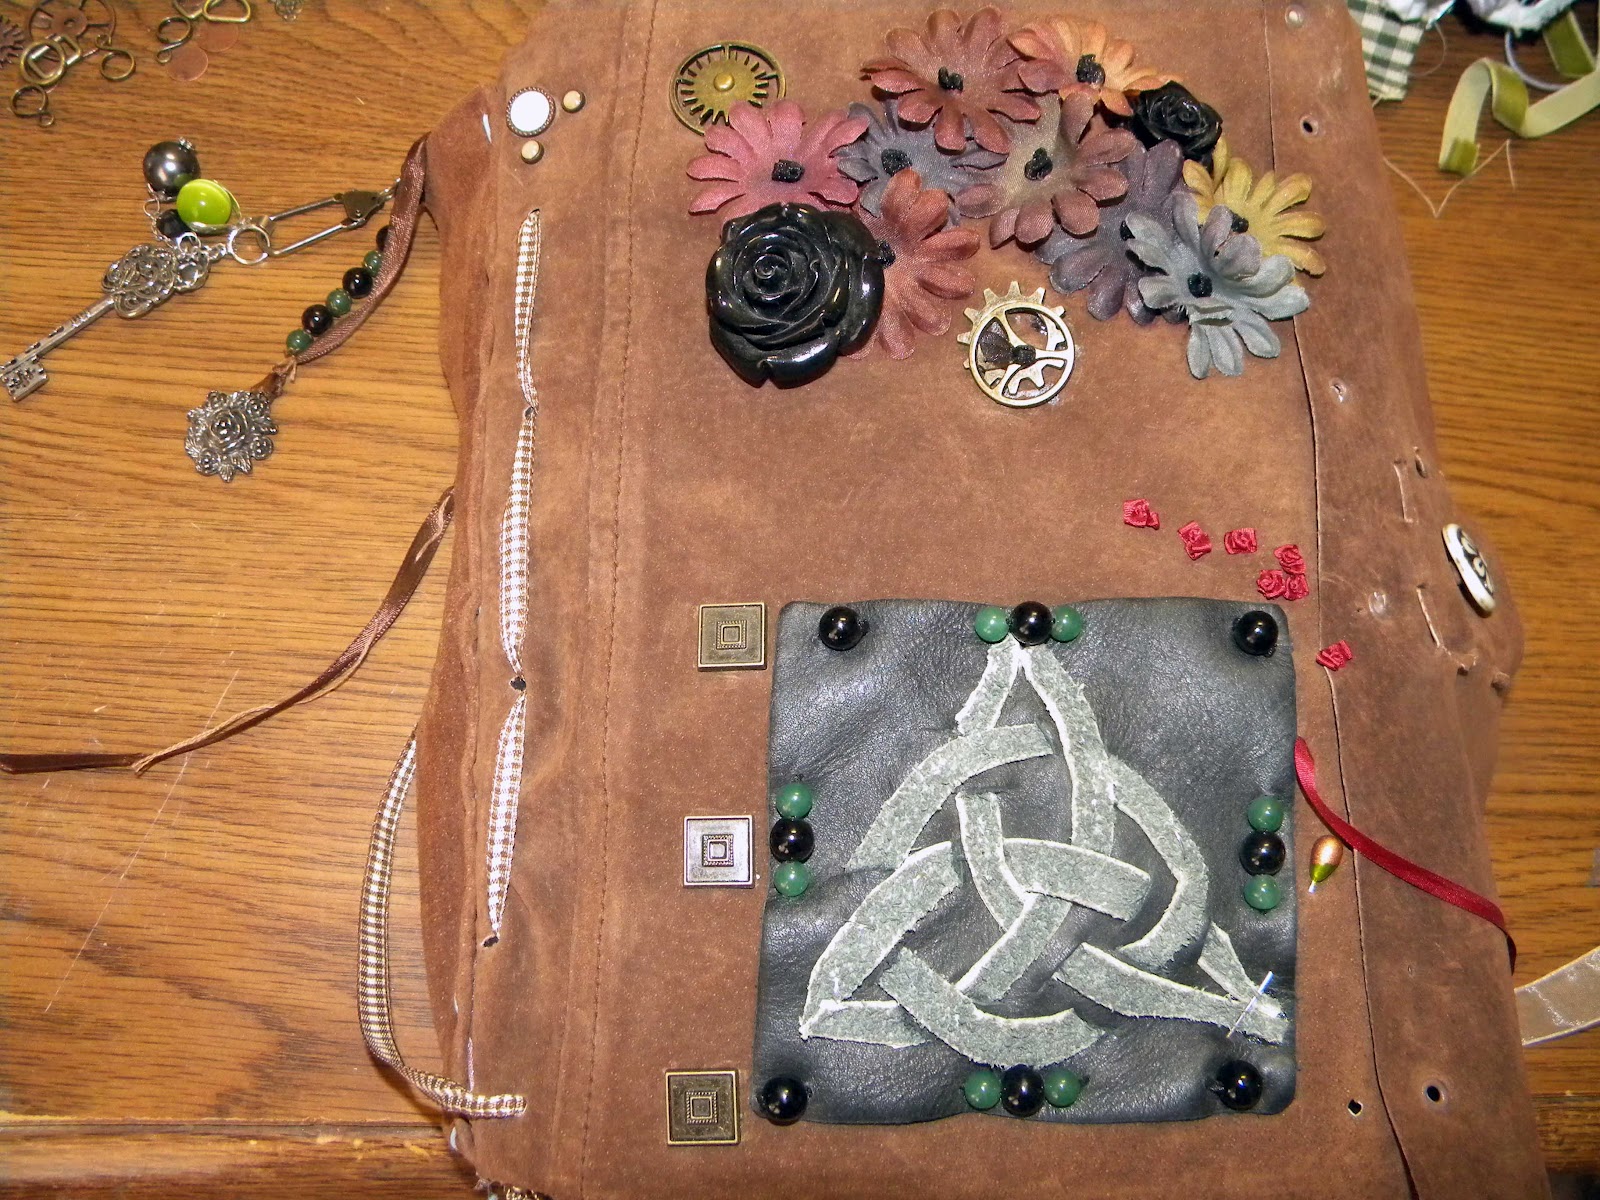
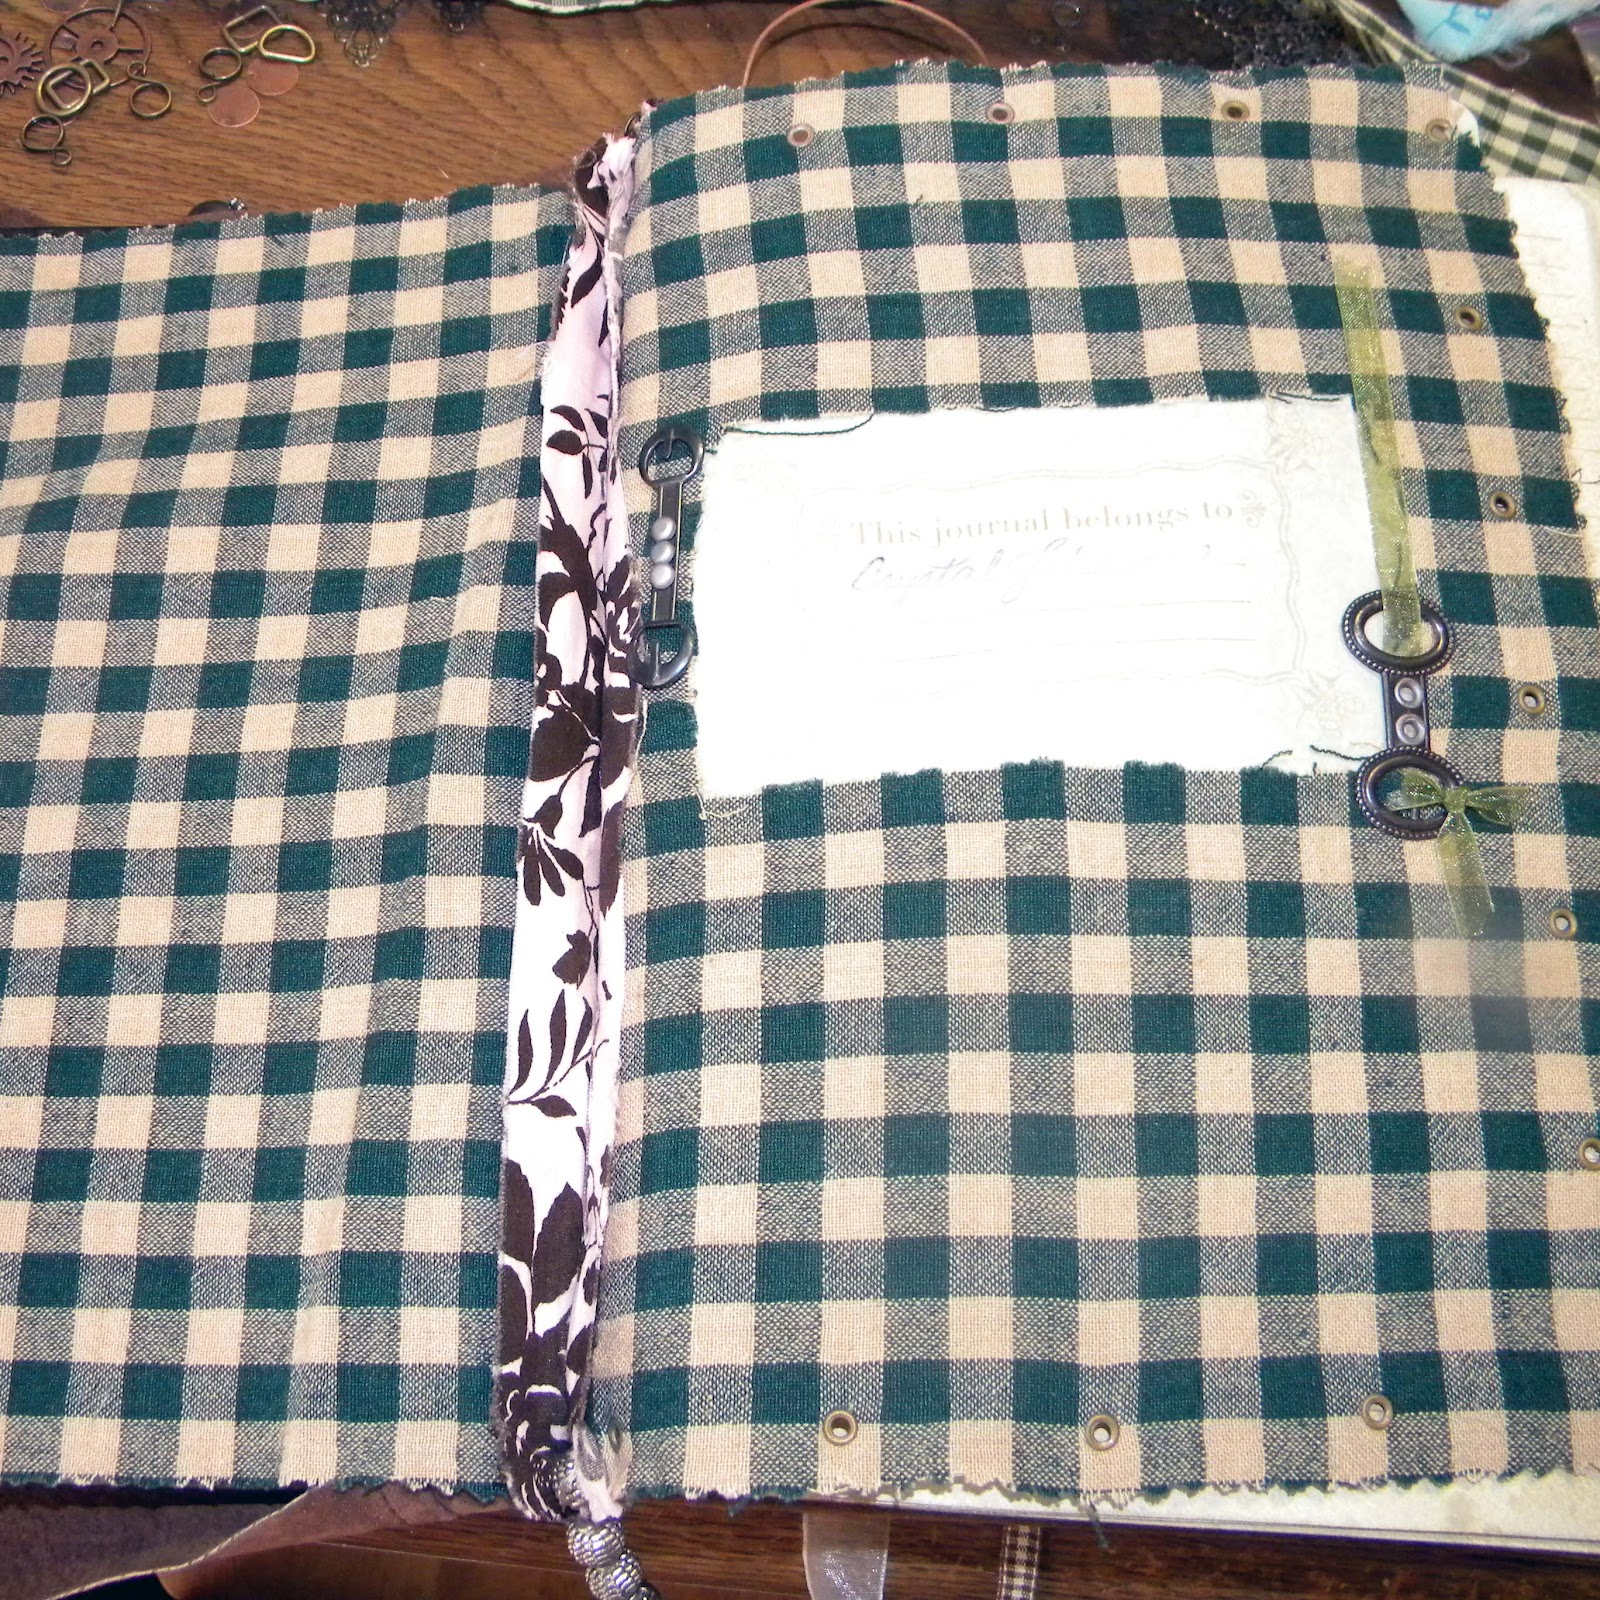
Now for a few close-ups:

20200530_123751-WM 20200530_123820-WM
20200530_123740-wm 20200530_123801-WM

I always say “that was easy” after I finish a card, but I always have trouble getting myself to make another one! Maybe I’ll slowly (likely very, very slowly!) start making more!
I hope you enjoyed this card & thank you for joining me here in my corner!


Products:

Creative Embellishments – “Circle Shaker Set,” various “Gear Sets” for all of the chipboard gears, and “Steampunk Artist Trading Coins,” Stamperia Rice Paper (DFSA4242), ReneaBouquets – “Bronzed Teal” Beautiful Beads, Prima/Finnabair Rust Effect & Patina Effect Paste Sets, Prima/Ingvild Bolme Tiny Junkyard Findings “Nailheads” & “Special Screws,” DCWV “Tattered Time” Cardstock, Little Birdie “Caribbean Teal” Tinted Metallic Paint, Emerald Creek/Seth Apter Baked Texture “Vintage Beeswax,” Simon Says Stamp Clear Embossing Ink, Heidi Swapp Wood Veneer, Tim Holtz Distress Collage Mediums “Matte” & “Crazing,” Copper Thread, Unknown “Blue Metallic” Microbeads, Unbranded Metal Gears, Liquitex Black Gesso, BEST 1” Double Sided Tape, FabriTac, Art Glitter Glue, E6000, EK Tools Score Board, Tim Holtz Mini Snips, Spellbinders Tool n One, Ranger Heat-It

Tres Jolie Kit Club-May 2020 Mixed Media Kit-Butterfly Reels

Hey, all! Welcome back to my blog! Today I am bringing you my “Butterfly Reels” project where I used three of the VHS reels, the mediums, and the package of Prima Mechanicals, along with items from my stash, to build this steampunk piece!DSC_0008-FRAMED

I am very happy with how this piece came out! I love mixing the patina and rust effect with the non-aged look of the reels and flowers! Check out the video to see the whole process!


Video:


DSC_0030-FRAMED

In the above photo you can see the ripples created by the paint pour!

DSC_0027-FRAMED

I love Prima’s Rust Effect Paste, and I’m glad I had some on-hand to use with the Mechanicals from this month’s kit! Plus, those butterflies were what I had left from the March Mixed Media Kit!

DSC_0029-FRAMED

I knew parts of my chipboard would overhang, so to give it some extra stability I used “Prima Sculpture Medium” before adding the Rust Effect Paste!

DSC_0031-FRAMED

The longest parts of this project were all the drying times, so I would just set it aside while the glues and mediums dried so I could work on other projects! My final touch was adding some Teal Glass Beads from ReneaBouquets on top of each stack of Mechanicals!


May 2020 Mixed Media Kit

Mixed Media Kit

In addition to items from this months kit (*From previous Tres Jolie Kits), I used:

Prima Rust Effect Paste Set (Brown, Gold, and Red Rust), All chipboard received from a swap with Toni, *Prima Finnabair Mechanicals “Scrapyard Butterflies,” ReneaBouquets Glass Beautiful Beads “Teal”,” Liquitex Pouring Medium, Dina Wakley Cell Creator, Prima Sculpture Medium, Liquitex Matte Super Heavy Gel, JudiKins Diamond Glaze, E6000


Did you get a kit? Share what you made in our Facebook Group!

Thank you for joining us here at Tres Jolie Kits!


Tres Jolie can be found at the following places:

Facebook: https://www.facebook.com/groups/121919621993809/

Instagram: https://www.instagram.com/tresjoliekits/

Tres Jolie website: https://tresjoliekits.com/

Tres Jolie subscriptions: https://tresjoliekits.com/services/

Tres Jolie blog: https://tresjoliekits.com/blog/

Tres Jolie YouTube: https://www.youtube.com/channel/UCVBFOOKxZzsXs2tl4MMqSKg?view_as=subscriber

Tres Jolie Kit Club–May 2020 Mixed Media Kit–Grunge Canvas

Hey, all! Welcome back to my blog! Today I am bringing you my first official project of the month using the May Mixed Media Kit from Tres Jolie Kit Club! (I say official because some of the mediums made their way onto my projects for the iNSD challenges over this past weekend!)

For my first project I made a Steampunk/Grunge piece using the canvas, the mediums, one of the VHS reels, and the pack of Prima Trinkets.

DSC_0012-FRAMED

My thought process for the coloring was rather simple! I was just sitting and staring at the mediums and ended up thinking “Yellow & Blue make Green!” Or in this case, gold and blue make teal!!

Check out the video to see how I put all this together:


Now, how about some close-ups?

DSC_0014-FRAMED DSC_0020-FRAMED
I made built up some texture paste at the upper left and lower right corners before adding the wax and paint! I had a mix of chipboard and metal embellishments, but brought them together with paint!
DSC_0022-FRAMED DSC_0026-FRAMED
I stacked and stacked to give dimension to my canvas and added three contrasting Prima Pebbles as a final touch! Even though I have a lot of different textures, keeping with the same color as the paint kept it from being overwhelming!

DSC_0021-FRAMED

I hope this project gave you some ideas of what you can do with items from this month’s Mixed Media Kit! I’ll be back on YouTube and the blog on the 15th with another Mixed Media project! Keep an eye out for projects from the other Tres Jolie Designers! And don’t forget to visit the Tres Jolie Kit Club Café and check out the sketch and mood board challenges!


May 2020 Mixed Media Kit:

Mixed Media Kit

In addition to items from the kit (*Items from previous Tres Jolie Kits), I used:

*13@rts Modeling Paste, *13@rts White Gesso, ReneaBouquets Candy & Beautiful Beads in Teal, Glass/Rock [looking] shards from Monica, *Prima Melange Sugar Art Pebbles – Multicolored,

Creative Embellishments Gear Set 2 Small; Large Gear Set; Steampunk Clock; *Lightbulbs; Grunge Harlequin Piece; Distress Punchinella; the monocle, but I don’t know if CE still has it available, I couldn’t find it!, *Texture Powder, FabriTac, Liquitex Matte Super Heavy Gel, Prima Silicone Brush, ModPodge Gloss & Matte Spray Acrylic Sealers, JudiKins Diamond Glaze.


Did you get a kit? Share what you made in our Facebook Group!

Thank you for joining us here at Tres Jolie Kits!


Tres Jolie can be found at the following places:

Facebook: https://www.facebook.com/groups/121919621993809/

Instagram: https://www.instagram.com/tresjoliekits/

Tres Jolie website: https://tresjoliekits.com/

Tres Jolie subscriptions: https://tresjoliekits.com/services/

Tres Jolie blog: https://tresjoliekits.com/blog/

Tres Jolie YouTube: https://www.youtube.com/channel/UCVBFOOKxZzsXs2tl4MMqSKg?view_as=subscriber

Dragonfly Express

The Dragonfly Express! (This photo was taken in full sunlight.)
This project actually had two sources of inspiration. The first was the ReneaBouquets June 2019 Mood Board Challenge, the second inspiration was the Creative Embellishments June 2019 Challenge. (Both sources of inspiration are below) I actually saw the Creative Embellishment challenge first, and I have a thing for hot air balloons. A looking at them from the ground thing, not an actually getting into one thing.
Anyhow, I also really wanted to use this dragonfly I had been working on, and a hot air balloon doesn’t need any help flying, so it (slowly) transformed into a flying ship! Besides the flying in the Creative Embellishment inspiration, I also love the whimsy of the image, and the Ferris wheels made me think of actual wheels!
Creative Embellishments Inspiration
ReneaBouquets Mood Board

Process Video:

The following photos were taken in a more shaded area, because my front porch had a convenient hook I could use to get some greenery in the background and not have to hold the project in one hand while shooting with the other! LOL!!

ReneaBouquets Glass Microbeads for the dragonfly’s eyes and ReneaBouquets Beautiful Beads on top of the masts.
ReneaBouquets Tiny Anchor and Creative Embellishments Pipes and Gears pieces.

And here are some photo of the dragonfly while it was still grounded! [Note: I found the dragonfly in my yard, buried in the dirt by a tree, apparently left by the previous owners. It was shortly after finding it that I came across a Finnabair DT members (I think) post in Instagram who used Finnabair’s Leaves to build butterfly wings (I think it was a butterfly) and a solution to my broken wing dragonfly was born!]


Products:

  • Ship
  • ReneaBouquets
    • Beautiful Board 
    • Tiny Nautical Anchor Laser Cut Chipboard
  • Beautiful Beads
    • Magic Stones
  • Creative Embellishments
    • Steampunk Pipe Corner
    • Gear Cluster Set
    • Gear Cluster Set 2
  • Ranger
    • Tim Holtz
    • Distress Oxide
    • Hickory Smoke
  • Distress Spray Stain
    • Rusty Hinge
  • Dylusions
    • Ink Spray
    • Melted Chocolate
  • Heidi Swapp
    • Color Shine
    • Tinsel
      • idea-ology
        • Tim Holtz
        • Metallic Kraft – Stock
        • Hitch Fastners
      • Prima
        • Finnabair
        • Rust Effect Paste
        • Brown Rust
        • Red Rust
        • Gold Rust
      • Metallique Paint
        • Rustic Brown
      • Metallique Wax
        • Brushed Iron
        • Bronze Age
        • Vintage Gold
      • Opal Magic Wax
        • Turquoise Satin
      • Sizzix
        • Big Shot Pro
        • Tim Holtz
        • Embossing Folders
        • Waves
        • 3D Foundry Metal
        • Riveted Metal
        • Diamond Plate
      • Silhouette 
        • Cameo 3
        • Premium Blade
      • Nicapa Cutting Mat
      • Best
        • Double Sided Tape
      • Spellbinders
        • Tool ‘n One
      • We R Memory Keepers
        • Crop A Dile
      • JudiKins
        • Diamond Glaze
      • Art Glitter Glue
      • Liquitex
        • Clear Gesso
        • Black Gesso
        • Matte Super Heavy Gel
      • Apple Barrel
        • Black Matte Paint
      • Unknown/Unbranded
        • Fishing line (used for hanging)
        • Kraft Cardstock
        • Chain
        • Eyelets

        • Dragonfly
        • ReneaBouquets
        • Glass Microbeads
        • Black
      • Prima
        • Finnabair
        • Mechanicals
        • Woodland Leaves
      • Mould
        • Mechanica
      • Opal Magic Paint
        • Rose-Gold
      • Metallique Paint
        • Royal Blue
        • Romance Pink
      • Opal Magic Wax
        • Vintage Silk
      • Metallique Wax
        • Bronze Age
      • Wax Cire Cera
        • Indian Pink
        • Blue Lagoon
      • Rust Effect Paste
        • Brown Rust
        • Red Rust
        • Gold Rust
      • idea-ology
        • Tim Holtz
        • Swivel Clasp
      • Ranger
        • Glossy Accents
      • JudiKins
        • Diamond Glaze
      • Creative Paperclay
      • Amazing Cast Resin
      • Liquitex
        • Black Gesso
      • Unknown/Unbranded
        • Gears

        be your own sunshine

        I saw a piece of paper (I’ll show that later) that inspired the coloring of this tag. Plus, Simon Says Scrap’s current Wednesday challenge is “Summer Sunshine.” Add to the mix a quote I saw that said, “Sometimes you have to be your own sunshine,” and a tag was born.

        The flowers didn’t come out exactly how I had hoped, but sometimes that just happens!

        I started out with a piece of cardboard cut to a size 12 tag (10 1/2″ x 5 1/4 I think…I have a template so I don’t always have to measure or remember!) and I coated it thickly with white acrylic paint.

        My tag base

        After that I started gathering supplies I thought I might use and picked out colors I thought could be used to try and recreate the color and design of this piece of Echo Park paper! (I received mine in the July Card Kit from Simon Says Stamp, now to make a card with it!)

        The paper that inspired it all!
        Smooshing paint into all the crevices!

        The honeycomb and riveted metal are from using Amazing Casting Resin in Tim Holtz’s embossing folders (Watch a technique video here!). The flourish’s are from a flourish circle I had cut out a few years ago with my Cameo. It was multiple layers of cardstock that didn’t get glued together quite right, and was painted a light pink. I finally decided it was time to either use it or toss it! And, all of the gears on this project came from the Silhouette store.

        Lots of ink & paint & Metallique Wax & Perfect Pearls on here!

        After I painted everything, added some “Old Silver” Prima Metallique Wax randomly then I went back over with matching/coordinating Distress Oxides. After all that was dried I used a Crafter’s Workshop 12 x 12 Template (“Sunburst”) for the rays, and a circle stencil I made a while back for the…umm, circles.

        All the shine on the gears for the “sun” is from Perfect Pearls “Perfect Pearl.” The sun rays are Delicata “White Shimmer” Pigment Ink.
        More Perfect Pearls for the circles!

        Lots of “mulberry” type flowers sprayed with a variety of colors! For the oranges I mixed “Carved Pumpkin” Distress Stain with some Perfect Pearls “Perfect Pearl” and “Pewter.” The different shades of yellows and oranges is due to the original colors of the flowers. The pink flowers are from Shimmerz Coloringz “Pink Stilettos,” and the mint is from Heidi Swapp’s Color Shine “Sweet Mint.”

        Product List:

        • Silhouette Cameo
        • Amazing Cast Resin
        • Pink Paislee: Take Me Away Collection: Thickers with Foil Accents: Phrases: “Dream”
        • Hip Kit Club Exclusive Alpha (May 2017 Main Kit)
        • Shimmerz: AcriTonez – Pinkadelic; Coloringz – Pink Stilettos
        • Perfect Pearls: Perfect Pearl & Pewter
        • Tsukineko Delicata: White Shimmer
        • White acrylic paint
        • Heidi Swapp Color Shine: Sweet Mint
        • Tim Holtz Distress Paint – Carved Pumpkin & Cracked Pistachio; Distress Spray Stain – Carved Pumpkin; Distress Oxide – Wild Honey, Cracked Pistachio, & Picked Raspberry; Embossing Folders – Riveted Metal & Honeycomb
        • Ranger Mini Mister
        • Prima Art Alchemy Metallique Wax: Old Silver
        • “Mulberry” type flowers

        Mermaid Tag

        Steampunk Mermaid Tag

        I came across the June Challenge over at Creative Embellishments and decided I would play along! Of course I came across it the afternoon of the 28th, giving me about 2 1/2 days to think up a project and complete it! I made it, with about 50 minutes left! Edit: Although the challenge said it closed at 11:55pm EST, when I tried to add my link, it was already closed, at only 11:16pm EST. I wish I had some of Creative Embellishments products to add to my tag, thankfully it wasn’t a requirement! I do now have another place to go shopping, I’m sure the hubs will love that! LOL

        Background ready for color!

        I started out with a #12 tag that I made using some think chipboard and an industrial paper trimmer! (The hubs used to use it to cut aluminum for seamless eaves-troughs AKA: the gutters on your roof!) I glued down some tissue paper, my “sheet-metal,” a bit of paper, and some of my seaweed. I added my texture paste clock, then gave it all a good coat of white gesso.

        Amazing Casting Resin + Tim Holtz’s Riveted Metal Embossing Folder

        As a side note about how that riveted metal was made, go watch Mixed Media ATCs with Opal Magic Wax by Keren Tamir!

        Background misted and spritzed!

        After the gesso had dried on the background I used Distress Spray Stains: Cracked Pistachio and Mermaid Lagoon; Heidi Swapp Color Shine: Sweet Mint; Shimmerz Coloringz: Well Blue Me Down and Oh Say Can U Sea; and Shimmerz Vibez: Jeni B Bleu. I just sprayed rather randomly, drying between layers of colors, until I got what I wanted.

        My glue of choice this whole project, Tim Holtz Distress Collage Medium: Matte

        For my mermaid’s tail I used 140# watercolor paper, ran it through my Sizzix Big Shot using Tim Holtz’s Riveted Metal Embossing Folder, then used a glue stick to randomly give adhesion points for the Foil Transfer Sheets by Ranger (Vintage pack).

        Adding Prima Finnabair Art Alchemy Metallic and Opal Magic waxes to my mermaid!

        I didn’t have any real plan going in on where I was going to add which color of wax where, and I don’t think it makes a big difference! Rarely do my crafts have an all out plan!

        The Mermaid, Hat, and Seaweed all came from cut files found on the Silhouette Store!
        The fish were fussy cut from a paper in Graphic 45’s “Steampunk Debutante” Deluxe Collector’s Edition, the seahorses and sand dollar are a Spellbinders Die D-Lites set, some of the gears are from Bead Landing, and some have no (known) brand.

        The seaweed was cut from a sheet of American Crafts White Vellum, and sprayed with Heidi Swapp’s Color Shine: Tinsel or a combination of Heidi Swapp Color Shine: Sweet Mint and Shimmerz Coloringz: Oh Say Can U Sea.

        1st Altered Book

        I had been keeping this generic black pleather journal around for quite some time but I always knew it was missing something. That something was apparently me getting the idea to alter it, originally inspired by various “Steampunk” journals I had seen. The most I had ever written in it was my name for “This book belongs to:” and a couple of thoughts on the first two pages. That was it!! Now I am going to make it something more. Over the past year I have taken a major turn toward traditional healing a.k.a. herbal healing. I got tired of seeing “if you or a loved on took this medicine and is now dead or permanently messed up you may be entitled to compensation.” Money isn’t going to return quality of life. Anyhow, being someone who is required to have some sort of medication on a daily basis I went back to nature, and this is going to be my “recipe” book.

         This is the new front cover. Some fabric flowers that I used Tim Holtz Distress Ink on … they used to be much brighter colors! A couple of resin black roses, some Tim Holtz gears, a few brads … Also, I did make that leather Triquetra on my own! I cut the slits on the background leather and wove the other strips of leather through. I am currently adding some silk ribbon embroidery to the cover as well. And yes, I am covering the pleather with leather … well suede.

         Inside the front cover with my “This book belongs to:” window in the fabric. I had to add this fabric because after all the treatment to the pages and spine I wanted to give a clean finish.

         This is at the very center of the book. Just some rub-ons for the flowers, some self-stick butterfly boarder, and some tissue tape.

         Blank pages. It was a long process of spraying and drying. And to help with the drying and aging I utilized my oven … and melted the glue in the spine … but I like it better this way, it’s more aged.