Hello Spring-June 2020 More Than Words Challenge-Hello and Doors & Windows

Hi, all! Welcome back to my little corner!

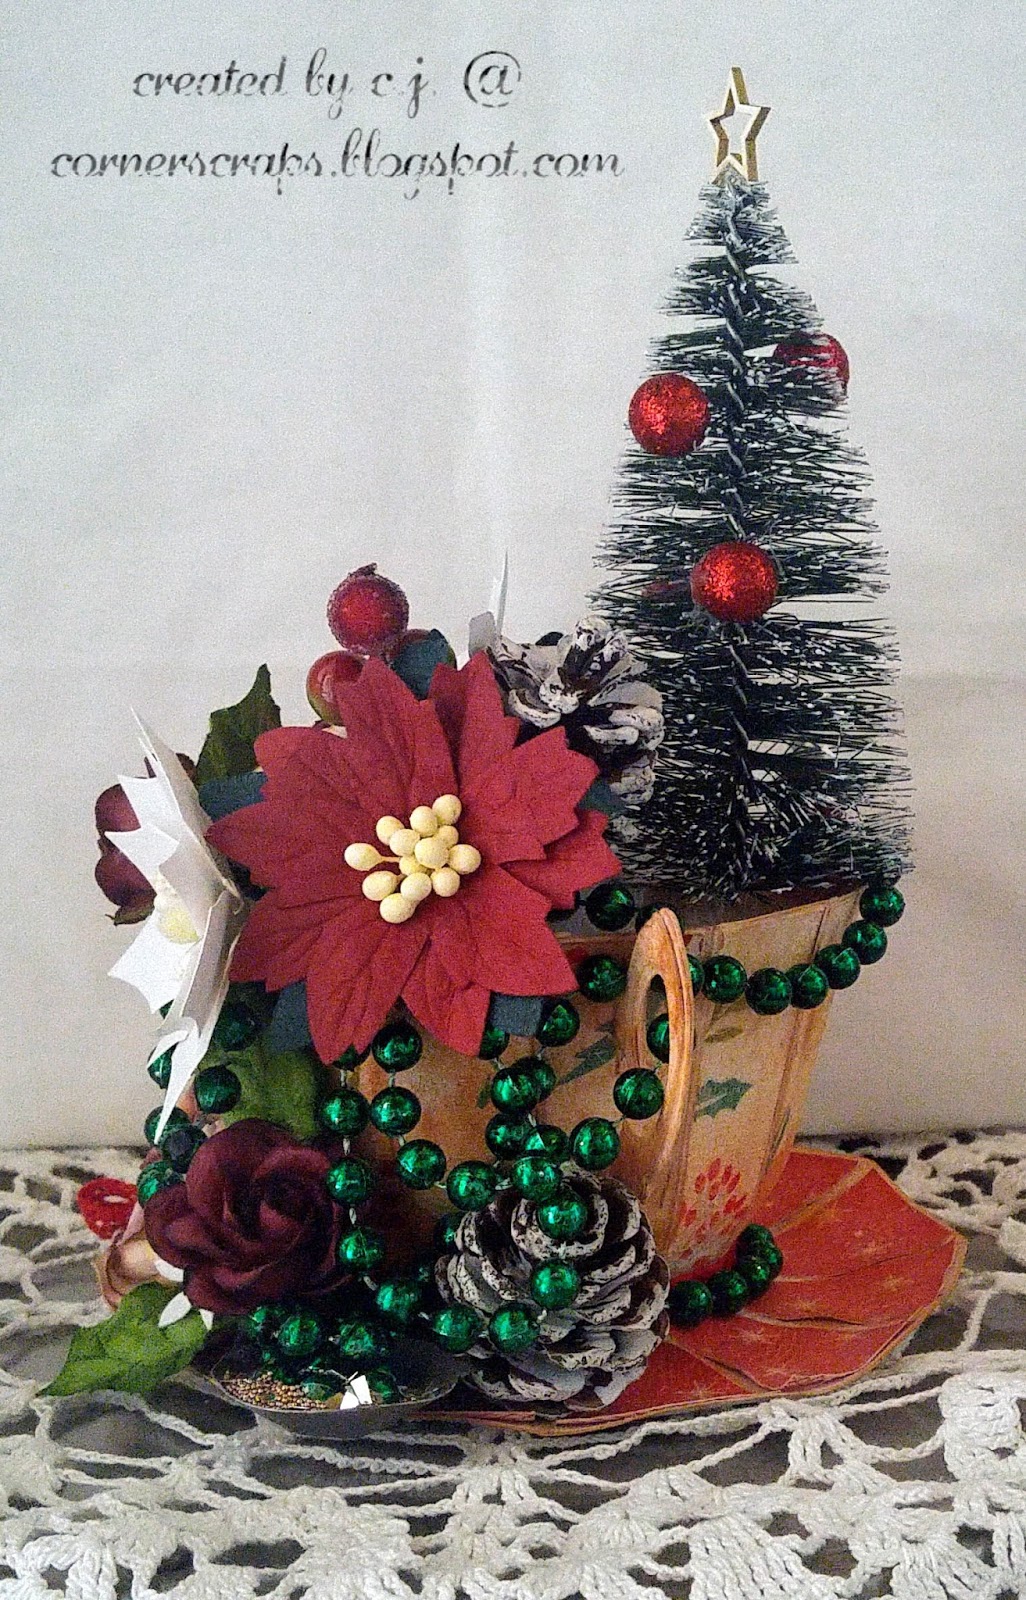
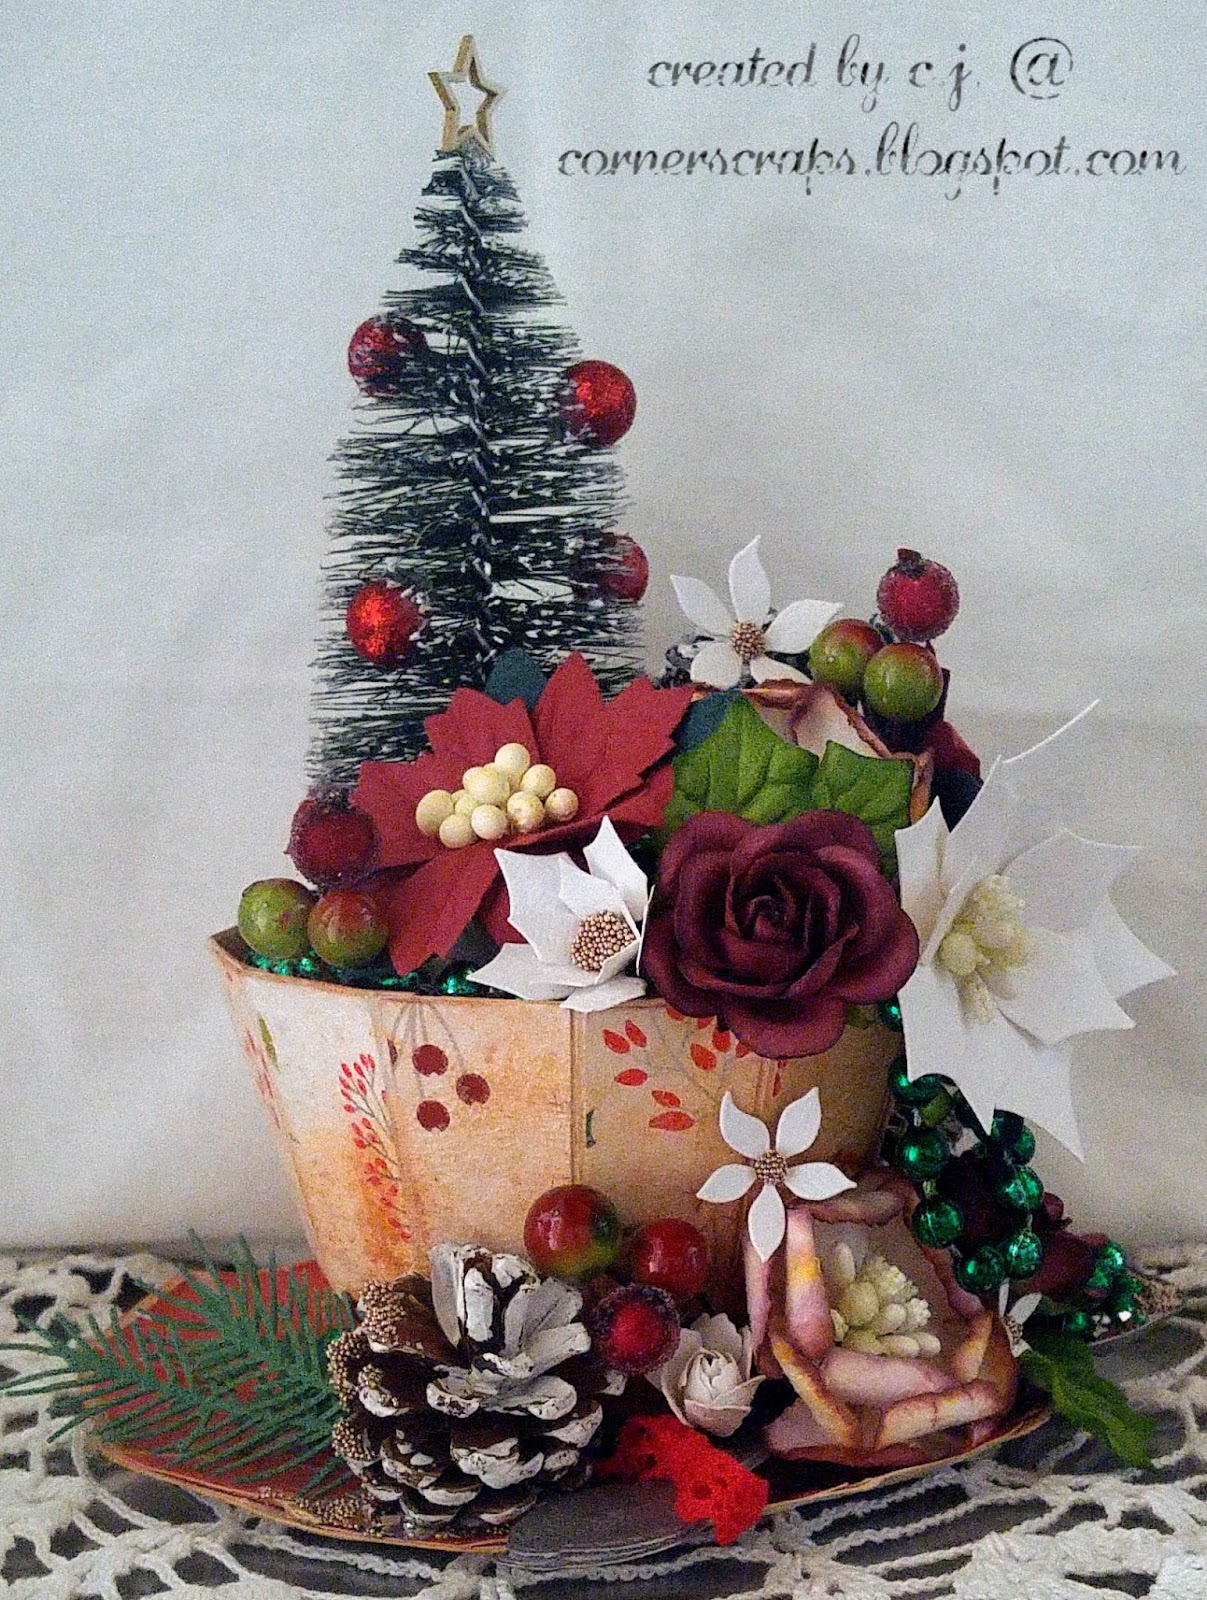
It took me three different background attempts to finally get this all together. This was one of those projects where I had an idea, but I was having trouble getting it from my head to my hands. I finally succeeded though, and I have my layout for the June Challenge (Hello and Doors & Windows) on the More Than Words blog.

DSC_0027-WM

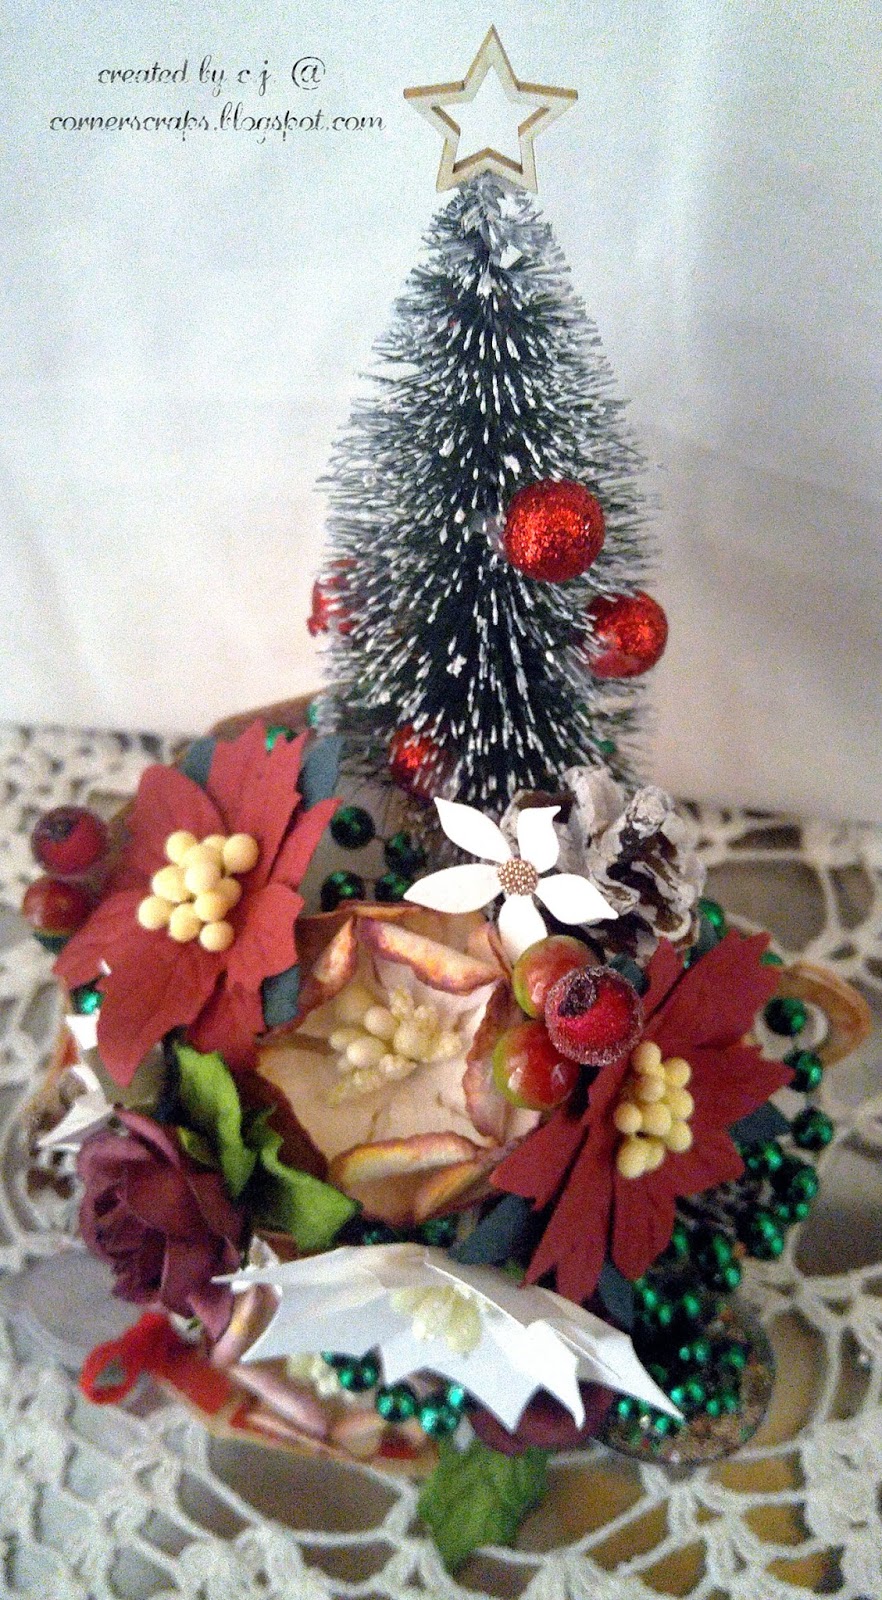
This month I added the word part of the challenge right to the photo with my title. The photo is very representative of “hello spring” because I took it in March 2019 when I was walking to my mailbox one afternoon. My driveway is a half-mile long, and up until I came to where this bush is it had still been a rather drab walk with all the trees still winter brown. Then I got to this bush, with its white flowers blooming and butterflies fluttering all about! Spring was telling me hello! For the “Doors & Windows” part of the challenge, I used some window chipboard pieces from Creative Embellishments, coated in “Orange Blossom” embossing powder from Ranger, and placed them in my clusters.

(Below the More Than Words Challenge image, you’ll find a little process video and a few close-ups.)

06 June - Hello & Doors and Windows


DSC_0035-WM DSC_0049-WM

I wanted to add some texture, but I didn’t want it to necessarily “stand out” so I opted to use colors similar to the papers I was using.

DSC_0046-WM DSC_0052-WM

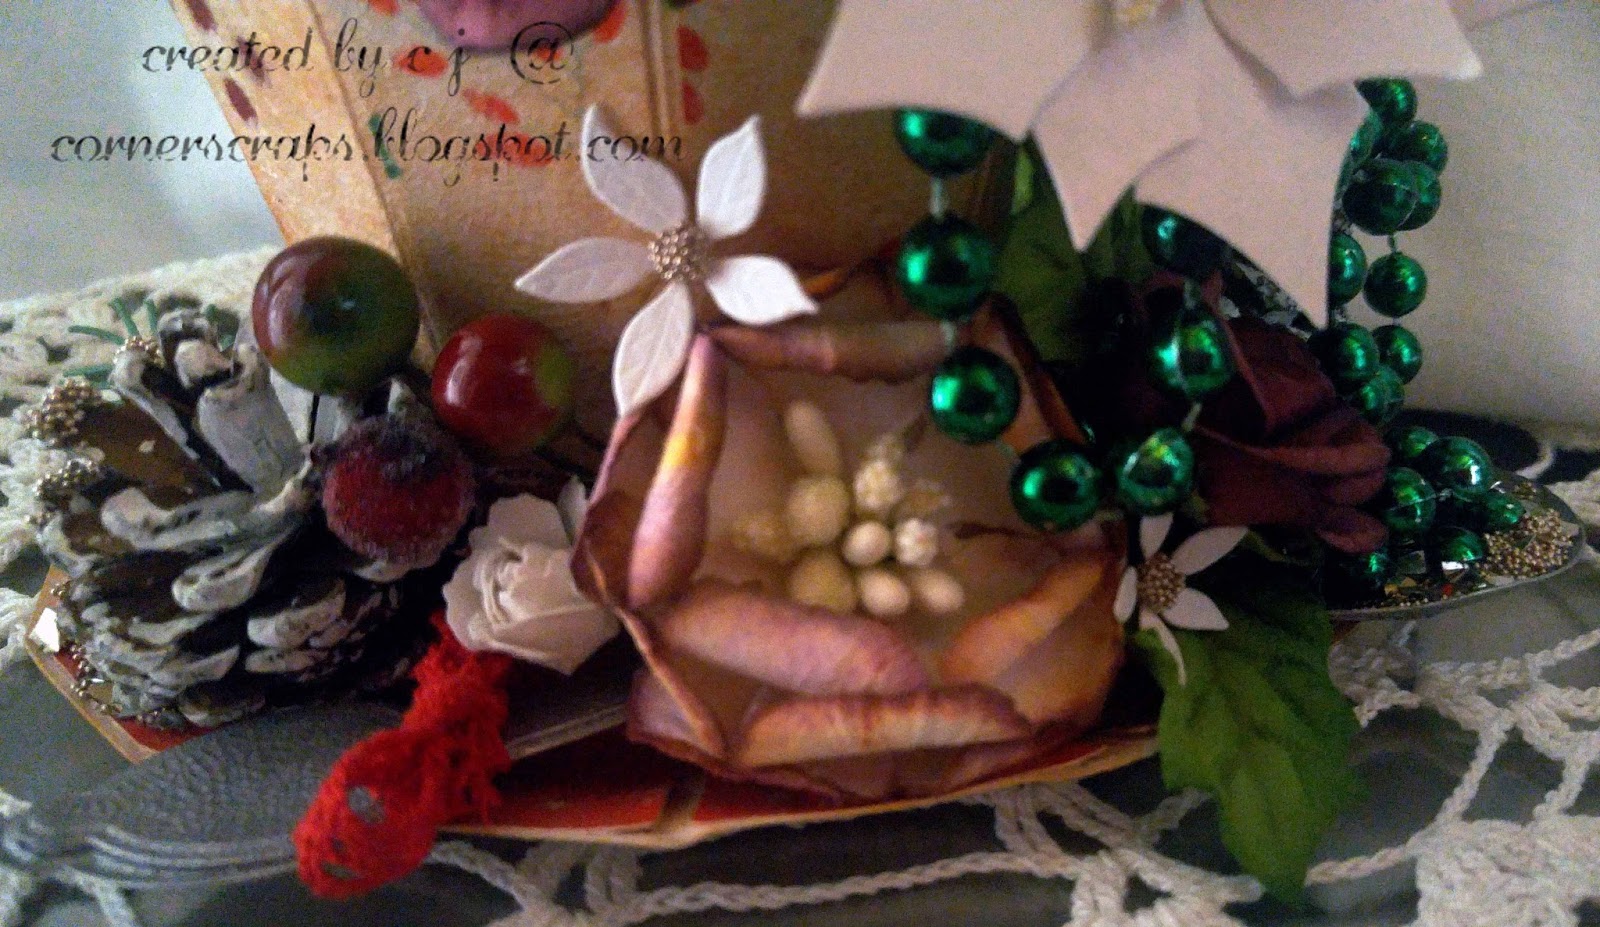
I love the “Dreamland” collection from A.B. Studio, and most of this layout is made up of papers and cut-apart pieces from it. The only pieces from “Vintage Elements 1/2” are the black and white roses, which I think added just enough “separation” between the elements cut from “Dreamland.”

DSC_0060-WM DSC_0043-WM

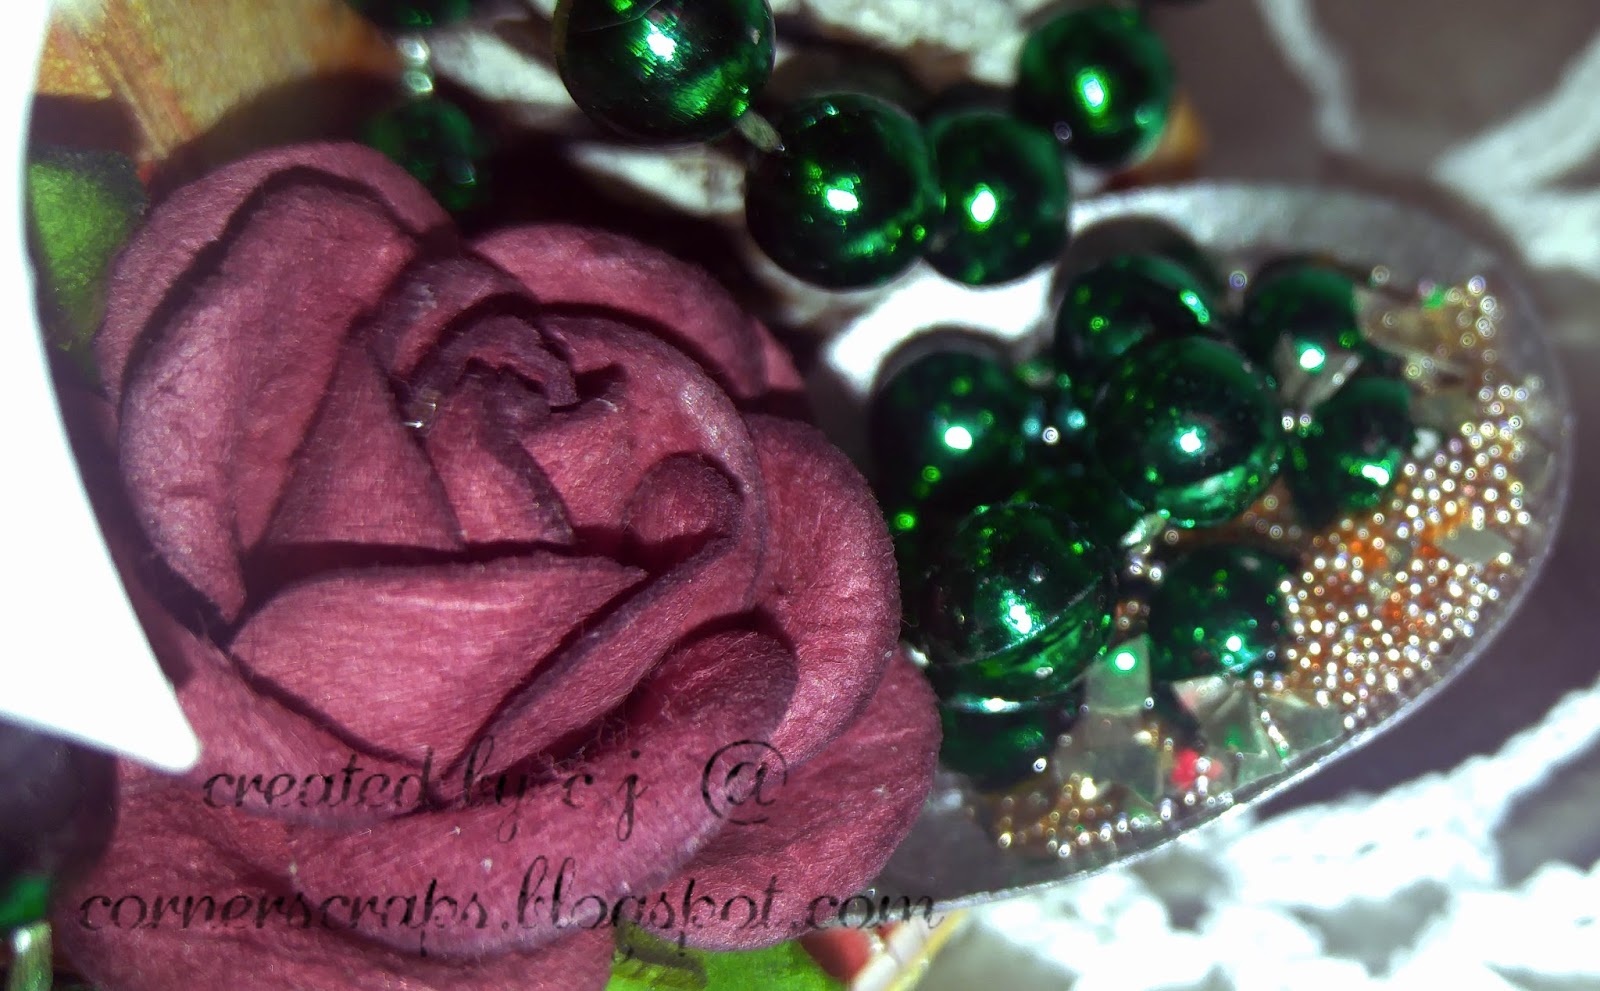
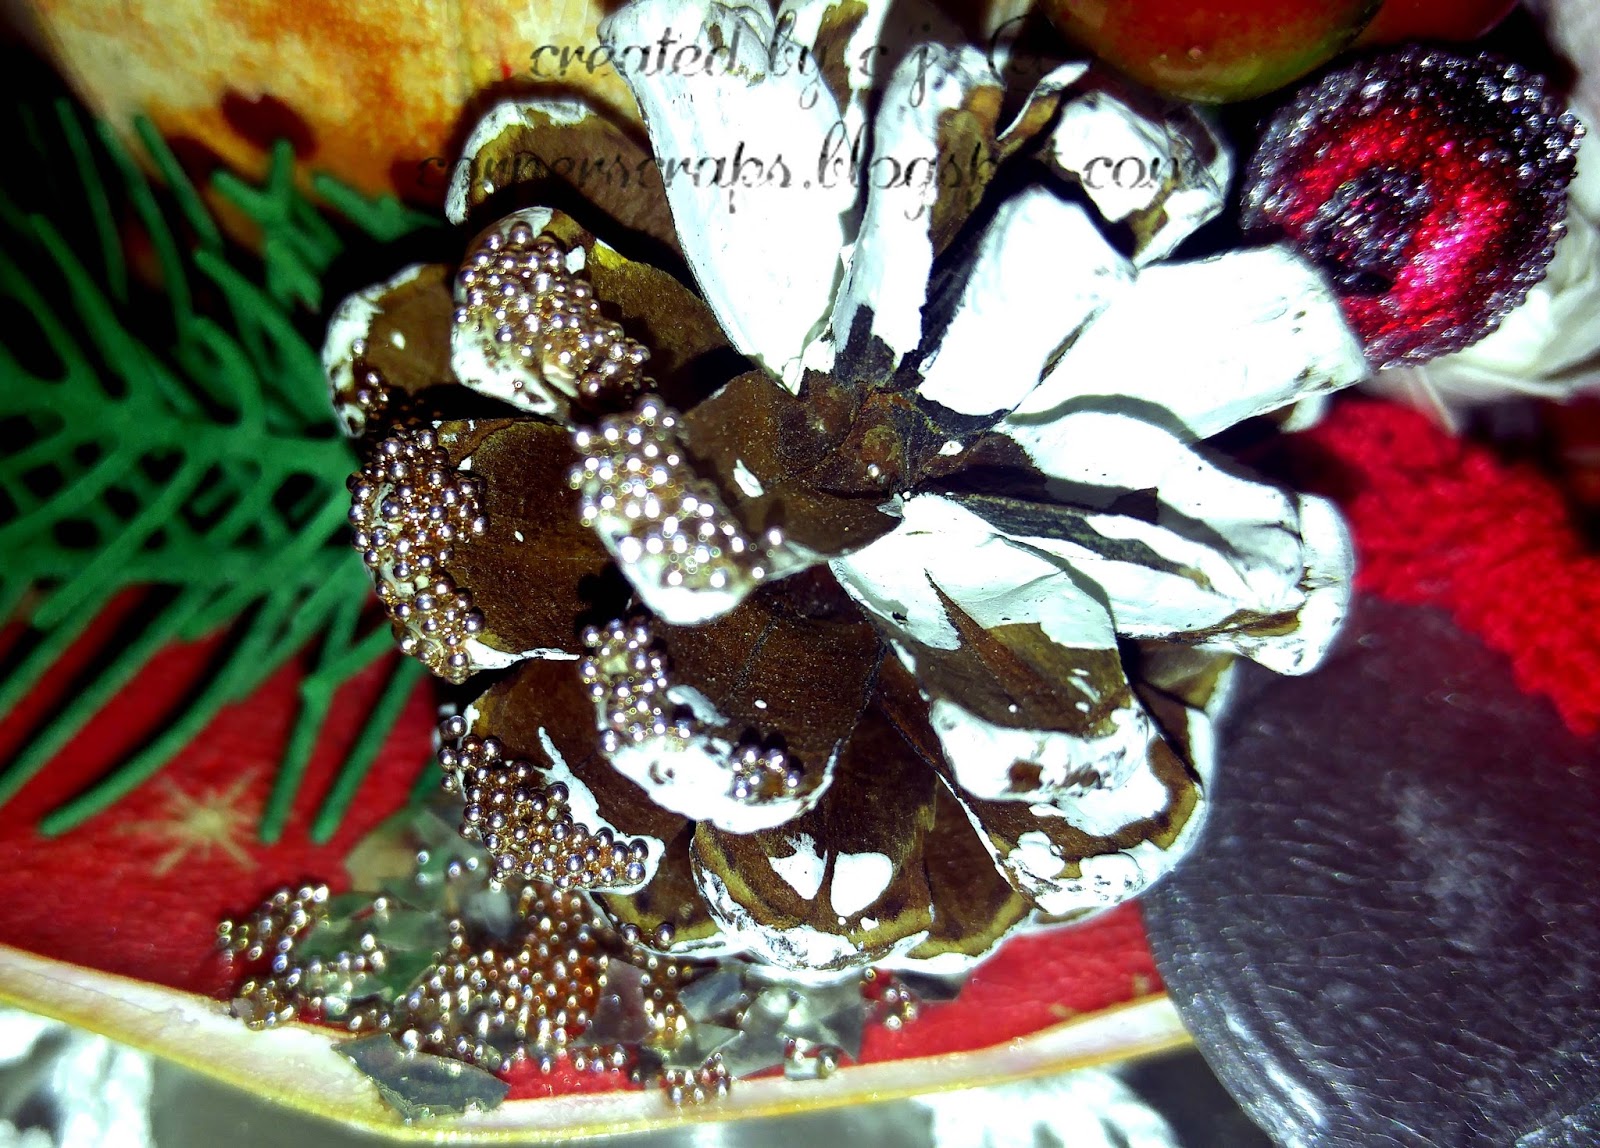
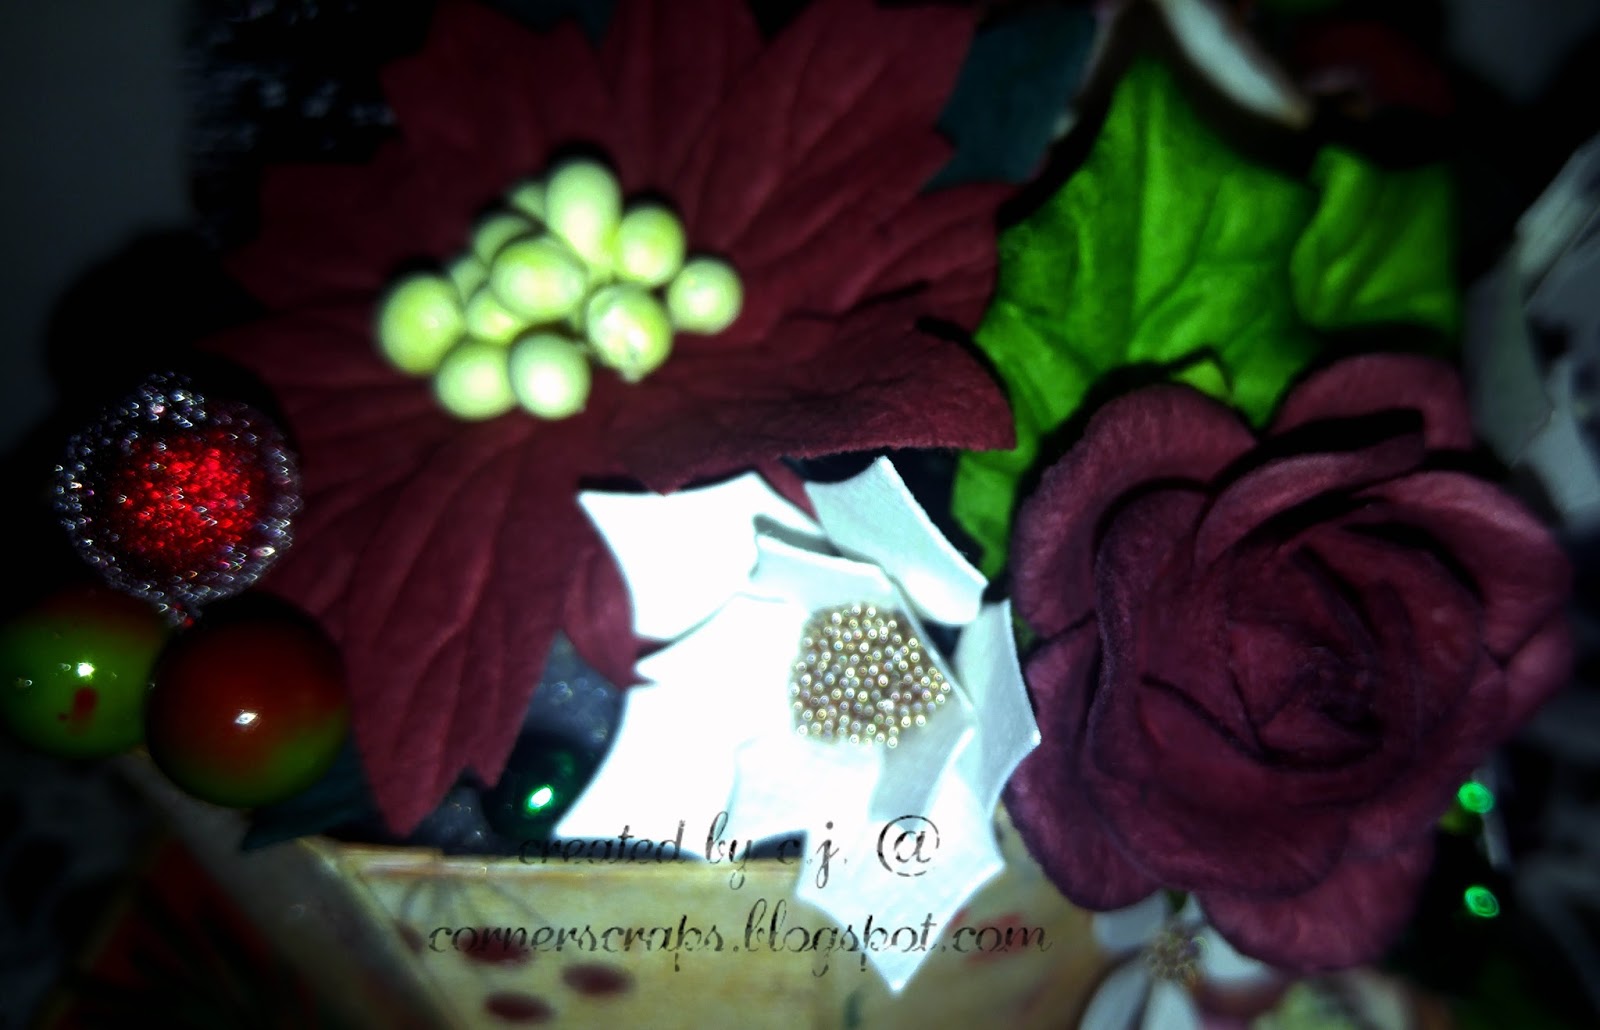
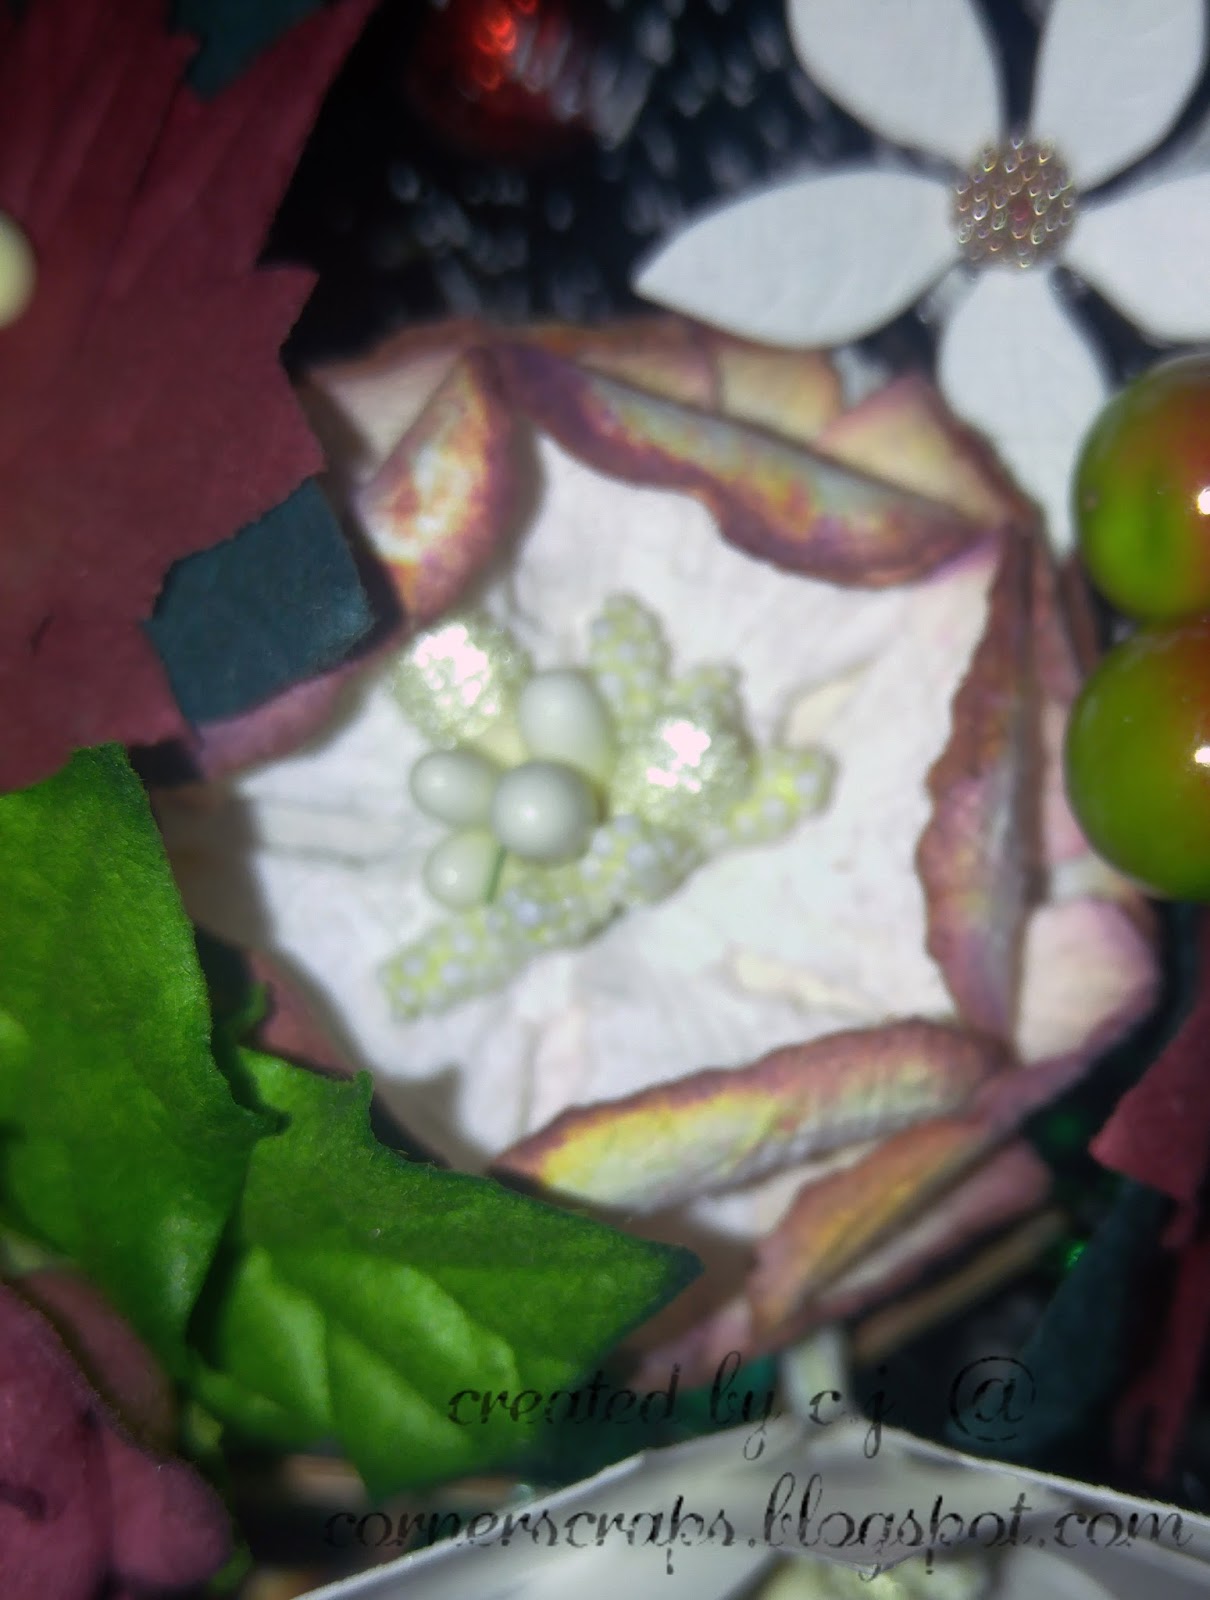
I love texture so I added texture pebbles, glass microbeads, sequins, and some cabochons. I also splattered some “Spun Sugar” Distress Oxide on the layout (I love that the Oxides can be used on light and dark backgrounds!).

I hope you enjoyed this project! Thank you for joining me in my little corner!!


Products:

A.B. Studio “Dreamland” & “Vintage Elements 1/2,” Creative Embellishments “Arched Windows Set of 2,” & “Arched Windows Set of 3,” Lindy’s Gang “Cosmic Pink Blue” Embossing Powder, TCW Light & Fluffy Modeling Paste, Prima-Finnabair “Graphite” Texture Paste, Fabrika Decoru Stencils FDTR 36 & 132, Ranger-Wendy Vecchi “Orange Blossom” Embossing Powder, Ranger-Tim Holtz “Spun Sugar” Distress Oxide Spray, Prima Flowers Item# 635176, Brea Reese Texture Pebbles, Little Things from Lucy’s Cards “Warm Golden Glow,” Simon Says Stamp Clear Embossing Ink, Scotch ATG, Liquitex Clear Gesso, FabriTac, Art Glitter Glue, JudiKins Diamond Glaze, Unbranded Gold & White Microbeads

A Strong Woman …

“A strong woman looks a challenge dead in the eye and gives it a wink.” ~Gina Carey
A quick tag I did for the July More Than Words Mini Challenge using my gel plate, some stencils, thread, a Dina Wakley stamp, and my printer for the quote!

Process Video:

Font: BP Typewrite Damaged

Products used on finished tag:

  • Gel Press Gel Plate
  • Ranger
  • Dina Wakley
  • Acrylic Paint
  • Peacock
  • Stamp + Stencil
    • Essential Silhouettes
  • Tim Holtz
    • Distress Ink
    • Picked Raspberry
  • Mini Blending Tool
  • Archival Ink
    • Jet Black
  • Stampers Anonymous
    • Tim Holtz
    • Harlequin
    • Splotches
    • Tracks
  • We R Memory Keepers
    • Crop A Dile
    • Craft Knife
  • Tonic
    • Tim Holtz
    • Stamp Platform
  • Americana
    • Bright-Orange
  • Master’s Touch
    • Gold
  • Daler Rowney
    • Neon Pink
    • Neon Green
  • The Paper Studio
    • Rick Rack Scrap Pack
  • Other
    • Black Thread
    • Pink Thread

    Paints found on other gel press pages

    • Ranger
    • Dina Wakley
    • Eggplant
  • AC
    • Vicki Boutin
    • Sugared Strawberry
    • Juicy Pear
  • Daler Rowney
    • Neon Orange
  • Americana
    • Gloss Enamels
    • Black
  • DecoArt
    • Lavender

    Stencil used on other gel press pages

    • Homemade
    • Ranger
    • Dina Wakley
    • Stamp + Stencil
    • Essential Silhouettes

    Coffee Magnets (ReneaBouquet July Swap)

    For the month of July, ReneaBouquets had a magnet swap, and I decided to make a coffee themed set!

    After the process video there are some close-up photos & a product list.

    Process Video:

    Products:

    • ReneaBouquets
    • Beautiful Board
    • Grid
  • Glass Microbeads
    • Gold
    • Dark Red
  • Mini Dusty Teal Mulberry Paper Roses
    • Ranger
      • Embossing Powder
      • White (Super Fine)
      • Black (Super Fine)
      • Enchanted Gold
      • Gold
    • Archival Ink
      • Black
      • Chrome Yellow
    • Emboss It Dabber
    • Tim Holtz
      • Distress Spray Stain
      • Ground Espresso
      • Weathered Wood
      • Gathered Twigs
      • Blueprint Sketch
    • Distress Oxide
      • Ground Espresso
      • Weathered Wood
      • Faded Jeans
      • Blueprint Sketch
    • Mini Blending Tool
    • Water Pen – Nib
    • Stampers Anonymous
      • Mini Flourish Stencil
      • Tonic
        • Tim Holtz
        • Stamp Platform
      • Prima
        • Ingvild Bolme
        • Quick Dry Fluid Chalk Ink
        • Worn Jeans
      • Finnabair
        • 3D Gloss Gel
        • Simon Says Stamp
          • Embossing Powder
          • Ultra Fine Steel Navy
        • Embossing and Watermark Ink
          • Clear
        • Stamp Set
          • Coffee and Tea
        • JudiKins
          • Diamond Glaze
          • MicroGlaze
        • Liquitex
          • Clear Gesso
        • E6000
        • Unknown/Unbranded
          • Magnets

          Denim Junk Journal

          A junk journal I created using some denim from a pair of old jeans, bits of lace and string, old sheets of music, paper I dyed with inks and/or tea, and the “Denim & Girls” Collection by Maja Design (that came in the July 2019 Tres Jolie Kit Club Scrapbooking Kit).

          Videos:

          Flip Through

          Process Part 1: Cover

          Process Part 2: Inside

          Products:

          • [From the] Tres Jolie July Scrapbook Kit
          • Creative Embellishments
          • Grunge Heart Corner
        • Maja Designs
          • Demin & Girls Collection
        • Blue Mini Clothespins
        • Pink Tags
        • idea-ology
          • Tim Holtz
          • Jute String
          • Sanding Block
        • Ranger
          • Emboss It Dauber
        • Emerald Creek
          • Seth Apter
          • Baked Texture
          • Deep Sea
        • Simon Says Stamp
          • Embossing and Watermark Ink
          • Clear
        • Embossing Powder
          • Ultra Fine Steel Navy
        • Prima
          • Finnabair
          • Wax Cire Cera
          • Old Denim
        • Fiskars
          • 1″ Circle Squeeze Punch
        • We R Memory Keepers
          • Envelope Punch Board
        • Daiso Japan
          • Lace Trim Set, Blue
        • Heat n Bond
        • E6000
        • Art Glitter Glue
        • Fabri-Tac
        • Unbranded/Unknown
          • Corner Punch
          • Paper Clips
          • Hole Punch
          • Pink/White Twine
          • Teal/White Twine
          • White Laces
          • Wide Blue Lace
        • Other
          • Old Jeans!

          Adventure – Mini Album

          Mini Album for the March Creative Embellishments Challenge!

          This months challenge over on the Creative Embellishments Blog was to “…be inspired by 1 element from the photo below (let us know what it is) and by this quote: ‘Every great adventure requires a first step.'”

          I was inspired by the color! I love using black and white…especially when I just happen to have some lovely black & white papers that need to be used!

          Inspiration photo for the March Creative Embellishments Challenge!
          For the album I cut a thick piece of chipboard to use as a spine with the Creative Embellishment’s 5-page Square Mini Album, and I just had to add the Stars In My Universe Frame (also from Creative Embellishments), with some Rocky Road Baked Texture on it, to the cover!
          Cover
          Inside cover & page 1
          Pages 2 & 3

          Pages 4 & 5
          Pages 6 & 7
          Page 8 and inside back cover
          Products:
          • Creative Embellishments
          • Square Mini Album
          • Stars In My Universe Frame
        • Silhouette
          • Cameo 3
          • Curio
          • Pen Holder
          • Cut Files: Tags & Tabs
        • Ranger
          • Emboss It Dauber
          • Tim Holtz
          • Distress Oxide: Black Soot
        • Emerald Creek
          • Backed Texture
          • Rocky Road
        • Idea-ology
          • Tim Holtz
          • Mini Stapler
        • 13@rts
          • Rose Fields
          • Natural Beauty
          • Letters to Rose
        • Aqua Flora
          • Shades of Black
        • Prima
          • Flirty Fleur Collection
          • Something Floral
          • Pretty Birds
          • So Lovely
        • Crate Paper
          • Maggie Holmes
          • Flourish
          • Charming
        • Hip Kit Club
          • Kim Watson
          • Amber Star
          • Sparkle
        • Pink Paislee
          • Paige Evans
          • Turn The Page 07
        • Simon Says Stamp
          • Black Cardstock
        • American Crafts
          • White Cardstock
          • Thickers
          • Hello Joy
        • We R Memory Keepers
          • Crop-A-Dile & Eyelets
        • Art Glitter
          • Adhesive
        • Simply White Gesso
        • Folk Art Chalkboard Paint
        • Unknown/Unbranded
          • Twine
          • Ribbon/Fiber
          • Black Pen (I’ve had for YEARS…I’m actually impressed it still worked!)

          Christmas Tag!

          The tag I made for the “Glorious Holiday Tag Swap!” hosted by Donna (bonprof) over at scrapbook.com!

          I sprayed the canvas, texture pasted the canvas, sprayed it some more, and added some glitter paste in select spots! (Good news, I finally got a webcam, someday I hope to make videos…it is just so much easier than typing it all out! I assume anyhow, at least I’ll be able to say “Here, watch this!” LOL)
          I wrapped the gold wire around a tape roll (packing tape size) to make the wreath base, then just started sticking the pine needle die cuts around it. The ornaments are from ReneaBouquets (link in product list), as is the glitter I used to “fill in” some of the areas of them. I embossed them with Red Geranium Embossing Powder (Ranger) and added a light coat of Rose Gold Metallique Wax (Prima). I did the same to the Merry Christmas.

          Yes, it lights up!

          Products Used:

          • ReneaBouquets
        • BoBunny
          • Gold Glitter Paste
        • Ranger
          • Gold Embossing Powder
          • Texture Paste
          • Big Emboss It
          • Wendi Vecchi
          • Red Geranium Embossing Powder
        • Tim Holtz
          • Candied Apple Distress Spray Stain
        • Stampers Anonymous
          • Tim Holtz
          • Flourish Stencil
        • Carta Bella
          • Lattice Stencil
        • Advantas
          • Idea-ology Tim Holtz
          • Bouquet
        • Simon Says Stamp
          • Pine Needle Trio Die
        • Core’dinations
          • Tim Holtz Kraft Core Nostalgic Collection
        • Core’dinations
          • Vintage Stack
        • Prima
          • White Crackle Texture Paste
          • 3D Gloss Gel
          • Finnabair
          • Rose Gold Metallique Wax
        • Heidi Swapp Color Shine
          • Bronze
        • Fabri-Tac
        • JudiKins Diamond Glaze
        • Unknown/Unbranded
          • Laminated Canvas
          • Merry Christmas Die
          • Berries
          • Gold Wire
          • The lights are a little necklace I came across at the 99¢ store!
          • The poinsettias are actually from an earring & brooch set from Avon I believe.

          Christmas Teacup

          My first tea cup art, just in time for Christmas!

          Handle side, side view! This was a learning experience for me, and I learned that I need more Mod Podge to hold down the pieces against the strain of the Crackle Paint! You can also se some of the beautiful Shard Glitter Glass & Microbeads I added to the spoon!

          The other side of the cup. Here I added some of the Microbeads to the pine cone & some Shard Glitter Glass & Microbeads just under the edge of the pine cone. Plus, in the center of the poinsettias are some more Microbeads.

          A closer look at the spoon.

          A closer look at the pine cone!

          One of the poinsettias that has the Microbeads for the center.

          One of the posies I made using the tutorial found at Live The Dream ….

          A closer look at the bottom with the second posie I made.

          A view from the top!

          *The cut file for the teacup, saucer, and spoon can be found at svgcuts.com*

          Product List:

          • Glass Microbeads in Champagne
          • Shard Glitter Glass in Silver
          • Beautiful Board Beautiful Bits – Star
          • Burgundy Roses, Poinsettias, & leaves
        • Hip Kit Club (November 2017 Main Kit)
          • Tis The Season by Kimberly Hutchison
          • Baby It’s Cold Outside (cup exterior)
        • Crate Paper
          • FALALA Collection
          • Twinkle
        • Ranger
          • Tim Holtz
          • Distress Ink
          • Tea Dye
          • Fossilized Amber
          • Seedless Preserves
          • Rusty Hinge
        • Distress Crackle Paint
          • Clear Rock Candy
        • Mini Round Blending Tool
        • Silhouette Cameo
        • Sizzix
          • Big Shot Plus
          • Precision Base Plate
          • Tim Holtz
          • Small Tattered Florals (the one little rosebud!)
        • Spellbinders
          • Shabby Posies
          • Layered Poinsettia
        • Simon Says Stamp
          • Pine Needles Trio
        • Poppy
          • Small Blooming Poinsettia
        • Mod Podge
          • Paper – Gloss
        • Beacon Fabri-Tac
        • Judi-Kins Diamond Glaze
        • White Card stock – American Crafts I think
        • Mulberry Bear 2
          • “Grass Green” Mulberry Paper – Pine Needles
        • The Paper Studio
          • White “Handmade” Paper (white poinsettias, posies, & rosebud)
        • Prima
          • Finnabair
          • Metallique Wax – Old Silver
          • Silicon Brushes – 1″ & 2″
        • 99¢ Store finds
          • Pine cones
          • Bottle brush tree
          • Green bead garland
        • Unbranded/Unknown
          • Stamen in large white poinsettia & posies
          • Holly berries (frosted red & green & red)

          Wedding Congratulations!

          Congratulations (A wedding card)

          This past weekend the husband and I went to a wedding of some very dear friends. We’ve known the groom for over 11 years, and about 6 1/2 years ago we met the bride. We knew that someday we would be going to their wedding, even if they didn’t know it at the time! It was a beautiful ceremony, and we were so honored and happy to be there with them for it!

          As for the card, it is rather straight forward. I did make the flowers myself, and was constantly reminded why I don’t do that! But, I needed those colors right NOW! So I had no real choice in the matter!!

          In addition to my handmade, mulberry paper flowers, there is some vintage lace (no brand, got it off eBay a few months ago), some random twine, and some unbranded stamen. Plus, the beautiful butterfly is from ReneaBouquets! It came on the business card in one of my orders, and it worked perfectly for this card!! (Thank you, Renea!)

          The card stock, patterned paper, and embossed paper are all from the Simon Says Stamp November Card Kit, and the sentiment is from the Simon Says Stamp “Floral Bliss” stamp set (links at the bottom in the “Product List” area).

          The inside says:
          “May you forever find joy in each others eyes,
          warmth in each others arms,
          love in each others heart.”

          I just printed it out on some “linen” printer paper and used my ATG to stick it down! (Oh, I found the quote on Pinterest, I’m not that poetic!)
          I will be entering this little project into the Simon Says Stamp Wednesday “Anything Goes” Challenge!
          Product List:
          • ReneaBouquets Butterfly 
          • Mulberry paper (I made all the flowers) 
          • Simon Says Stamp: 
        • Elmer’s – Craft Bond – Glue Spots – Thin Medium
        • Prima – Finnabair – Art Basics – 3D Gloss Gel – 8 Ounces
        • Tim Holtz 
          • Distress Oxides Ink Pads – Frayed Burlap
          • Distress Ink Pads – Embossing Ink Clear
          • Paper Distresser
        • Wendy Vecchi 
          • Embossing Powder – Watering Can
        • Sizzix 
          • Big Shot Plus Machine – White and Gray
        • Spellbinders 
          • Shapeabilities Collection – D-Lites Die – Create A Rose
        • Unknown/unbranded twine 
          • stamen 
          • 5 petal flower dies 
          • vintage laces

          peace & joy

          peace & joy Christmas card

          A Christmas card I made specifically for my best friend! She has a “thing” for moose. Her Great Dane is named Moose, she has about six pieces of moose art in her home, a moose hook in her kitchen … you get the idea! She LOVES moose!!

          **The moose cut and the font (Aubrey) are from the Silhouette Store!**

          Product List:

        • Ranger 
          • “Emboss It” Pen
          • Glossy Accents
        • Tim Holtz 
          • Grit-Paste
          • Distress Glitter: Clear Rock Candy
          • Distress Oxide: Candied Apple
          • Distress Paint: Candied Apple
          • Paper Distresser
        • WOW Embossing Powder 
          • Cloud 9 
        • Poppy 
          • Small Blooming Poinsettia (die) 
        • Simon Says Stamp 
          • the cream card stock for the card base & poinsettias 
        • Me & My Big Ideas 
          • Red & white flourish paper 
        • Silhouette
          • Cameo
          • Curio
        • Sizzix
          • Big Shot Plus
        • Unknown 
          • the glitter for the moose (it was in a little baggy, I don’t know where it came from!) 
          • the burgundy card stock 
          • the red seed beads 
        • Mod Podge 
          • Acrylic sealer (it’s how I keep the glitter from falling off after it’s all said & done! Just a quick coat on top!)