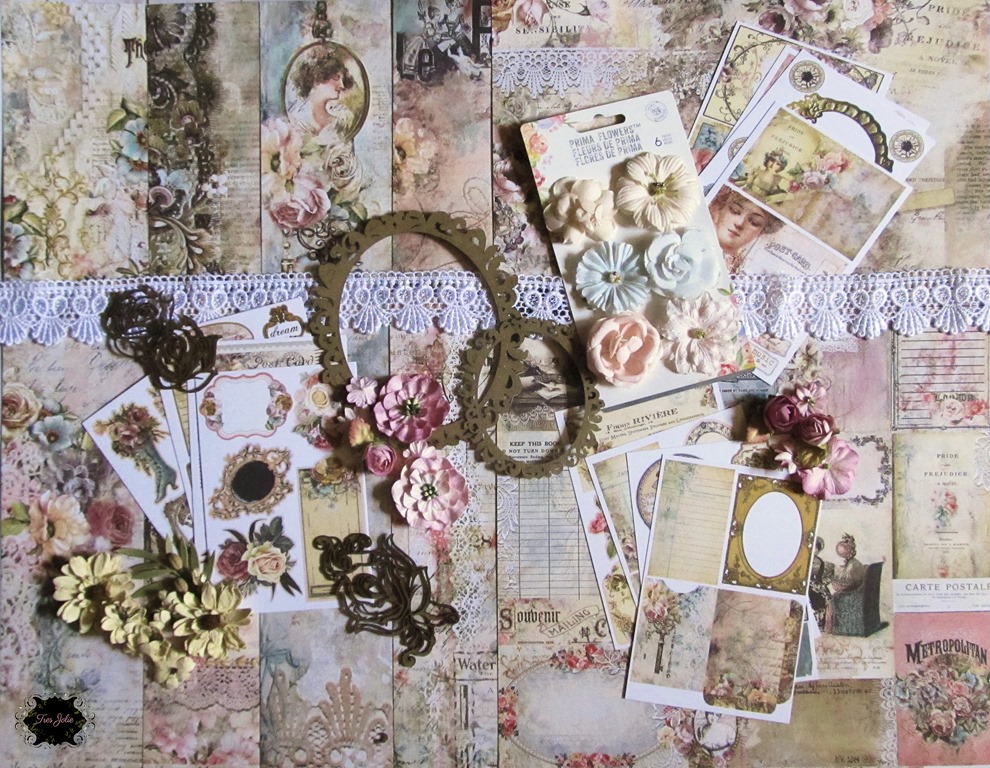
Hey, y’all! Have you opened your Tres Jolie May Mixed Media Kit yet? Have you seen all the creative fun you can have with it? I was over the moon excited when I saw the PearlEx powders! I love blues and teals! And a blank coaster set to decorate? How awesome is that? You can easily use these coasters as they are – just adding some kind of protective surface like epoxy resin (self-leveling!) when you have them decorated – or you can use them as mini-art boards and use them as home décor if you want! Endless possibilities!
However, I just already happened to have some square silicone coaster molds and epoxy resin, so I created a coaster set! I added some heavy white gesso from my stash, used the Tim Holtz stencils, Seth Apter texture paste, and the PearlEx “MicroPearl” powder from the kit, and decorated one side of the Dress My Craft coasters. I have a process video for you, make sure to check it out!
Creating these coasters wasn’t at all very difficult! Waiting for the epoxy resin to cure was the most time-consuming! I hadn’t originally planned on using the silicone molds I’ve had for a few years now, but after I added the texture paste to the coaster blanks, I decided to see how well they would fit into the molds. They weren’t a “perfect” fit – the blanks were a hair larger – but I decided it was close enough for me to work with!
To start, I coated one side of the coasters with some heavy gesso, and after the gesso had dried, I added random stenciling using the Tim Holtz Stencils and Seth Apter Texture paste found in this month’s kit.
While the texture paste was still wet, I sprinkled on some of the “MicroPearl” PearlEx Powder, spritzed it with water, and then let everything air dry.
I started my resin process by only adding a thin layer to the mold and letting the resin pool whichever way it decided to. Then, on the now-hardened pools of resin, I added some of the Transfer Me pieces. The next step was to add some color! After I mixed up a batch of resin, I separated some of it into three small cups so I could mix in the three PearlEx powders. I didn’t stir my colors together in the mold, instead, I pressed the texture paste coated coasters in and let any extra just flow over the bottom – which also has a lovely pattern!
After this batch of resin had cured, I unmolded the coasters and added more of the Transfer Me designs to the surface.
To seal up and protect the final Transfer Me design, I used my gloved hands to spread a light coating of epoxy across the surface.
I will be taking my coaster out to the workshop to smooth out the bottom edges a little from when I pushed the Dress My Craft coasters into the molds and then adding a second thin coat of resin all over the surface of the coaster, but overall, these coasters are done! If my resin hadn’t tried to get away from me too badly when I squished the Dress My Craft coasters in, I don’t think I would have even had to do any cleanup!
Thank you for joining me here on the blog today! I hope you enjoyed my coaster-making process and it gave you some ideas of what you can do with all the goodies found in this month’s Mixed Media Kit!
Stay Crafty, Friends
Did you get a kit? Share what you made in our Facebook Group!
Ever have one of those projects that was filled with “technical difficulties” all the way through? That was me with this lapbook! My word of advice, if your sewing machine stops working at the beginning of a project, take it as a sign to stop and do a different project! I didn’t heed the warning sign, and while I waited for a replacement sewing machine I kept trying to work – but nothing went right after that! I went from being ahead of schedule with my July projects, to being barely able to finish on time; so a project that I didn’t think would take too long, took way too long!
It’s here though, I finally finished, and I have completed a Recipe Lapbook using this month’s Scrapbooking Kit from Tres Jolie Kit Club for the July 2022 Mood Board.
I tried to explain my process the best I could in my video; it did become rather difficult to work in an orderly fashion when I had to do what I could while waiting for my sewing machine. Hopefully the video makes some sense, or at least enough sense to give you some idea of what I’m attempting! It’s a rather long video – almost an hour, so you might want to watch it in sections! I couldn’t figure out a good place to split it apart and have it appear continuous since I was already fighting confusion!
Video:
The mood board this month has some deep, beautiful, summery colors to it, and the papers in this month’s kit are the perfect compliment. And, of course, lemons = lemonade on a hot summer day, and an entire recipe lapbook to go with! Place your entries in the July 2022 challenge folder on Tres Jolie Kit Club Café Facebook page. This challenge ends July 31, 2022 at 11:59 pm CST. All entries must be in this folder to be eligible for the prize (to have everyone eligible to win, we are limiting the same winner to once every three months).
You can create any type of project for the challenge.
You MUST say what you were inspired by.
You MUST include the twist in your design – DAYS OF SUMMER
We would love to see you use at least one of Tres Jolie’s products on your projects but it isn’t required to play along.
It MUST be a new project.
You saw the front cover of my lapbook at the beginning of this post, but I also wanted to show the other three sides of it. After more work than I had hoped, I was able to get the honeycomb chipboard from this month’s Mixed Media Kit to give some nice texture along the spine. If you haven’t seen the video yet, this spine is actually the second spine I made – because the first one wasn’t working; I just couldn’t get the honeycomb to show up. I finally got it to show by using some (metal) nuts that fit inside the chipboard and my iron to get the iron-on adhesive to melt together.
I originally planned on making a single flap for the closure, but the yellow stripe ended up being off center, and that would have drove me nuts! However, I actually like the final closure better, because I like the yellow being horizontal against the vertical of the lemon fabric and the “panels” of the closure area. I didn’t actually tack the fabric down, I used lots of glue, clipped the tacks down to where they would just enter the book cover, and added some 3D Matte Gel to help keep them in place.
The main flap on the left side of the lapbook is an accordion folder made from a hanging file folder. I don’t have all of the specific measurements, because I made my folds where the score lines already were on the hanging folder, cut it to the height of my inside cover paper, and just eyeballed how wide I wanted it based on how it would look. However, I do know the sides were cut three inches wide and scored every 1/2-inch for the accordion folds.
On the back of my accordion folder I have a couple of book covers added in as flaps. The larger one is covered in some sari silk, and the smaller one has [what I think] is the last piece of that particular print. I have magnet closures for the smaller book covers, but I didn’t add any closure of the main, accordion folder, flip. Under the accordion folder, I have a double-pocket folder and three mini file folders I created just for this project using sheets of the Simple Stories paper from the kit.
On the front of the larger cover with the sari silk, I added a hinged belly band. I have some 3/4-inch magnetic tape, and I laid a strip down on the cover and on the band. At the top of the band I added a couple of stronger magnets to make sure it would stay shut even with a few recipe cards in place. On the other side of the same cover, I added some homemade glassine (using a tracing paper + semi-gloss spray technique I learned from Nik the Booksmith!) to one of the frames, propped it up on some macramé cord, and turned it into a pocket. The magnetic closure for this flips under to close, and flips out of the way so the pocket is accessible.
In the spine of the book cover I added a [new and unused!] headband so I could put a removable booklet in. It is a soft cover booklet – I layered the paper with some interface backed fabric – then I popped on the chipboard frame from the kit that I had embossed with a few different powders. After my frame was in place, I filled in the open areas with some Glossy Accents and/or Diamond Glaze, alcohol ink, and to really deepen the black on the bees, I used the “Black Hole Black” Lindy’s Magical Powder from this month’s Mixed Media Kit.
I have two folders, filled with more folders/pockets in the booklet – one for main dishes and one for side dishes.
I wanted to add in some charts, so I printed out a couple of different ones on tracing paper using a ledger paper I created as the background, then added my semi-gloss spray to create my “glassine.” I turned the 3-slot chipboard frame into a pocket with some vintage photos to give the “family history” feel.
The right side of the lapbook features a large, fold-out panel with a little box folder on it. The box folder also folds out – it is held in place with some magnets & magnetic tape – to reveal a couple of folder pockets and a little coin pocket I made.
When you flip open the large panel, you will find a little strap holding another book cover in place that has another chart on the front, and a couple of pockets on the back. I added another headband to the hinge of this cover, and created another little removable folder to slide into this space.
This folder is a simple one, with just three pockets inside it and a pocket on the back to hold another piece of “glassine” with some helpful hints on it.
On the back of that big flap I made, I have a couple of pockets for breakfast and lunch recipes, and some ephemera to add some decoration.
Thank you for joining us here at Tres Jolie, I hope you enjoyed this lapbook – even if I did have a few hiccups along the way! Hopefully I didn’t make the video too confusing and was able to explain what was going on clearly – even if it was “out of order” because of my sewing machine fiasco.
Stay Crafty, Friends … and remember, if something breaks at the beginning of a project, take it as a sign!
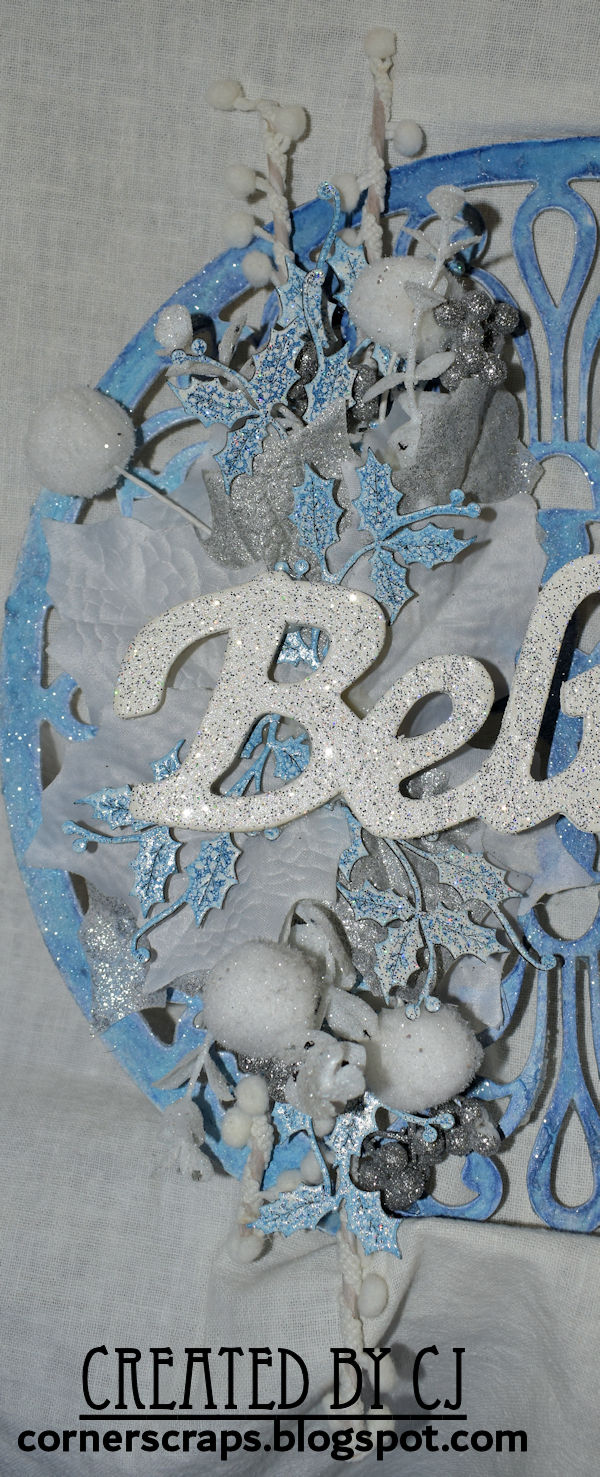
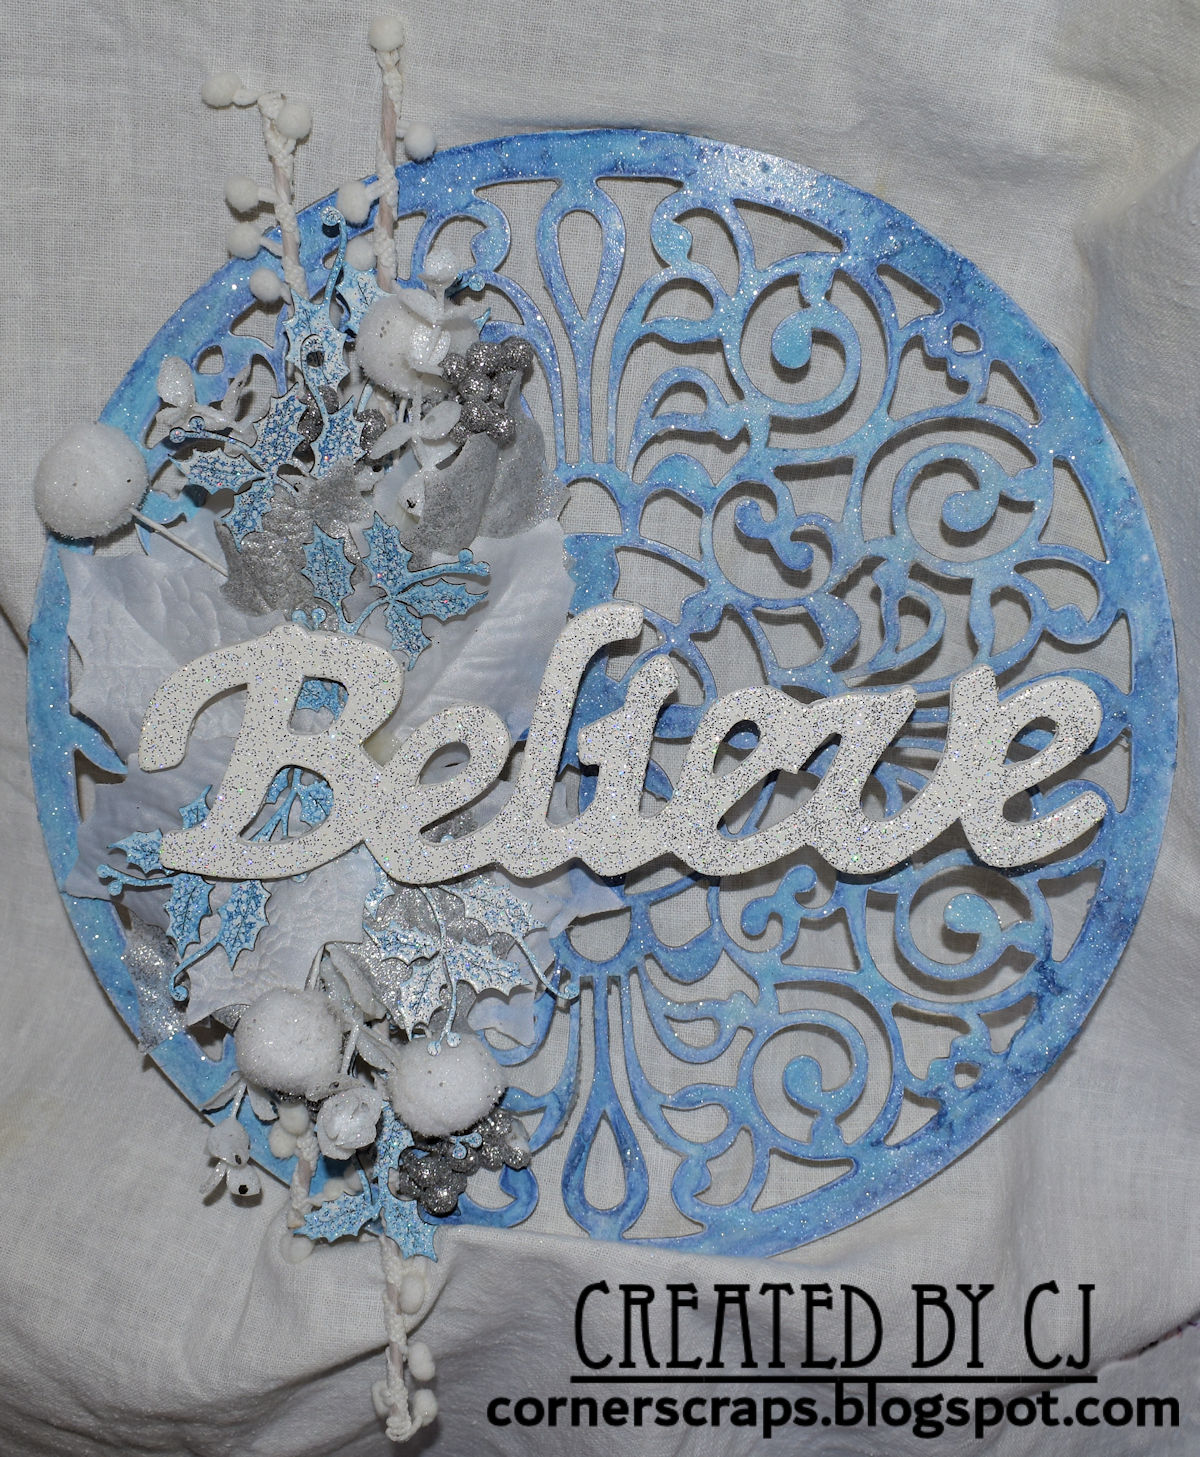
This week I’m bringing you my sketch challenge project using this month’s scrapbooking kit from Tres Jolie Kit Club. I didn’t do a whole lot to my layout, because I really loved all the detail in the beautiful Blue Fern Studio’s paper and I just couldn’t bring myself to “covering it up”!
Check out the video below to see the simple steps I took to put this layout, featuring a photo of my great-grandmother, together!
Video:
Have you seen this month’s sketch? It’s a beauty!
Here is the original sketch:
And here is how I rotated it:
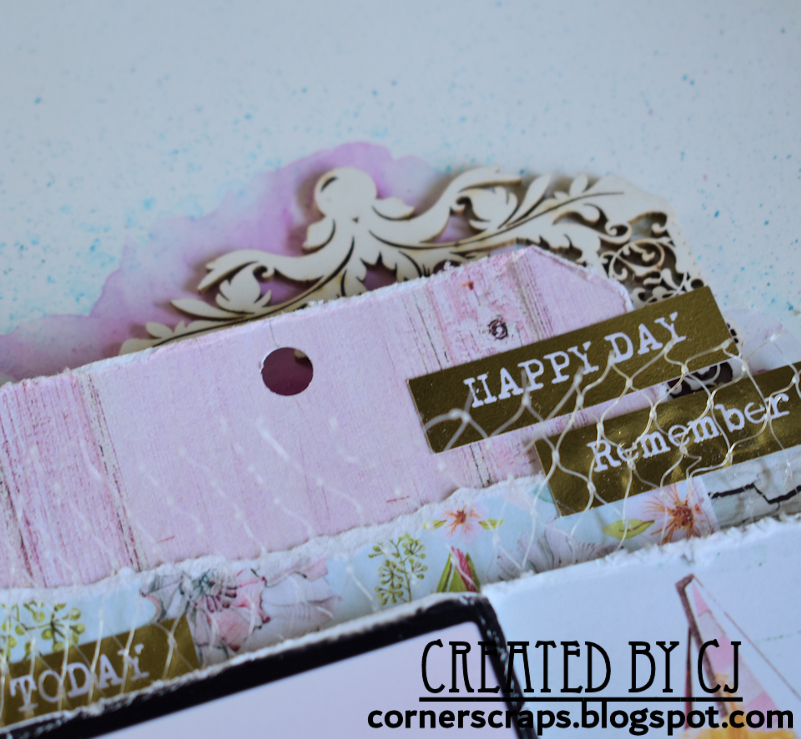
Now, how about a few close-ups?
Here you can see how that Shimmerz has just a touch of sparkle to it and pools around the crackle paste, giving a touch of color that goes along with the pinkish-purple of the flowers.
Using one of the 49 & Market flower pack found in the kit this month I created three clusters, and under each cluster I added some extra detail from some fussy cut flowers and lace from another sheet of the Blue Fern Studios paper. Then, for some more detail, I added some texture pebbles and glass glitter from my stash.
I added three layers of Baked Texture (from my stash) to the large chipboard frame found in this month’s kit, added my photo, and used some corrugated cardboard to lift it from the page some so a couple of the flowers could get tucked underneath.
I hope you enjoyed this project and it gave you some ideas of what can be done with items found in this month’s Scrapbooking Kit!
Did you get a kit? Share what you made in our Facebook Group!
I don’t know what I’ll be doing with the card yet, but it’s good to have some one hand! Or so I’ve heard, I’m not a real big card maker, I find them difficult to do! But I’m happy with how this one has come out! All of the chipboard gears, the ATCoins, and the Circle Shaker Set are from Creative Embellishments, I just added the Patina and Rust Effect Pastes to go with my old, DCWV paper.
I always say “that was easy” after I finish a card, but I always have trouble getting myself to make another one! Maybe I’ll slowly (likely very, very slowly!) start making more!
I hope you enjoyed this card & thank you for joining me here in my corner!
Products:
Creative Embellishments – “Circle Shaker Set,” various “Gear Sets” for all of the chipboard gears, and “Steampunk Artist Trading Coins,” Stamperia Rice Paper (DFSA4242), ReneaBouquets – “Bronzed Teal” Beautiful Beads, Prima/Finnabair Rust Effect & Patina Effect Paste Sets, Prima/Ingvild Bolme Tiny Junkyard Findings “Nailheads” & “Special Screws,” DCWV “Tattered Time” Cardstock, Little Birdie “Caribbean Teal” Tinted Metallic Paint, Emerald Creek/Seth Apter Baked Texture “Vintage Beeswax,” Simon Says Stamp Clear Embossing Ink, Heidi Swapp Wood Veneer, Tim Holtz Distress Collage Mediums “Matte” & “Crazing,” Copper Thread, Unknown “Blue Metallic” Microbeads, Unbranded Metal Gears, Liquitex Black Gesso, BEST 1” Double Sided Tape, FabriTac, Art Glitter Glue, E6000, EK Tools Score Board, Tim Holtz Mini Snips, Spellbinders Tool n One, Ranger Heat-It
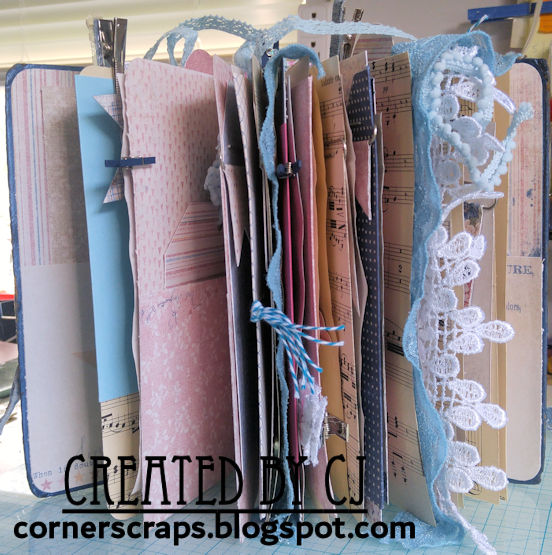
A junk journal I created using some denim from a pair of old jeans, bits of lace and string, old sheets of music, paper I dyed with inks and/or tea, and the “Denim & Girls” Collection by Maja Design (that came in the July 2019 Tres Jolie Kit Club Scrapbooking Kit).
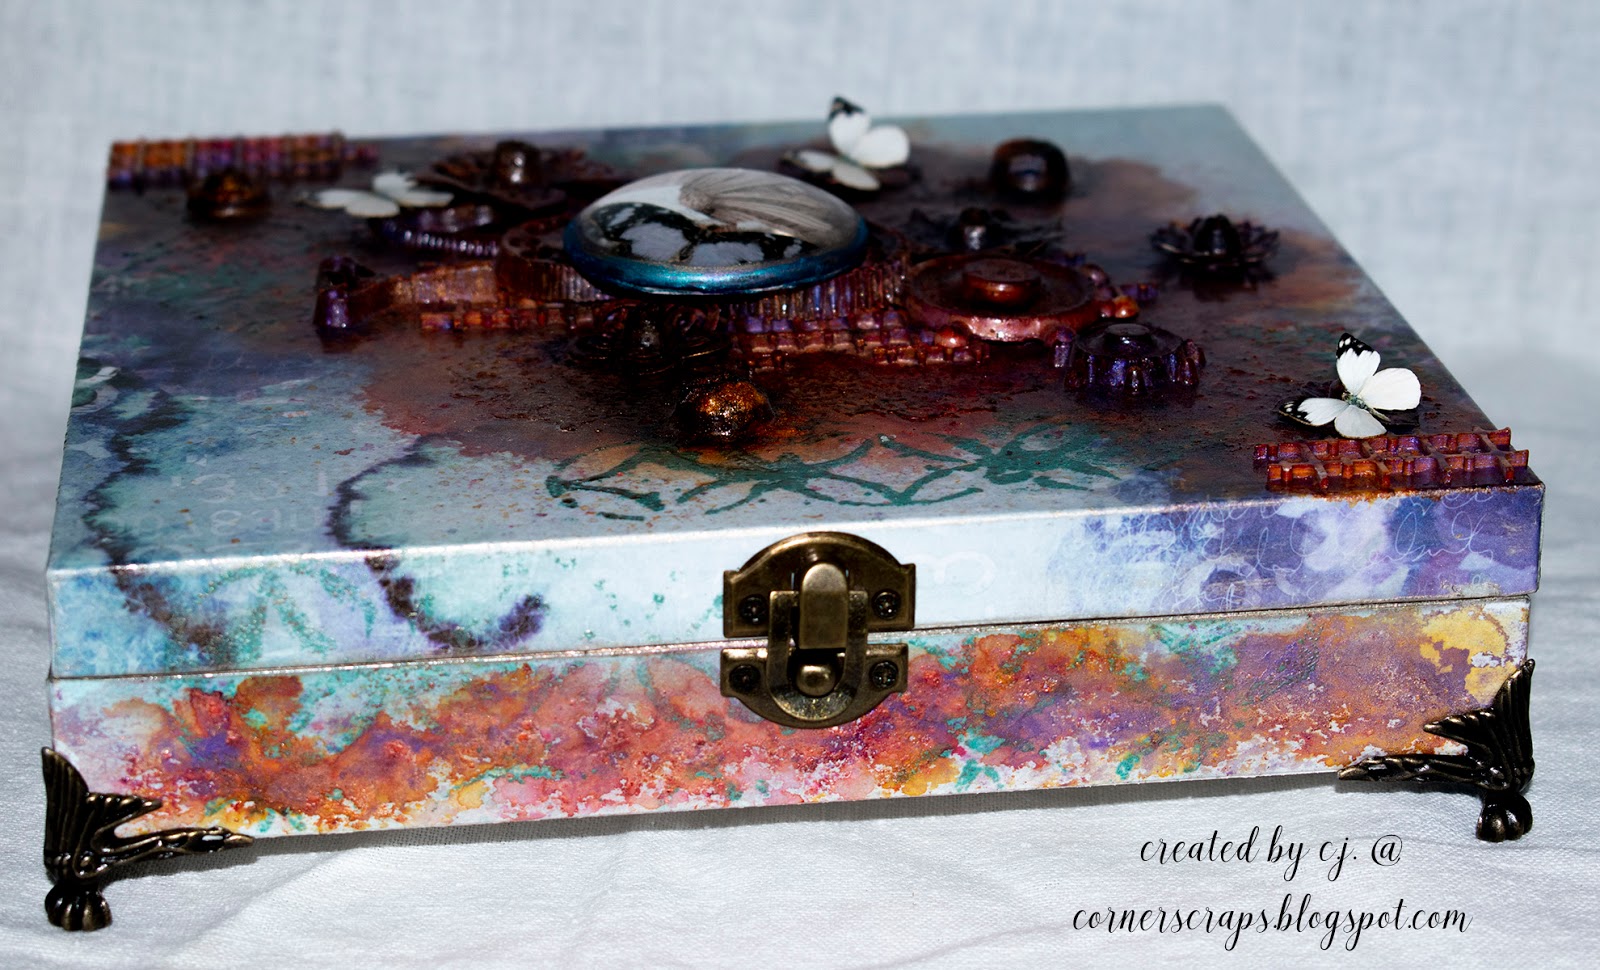
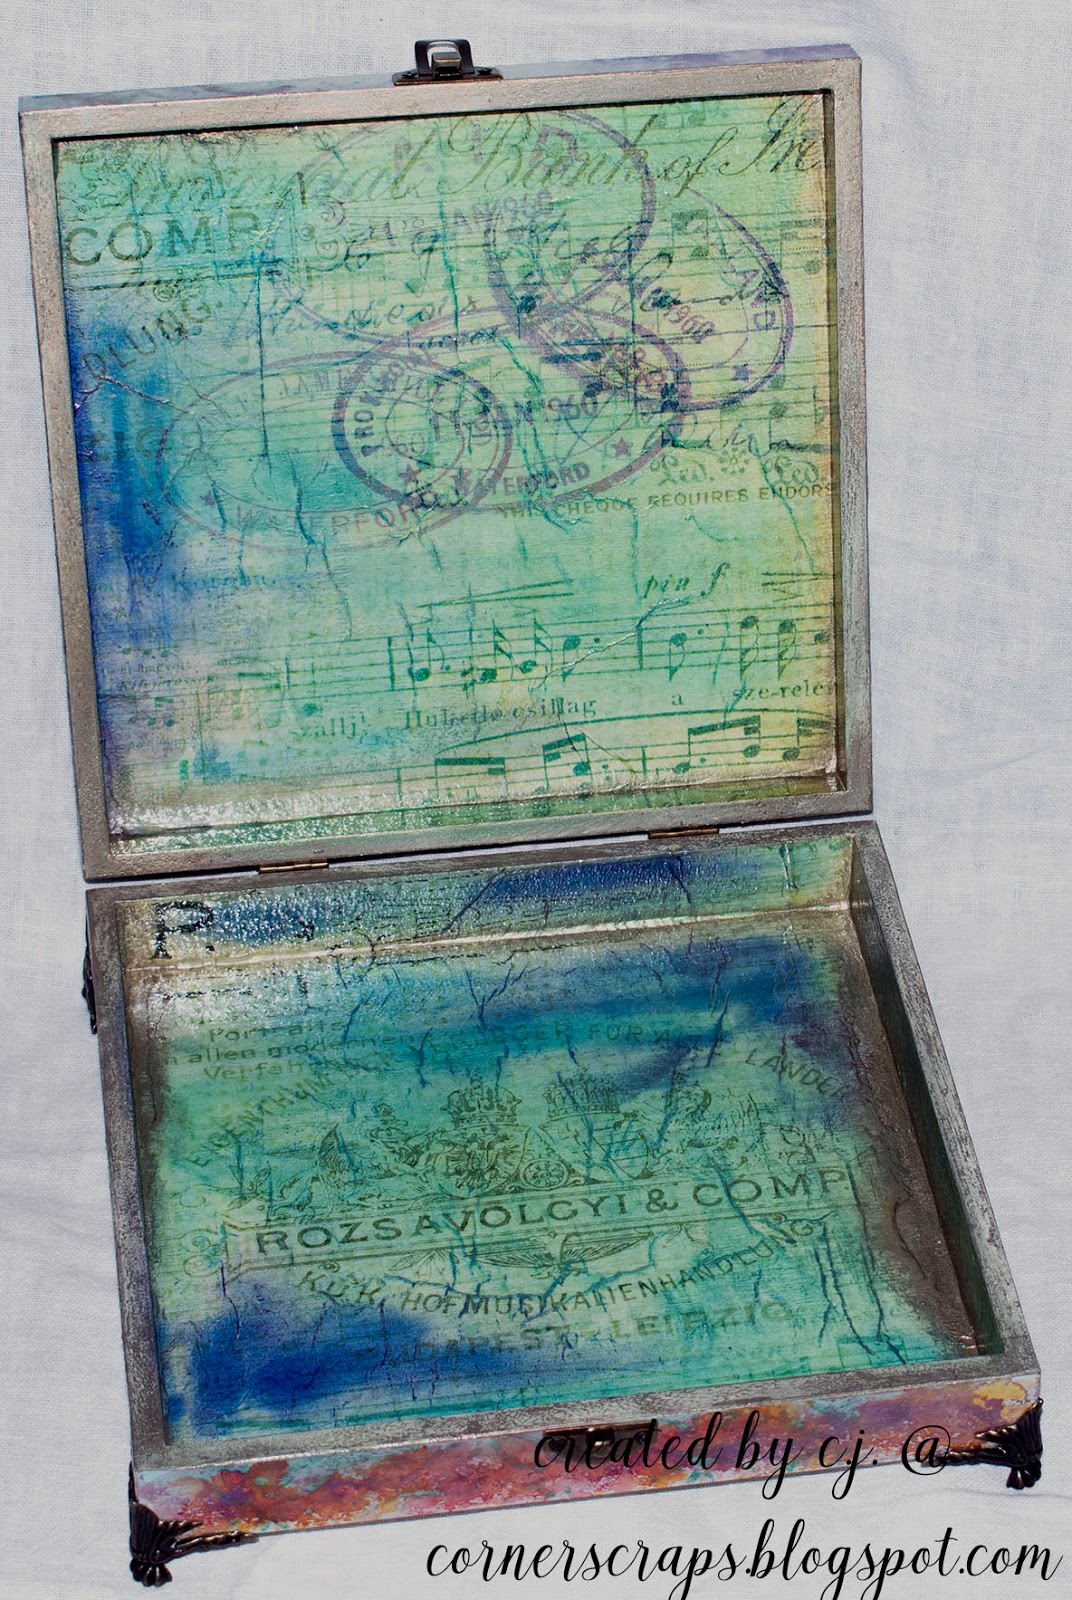
Altered ‘cigar’ box for the May 2019 ReneaBouquet Facebook Swap!
**Someone mentioned the word ‘tutorial,’ and I’ll try that here as best I can…
I do have a computer and a webcam and everything, BUT in early 2018 the power supply on my computer fried itself…I mean there were sparks and everything! And well my computer works well enough-ish, I’m pretty sure the motherboard took some damage because it hasn’t been quite right since (and my webcam tends to overpower it now). All this happened right before we moved almost 2300 miles, so getting my computer back to 100% hasn’t been a priority! (Although dealing with it being like 85% is starting to get on my nerves A LOT!)**
Ok…the short and sweet “tutorial.”
I used Art Glitter Adhesive to hold the papers to the wood. The lid has the 13 @rts paper, and the bottom is only wrapped on the sides with the Hip Kit Club paper (the bottom of the box is just white gesso). I used quite a bit of glue, basically “painting” a thin layer where it would be touching the paper and burnishing it down with the edge of my bone folder and some elbow grease. And I let it dry a full day before moving on to the next layer!
I did not gesso my paper, gesso is wet and I found that to be a risk I didn’t want to take! I used Krylon Workable Fixative as a protective coating before gluing down the Mould pieces, flowers, 7 Gypsies doilies, and ReneaBouquet Grid Beautiful Board. All of these parts, except the Beautiful Board which has it’s own coating, needed gesso before the next step.
Next I did the bits of embossing.
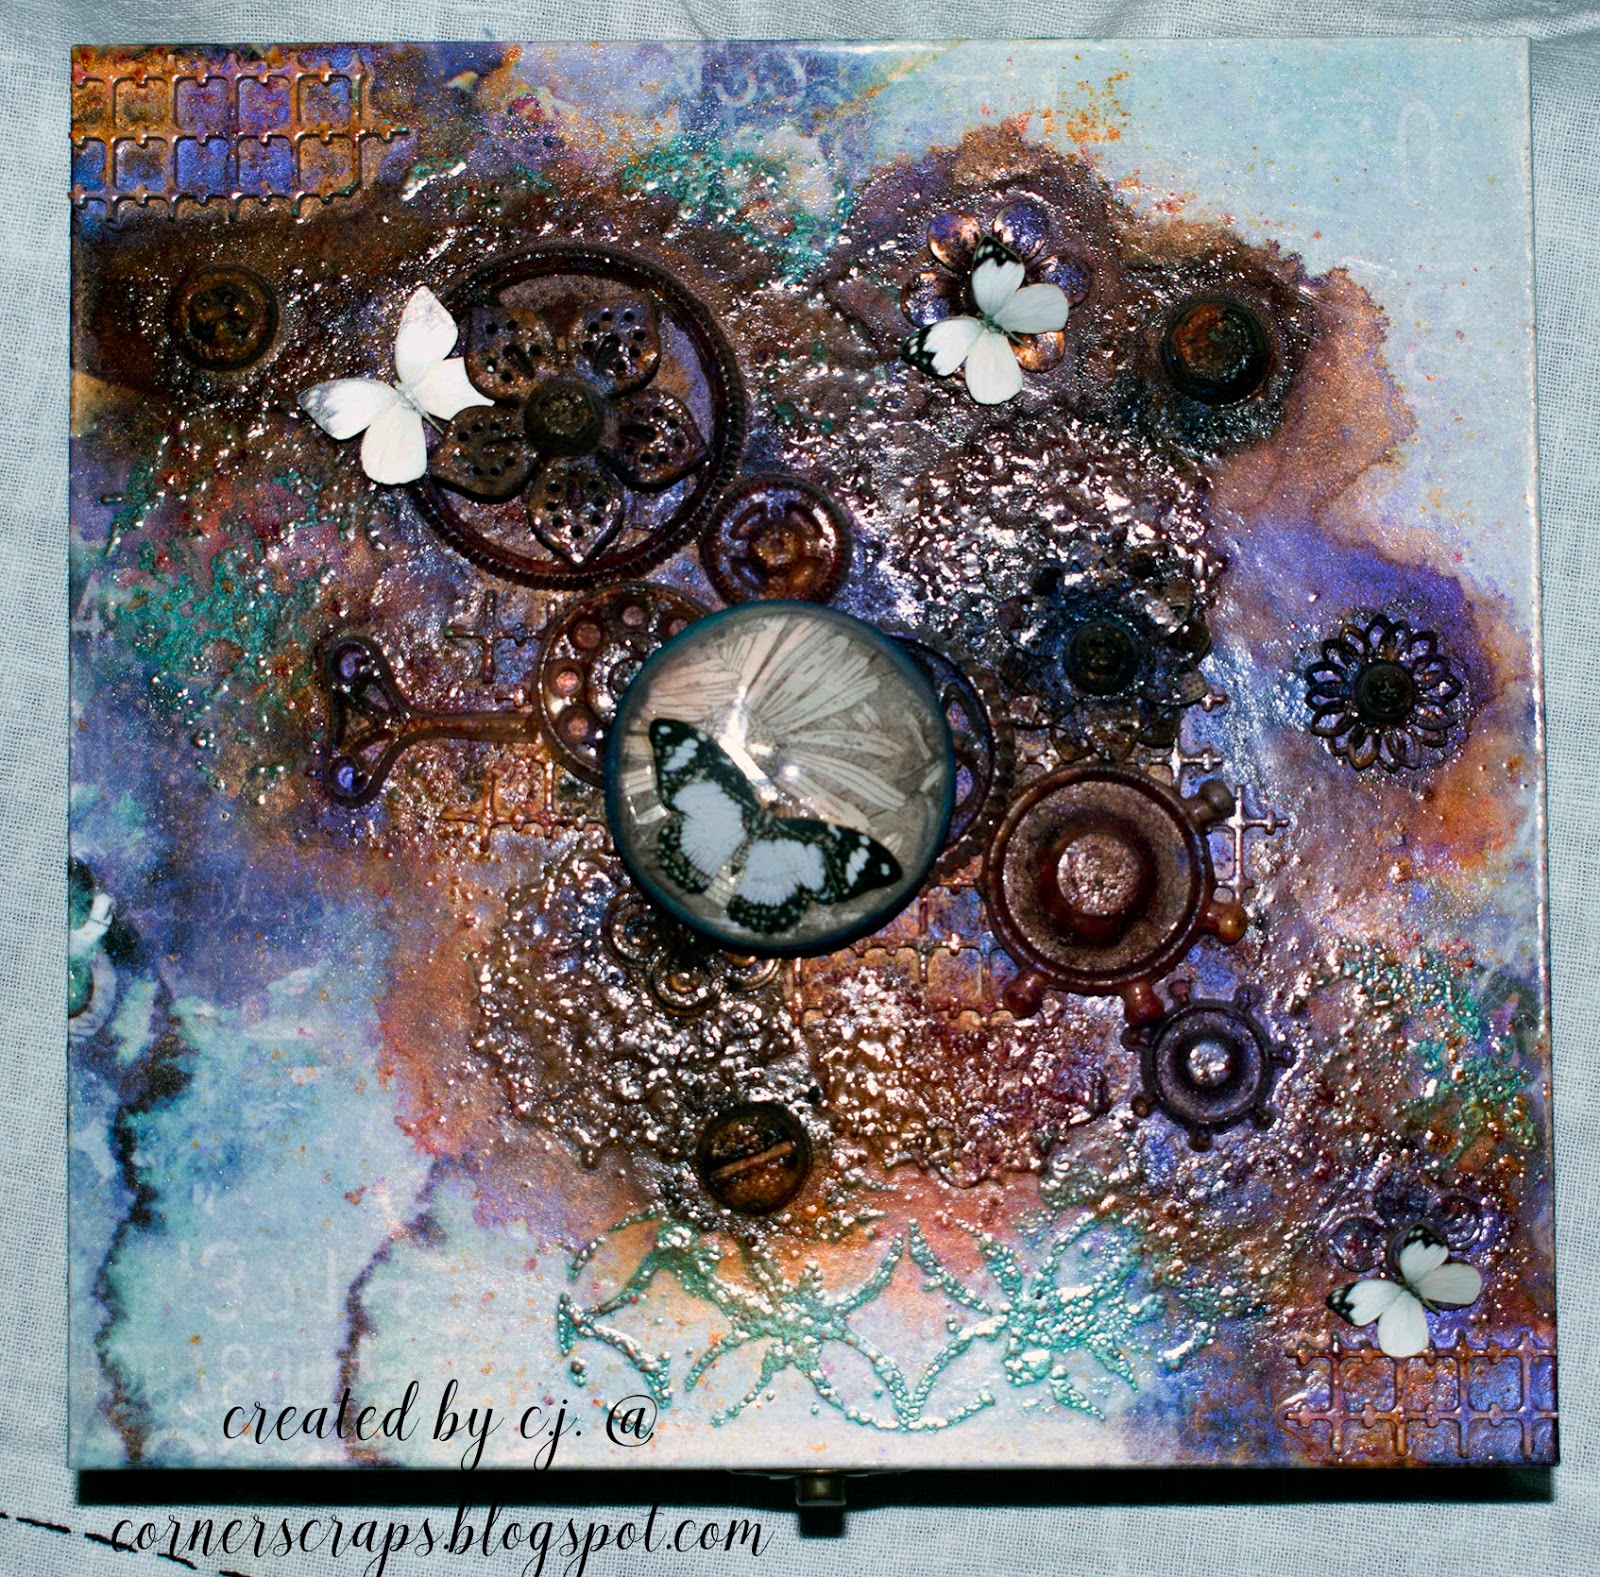
Now, the really wet, “please let the glue and Krylon work their best,” part! First, I had to spritz water where I was planning on adding all those Lindy’s & Jaquard powders, then I had to add more water on top of the powders! I did heat dry, and there is more than one layer of powders (Between the layers I used more Krylon Workable Fixative so there would be no reactivation of the lower levels!). I did the same technique along the sides of the bottom, except there was only one layering of powders. And, because I heat dry the powders, it reheated the embossing powder which caused it to push it’s way through in spots!!
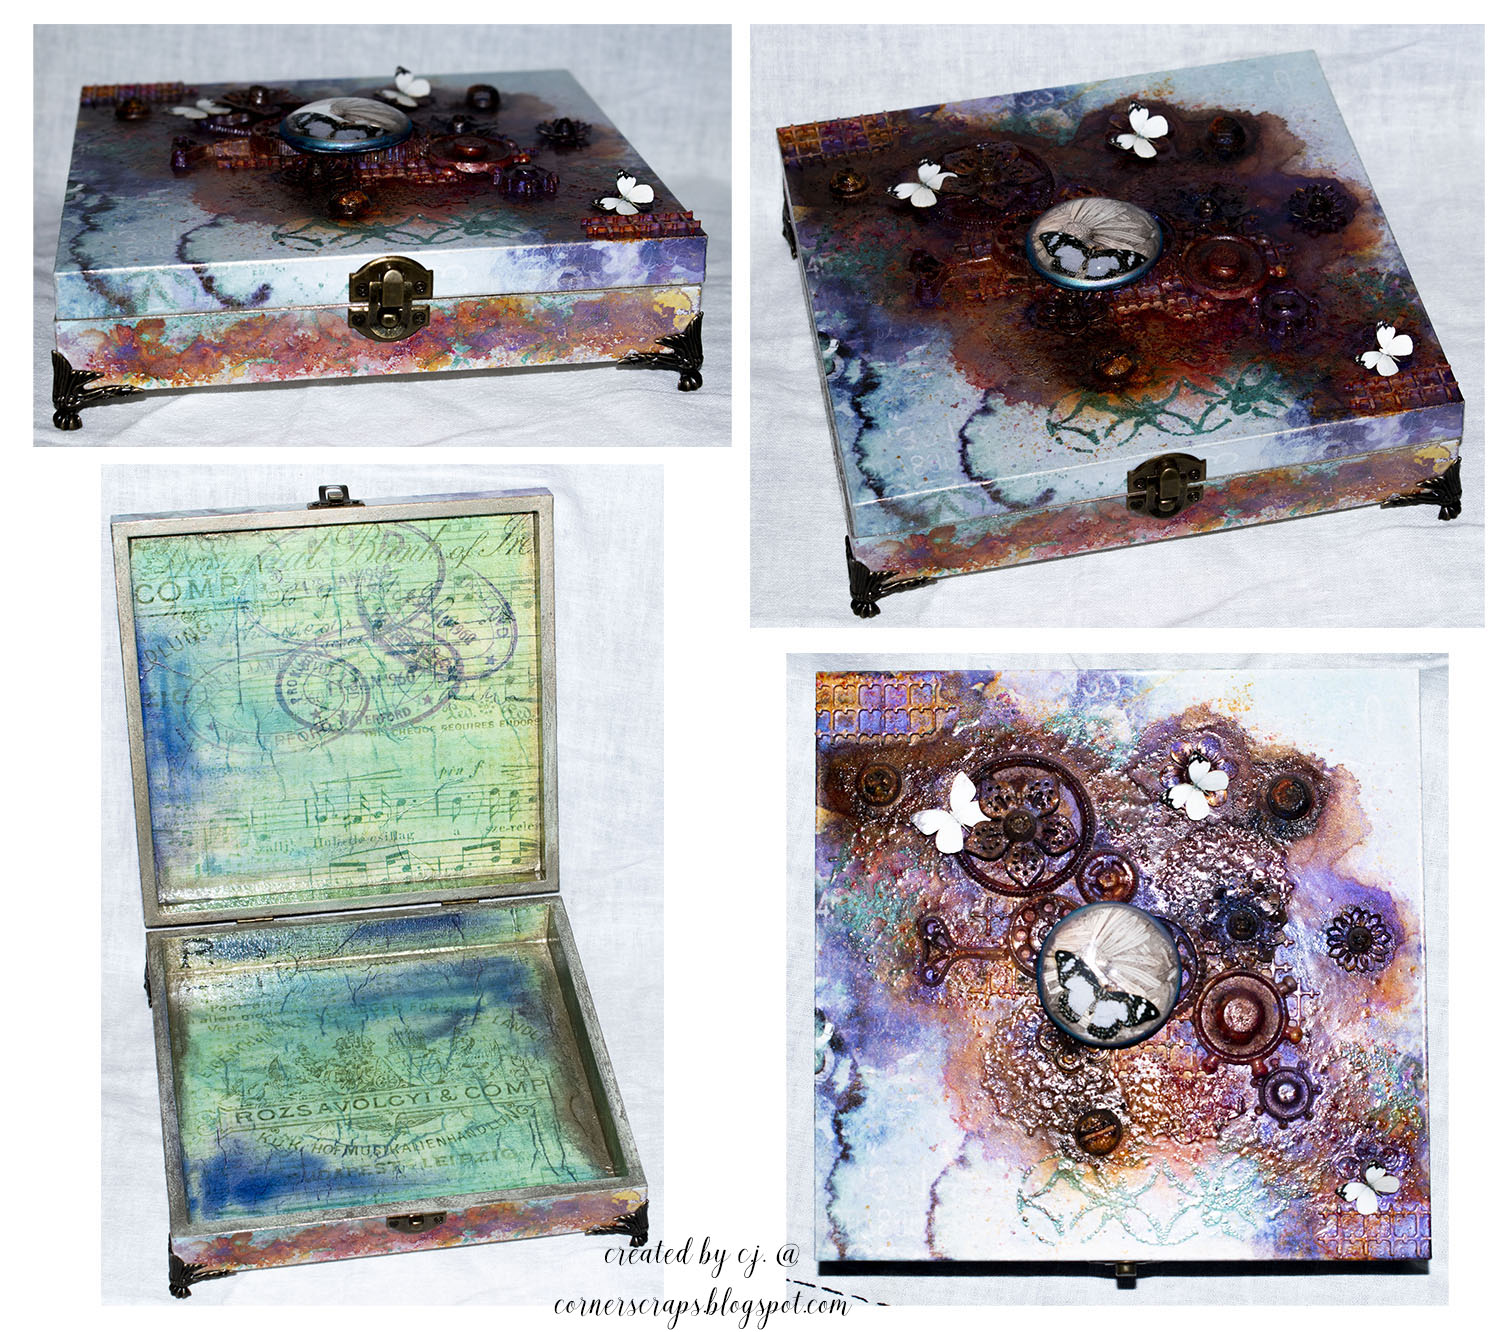
Now, to help everything withstand being used, there is three (I think) coats of (Mod Podge) acrylic sealer. Some is glossy, some is matte. Yes, I did it that way on purpose!
After all that was dry I added the feet, hinges, and latch, then the butterflies and cabachon.
*The cabachon is a 50mm dome on top of a piece from Tim Holtz’s Botanical Layers & a ReneaBouquet butterfly, adhered with JudiKins Diamond Glaze. The edges are done with Finnabair waxes, White Gold & Peacock.*
On the inside of the box I used Mod Podge Vintage to glue the Prima tissue paper in place then let that dry. After the Mod Podge dried I randomly added spots of color with the Finnabair Waxes and coated the edge of the lid and bottom with Finnabair wax. And everything is coated in acrylic sealer to (hopefully) add durability.
Products:
ReneaBouquets
Beautiful Board – Grid Elements
Butterfly Kisses
Delicate Beauty (the black & white butterflies)
Magical Miniatures
My Romantic Heart (the butterfly under the cabochon)
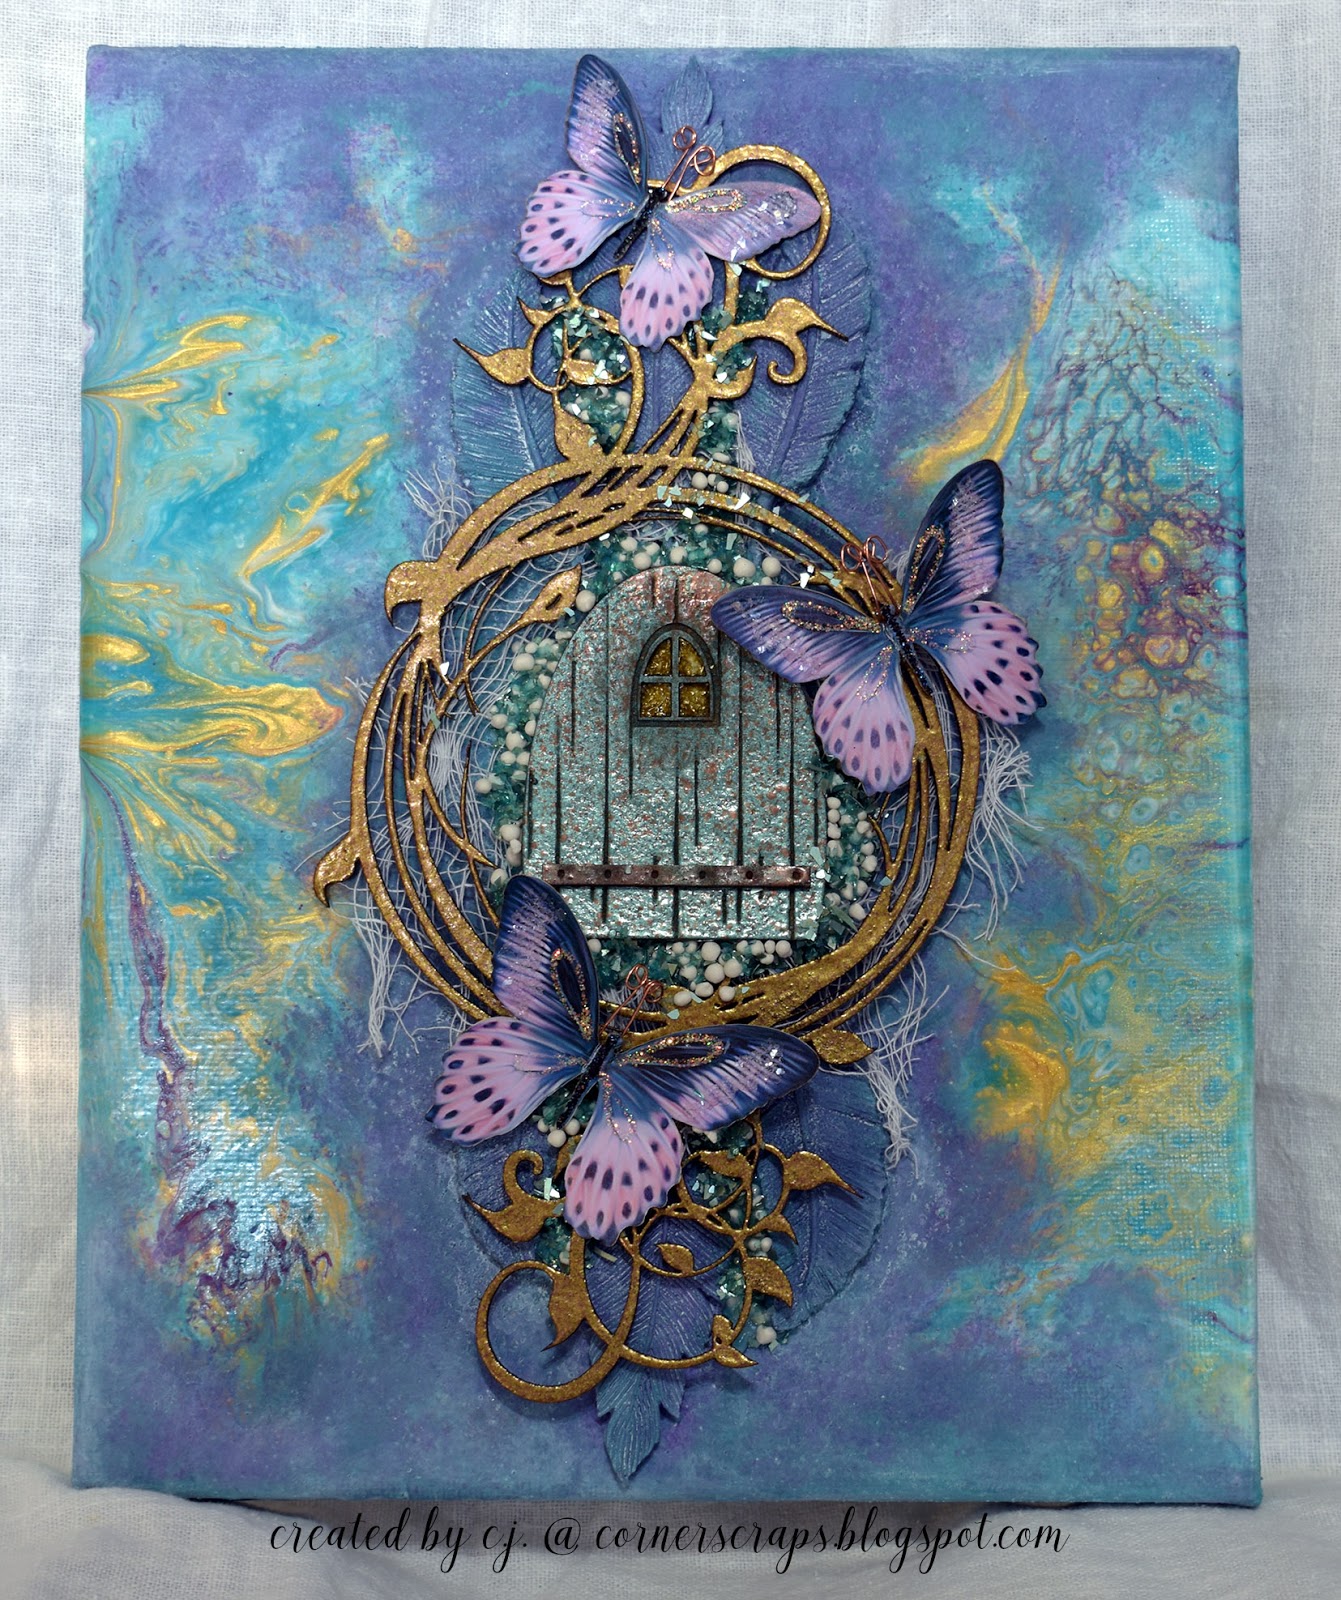
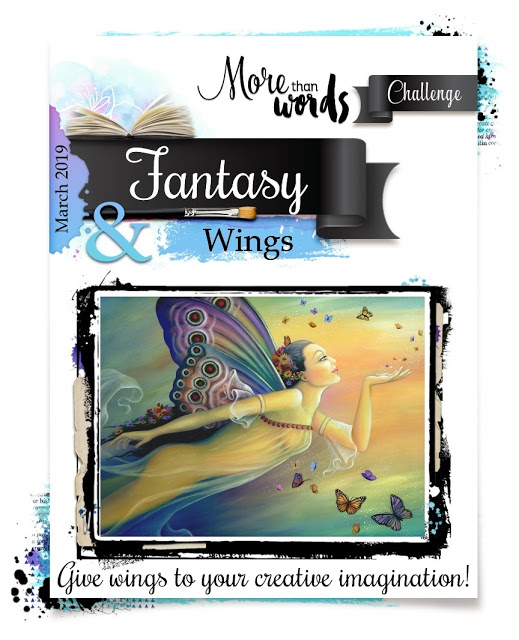
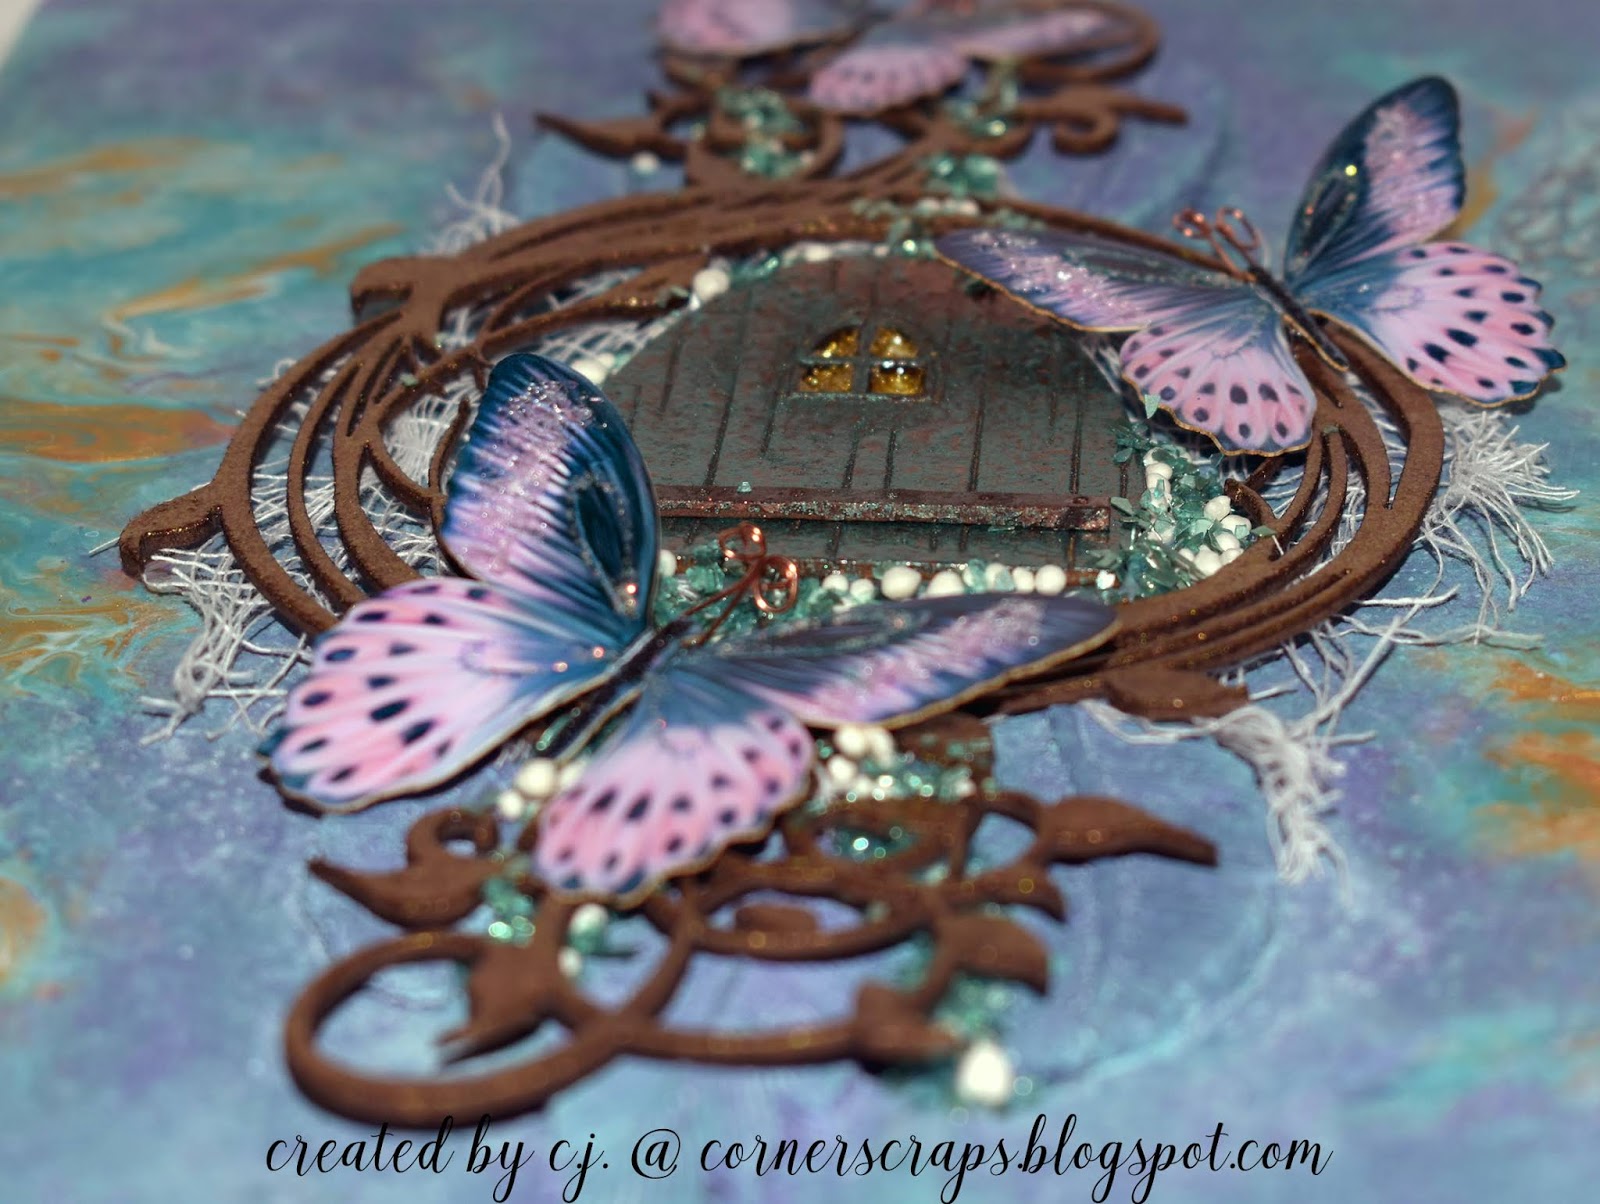
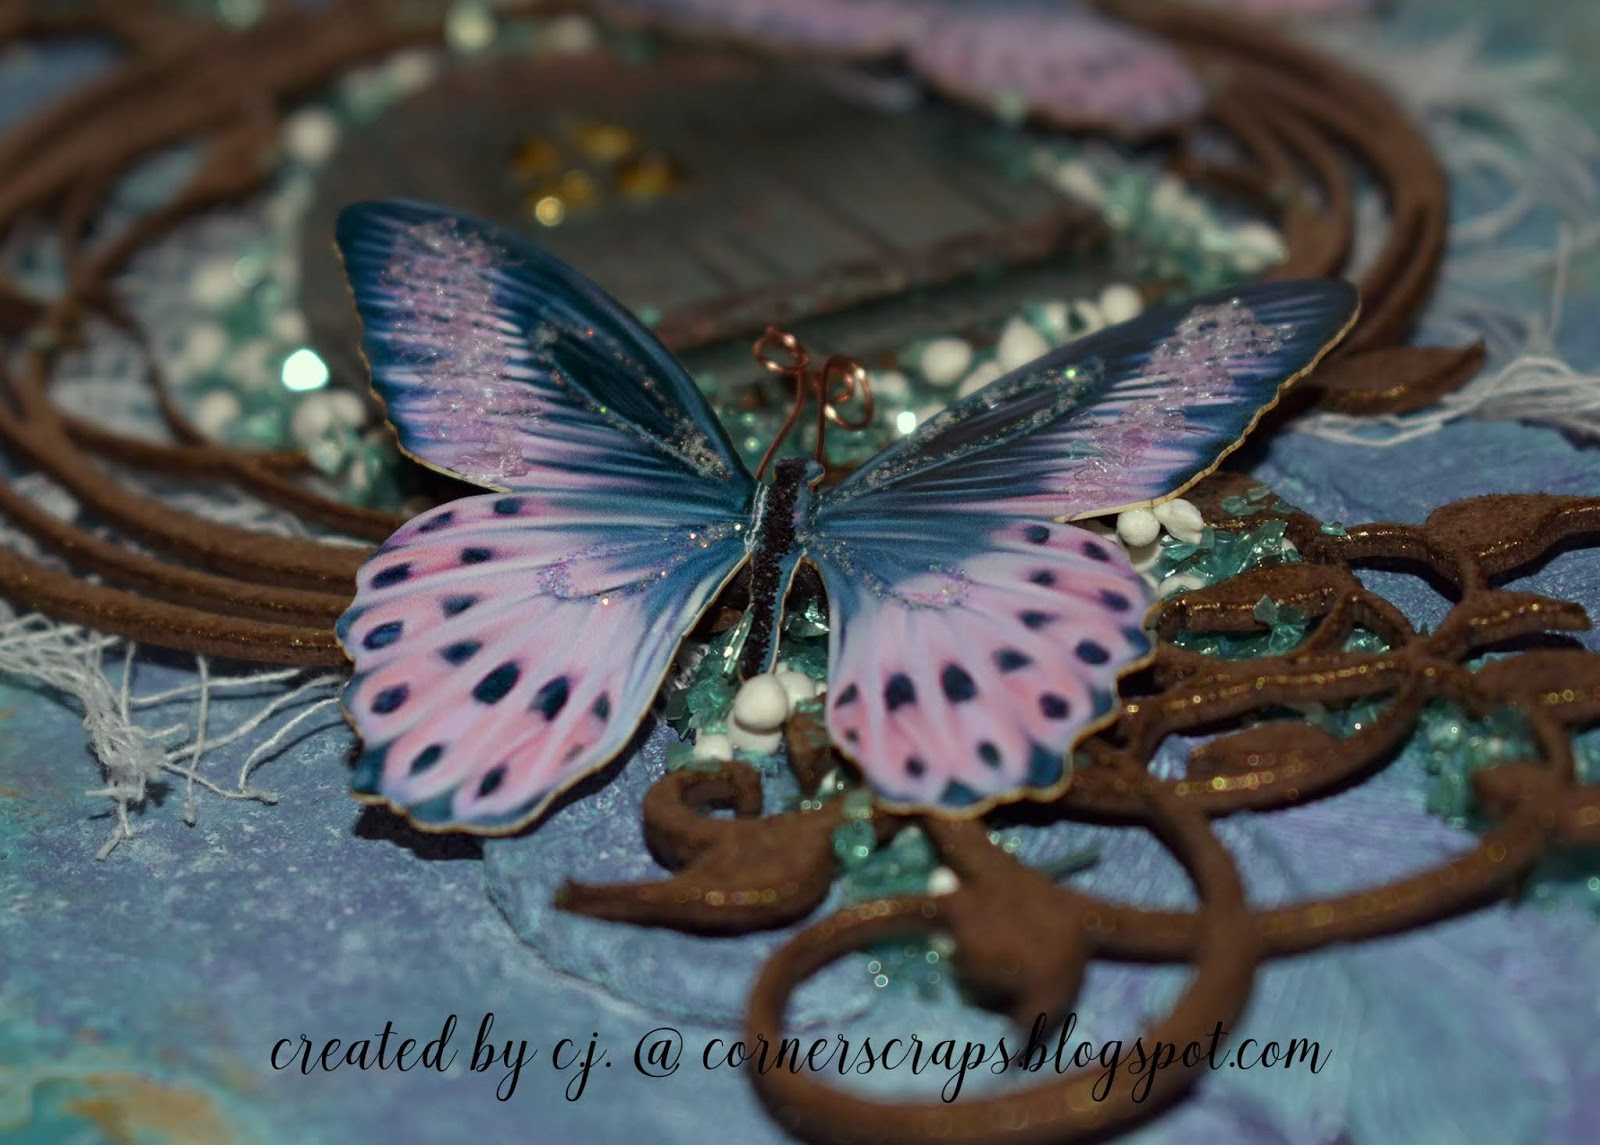
This month the main challenge over on the More Than Words Blog was to be inspired by “Fantasy & Wings.” For me, fantasy always makes me think of fairies. If it’s fantasy, there’s going to be some kind of fae involved! This month I also had pastes on my mind, and I happen to have a nice set of Finnabair’s Fantasy Rust Effect Paste…which goes with the fact that I also love using purple, teal (turquoise), and blue together…especially with fantasy!
I may not have had a fairy that I could get to “fit” on this canvas, and I have a few different chipboard fairies, I did have a handy-dandy fairy door from Creative Embellishments! I also happened to have the Astral Pink Butterflies from ReneaBouquets, and the color on them is
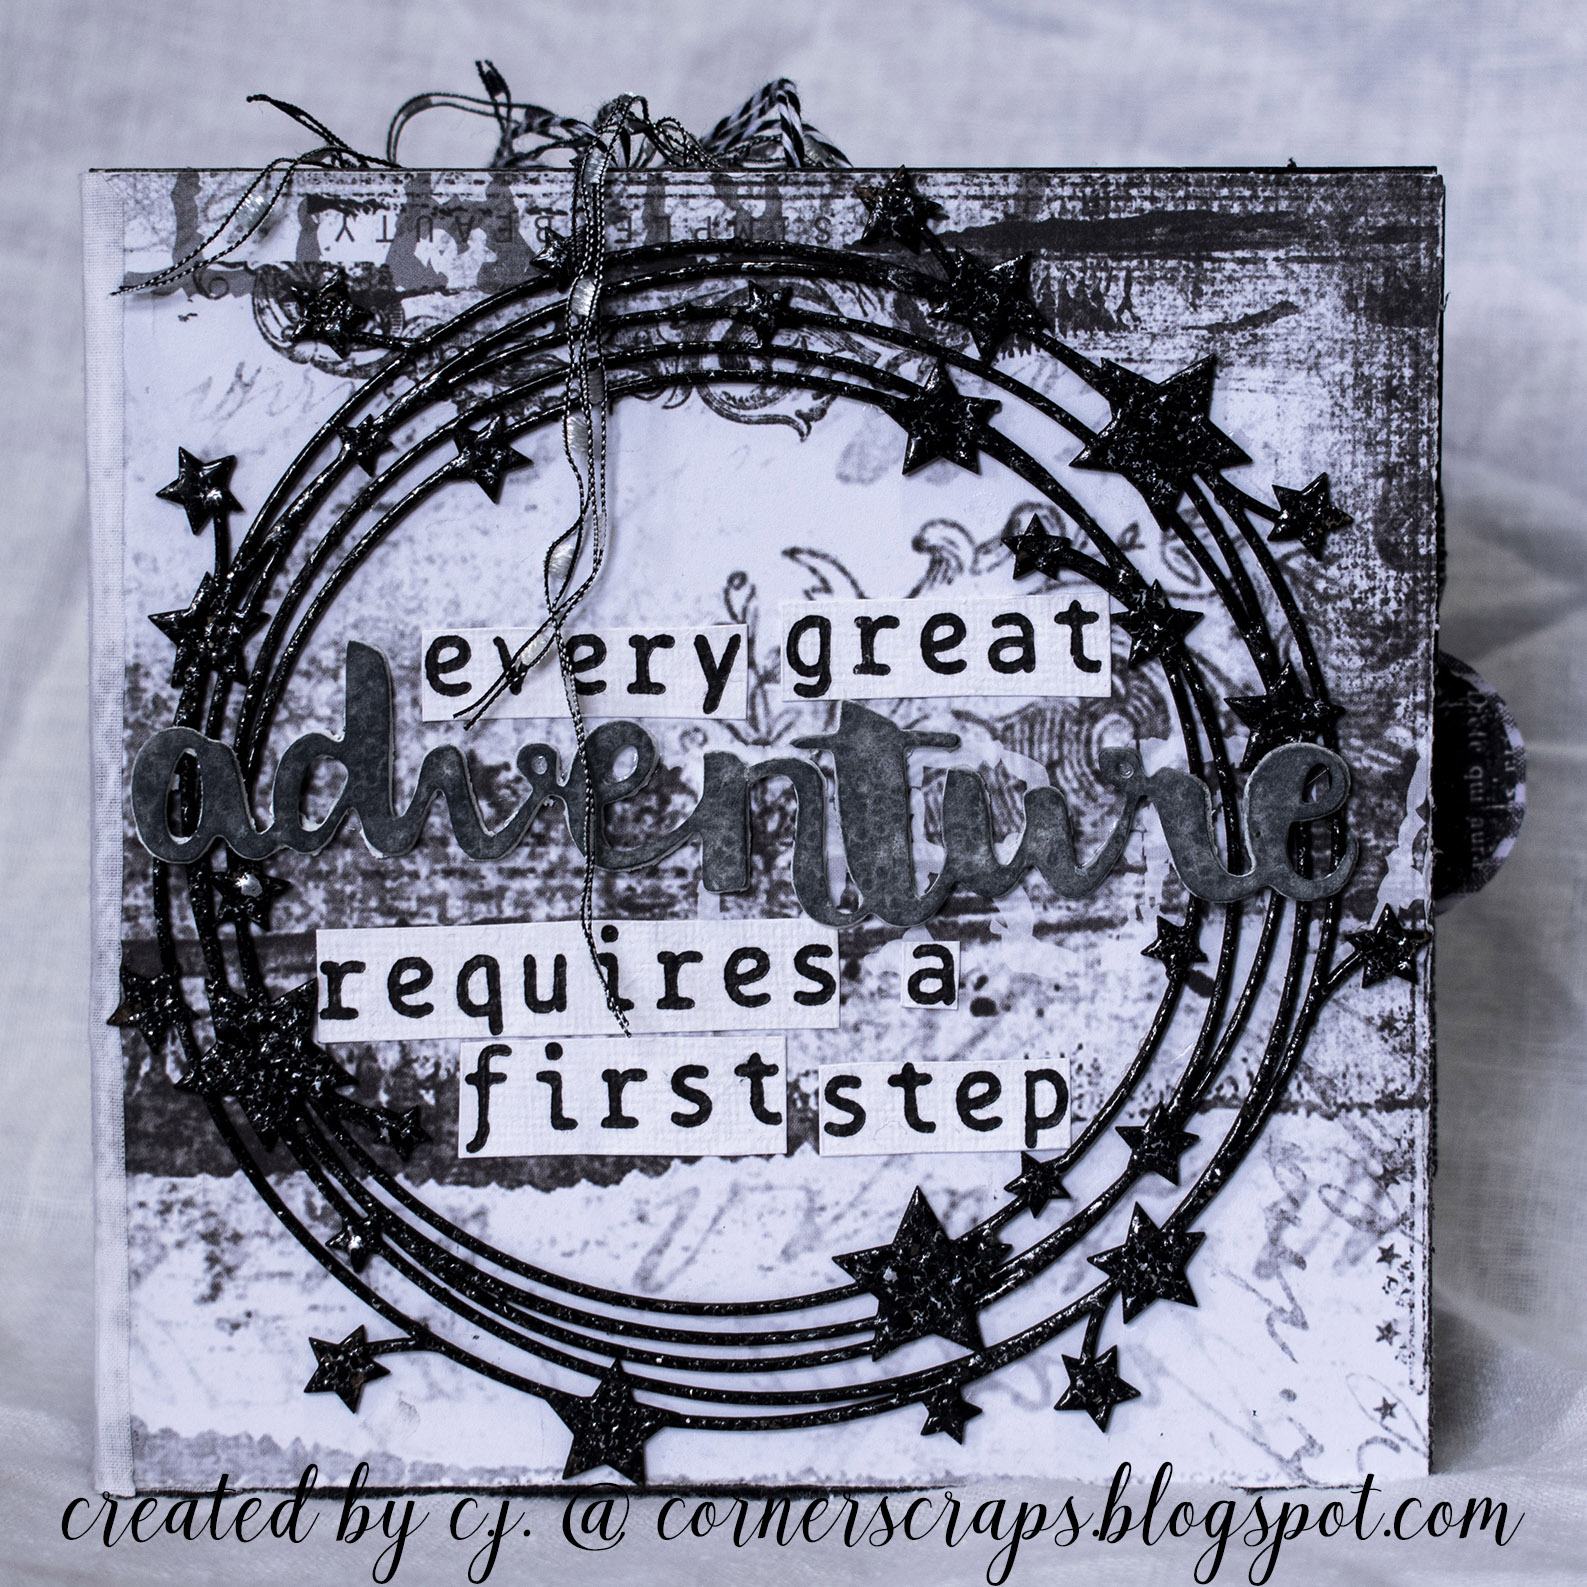
This months challenge over on the Creative Embellishments Blog was to “…be inspired by 1 element from the photo below (let us know what it is) and by this quote: ‘Every great adventure requires a first step.'”
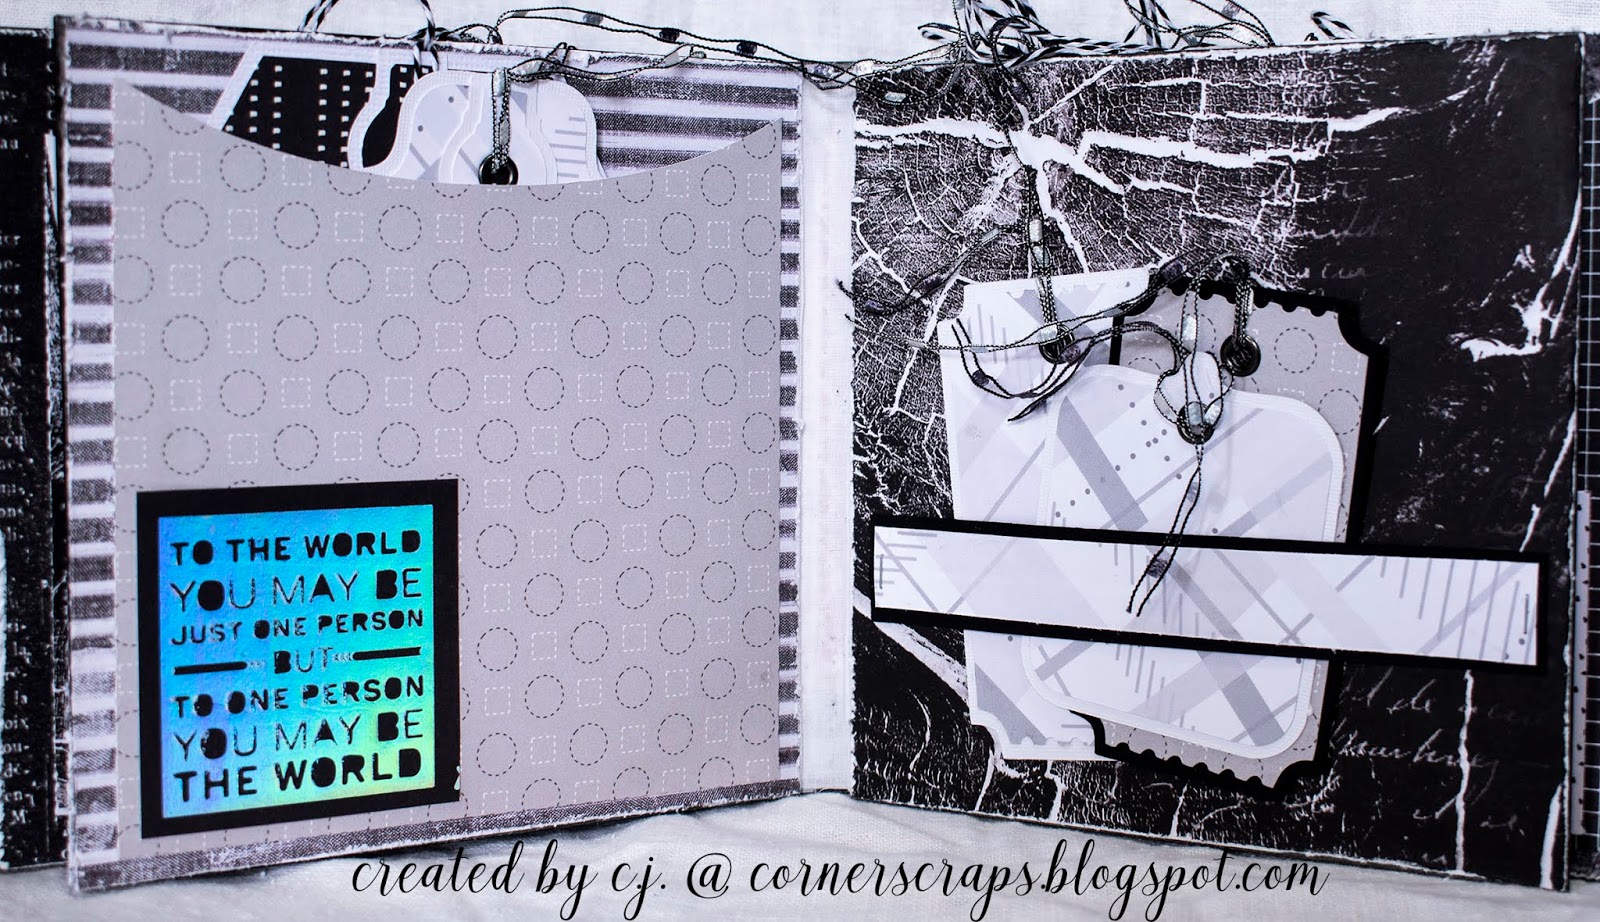
I was inspired by the color! I love using black and white…especially when I just happen to have some lovely black & white papers that need to be used!
For the album I cut a thick piece of chipboard to use as a spine with the Creative Embellishment’s 5-page Square Mini Album, and I just had to add the Stars In My Universe Frame (also from Creative Embellishments), with some Rocky Road Baked Texture on it, to the cover!
Cover
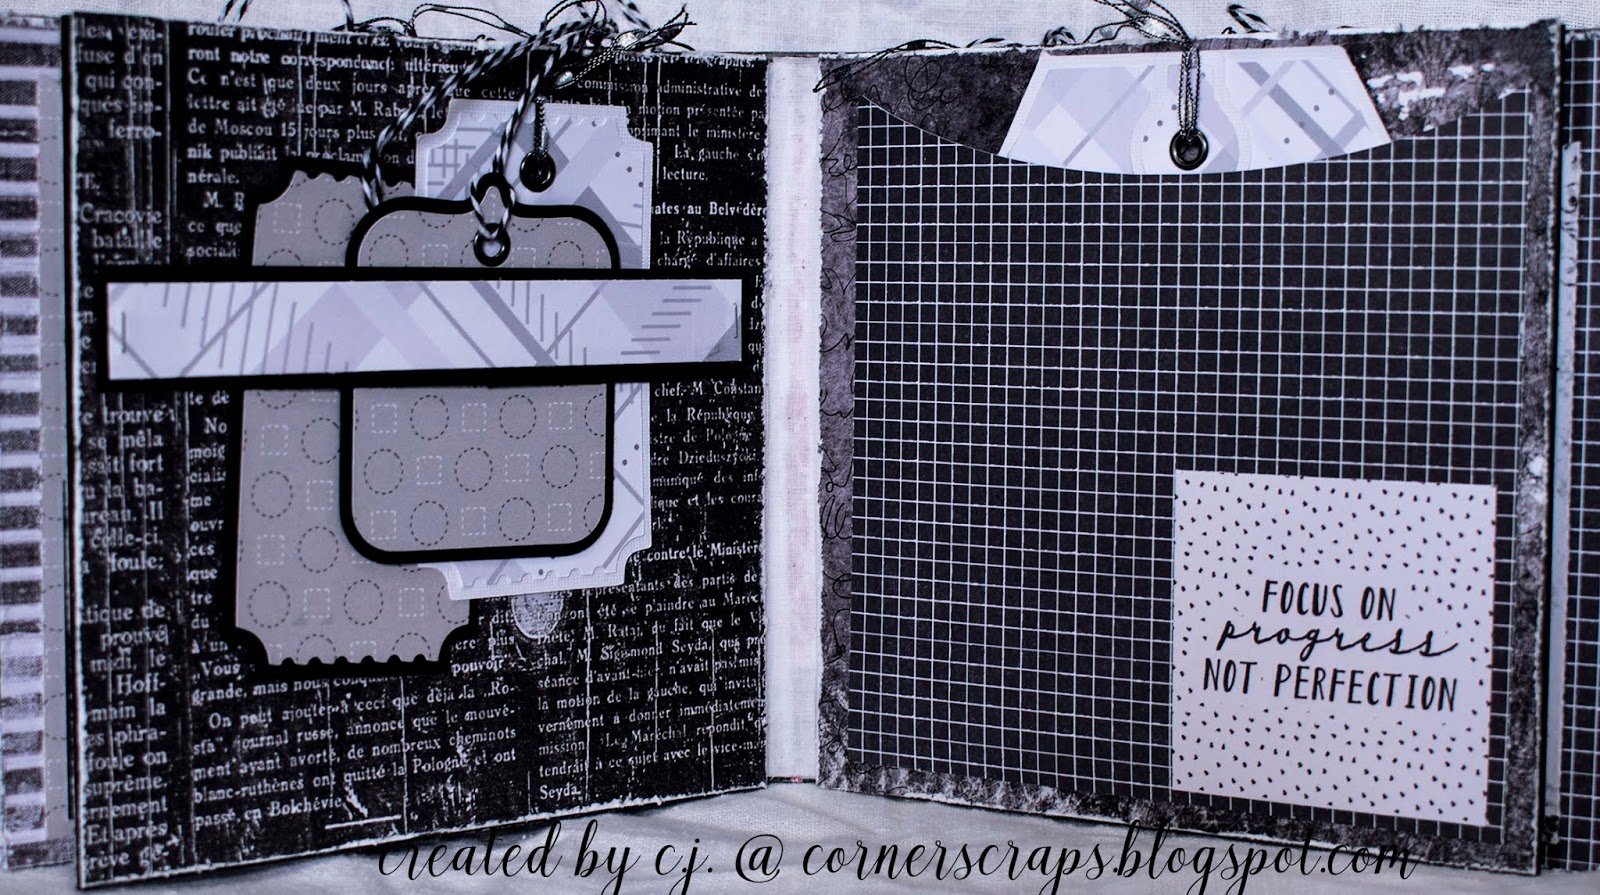
Inside cover & page 1
Pages 2 & 3
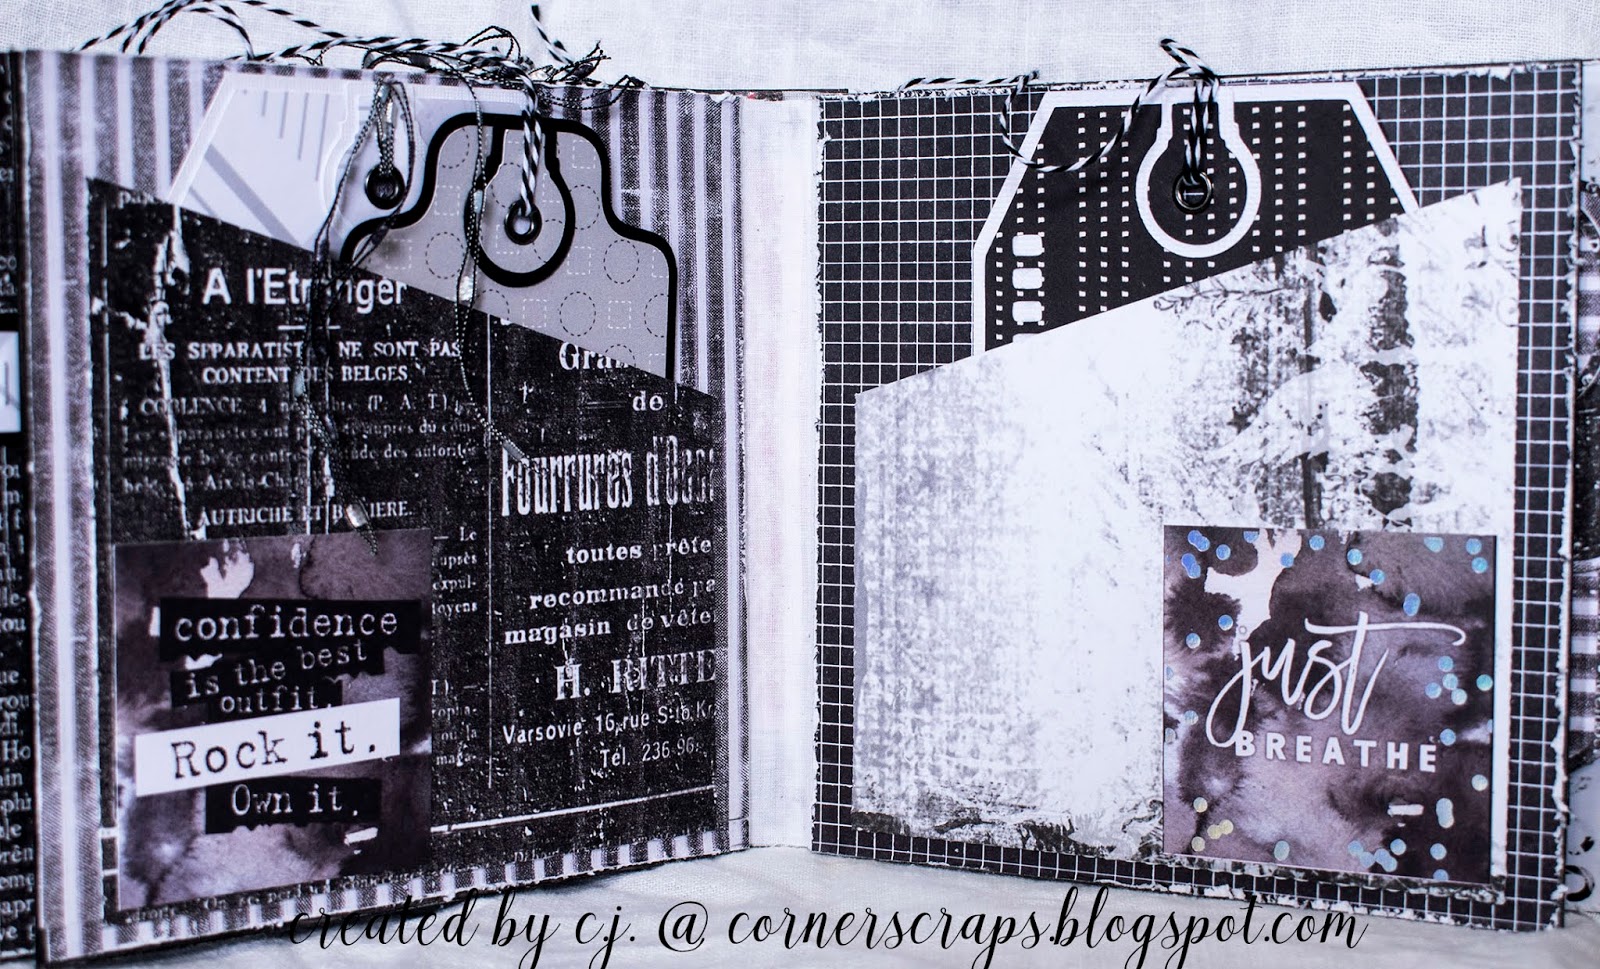
Pages 4 & 5
Pages 6 & 7
Page 8 and inside back cover
Products:
Creative Embellishments
Square Mini Album
Stars In My Universe Frame
Silhouette
Cameo 3
Curio
Pen Holder
Cut Files: Tags & Tabs
Ranger
Emboss It Dauber
Tim Holtz
Distress Oxide: Black Soot
Emerald Creek
Backed Texture
Rocky Road
Idea-ology
Tim Holtz
Mini Stapler
13@rts
Rose Fields
Natural Beauty
Letters to Rose
Aqua Flora
Shades of Black
Prima
Flirty Fleur Collection
Something Floral
Pretty Birds
So Lovely
Crate Paper
Maggie Holmes
Flourish
Charming
Hip Kit Club
Kim Watson
Amber Star
Sparkle
Pink Paislee
Paige Evans
Turn The Page 07
Simon Says Stamp
Black Cardstock
American Crafts
White Cardstock
Thickers
Hello Joy
We R Memory Keepers
Crop-A-Dile & Eyelets
Art Glitter
Adhesive
Simply White Gesso
Folk Art Chalkboard Paint
Unknown/Unbranded
Twine
Ribbon/Fiber
Black Pen (I’ve had for YEARS…I’m actually impressed it still worked!)
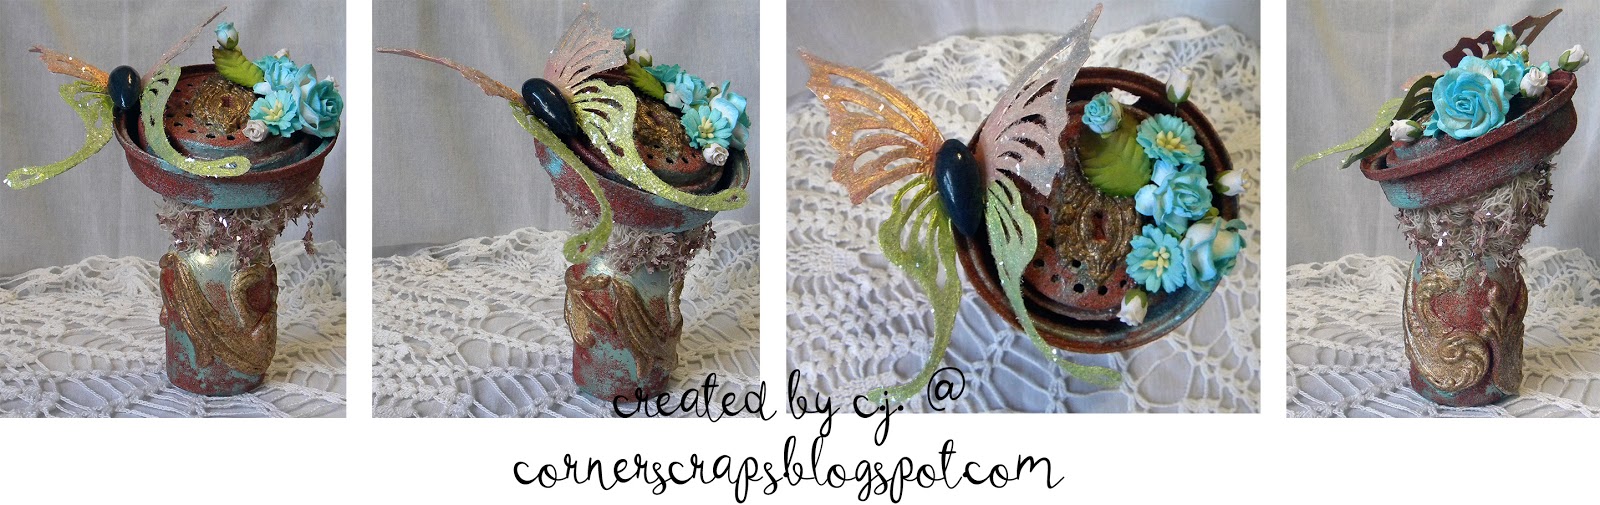
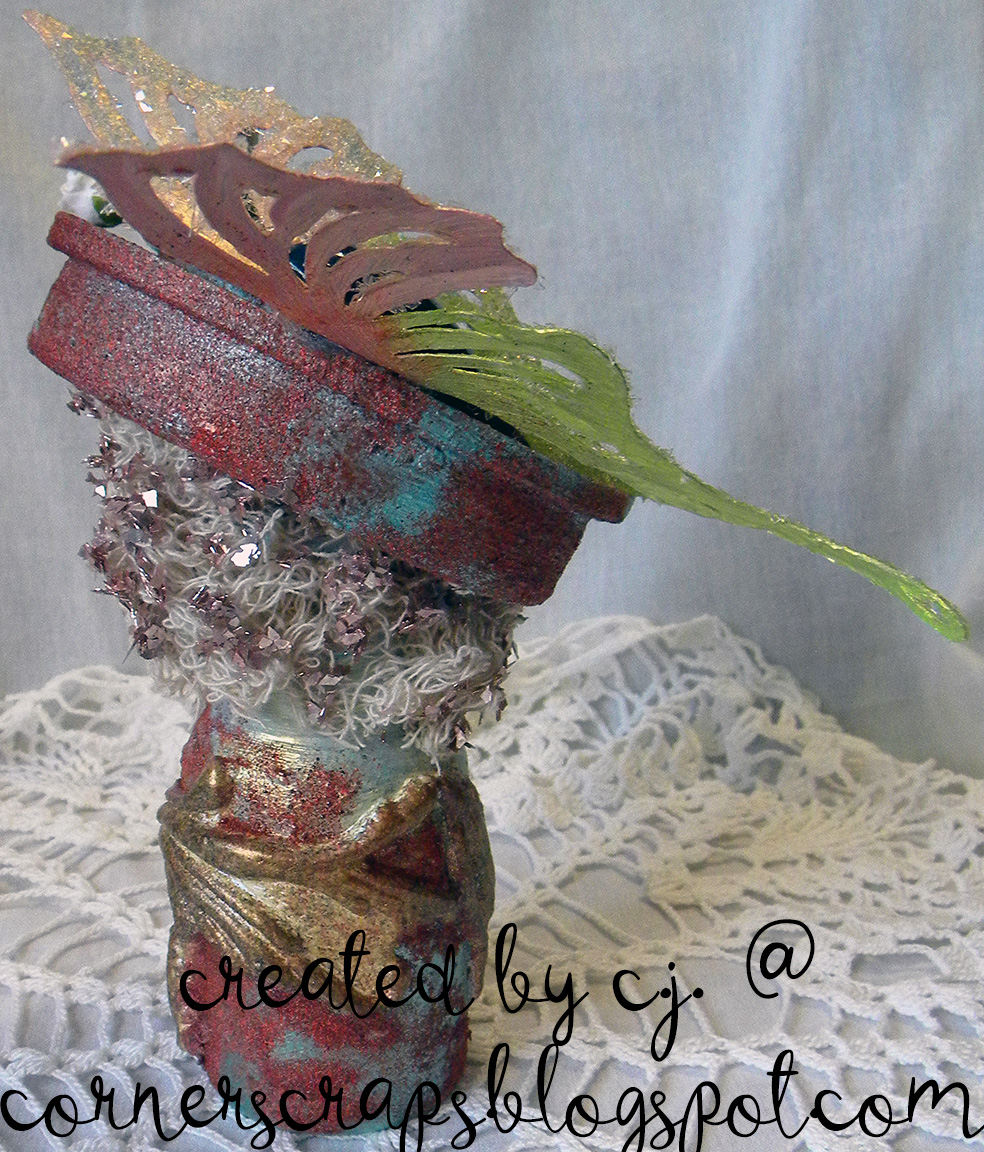
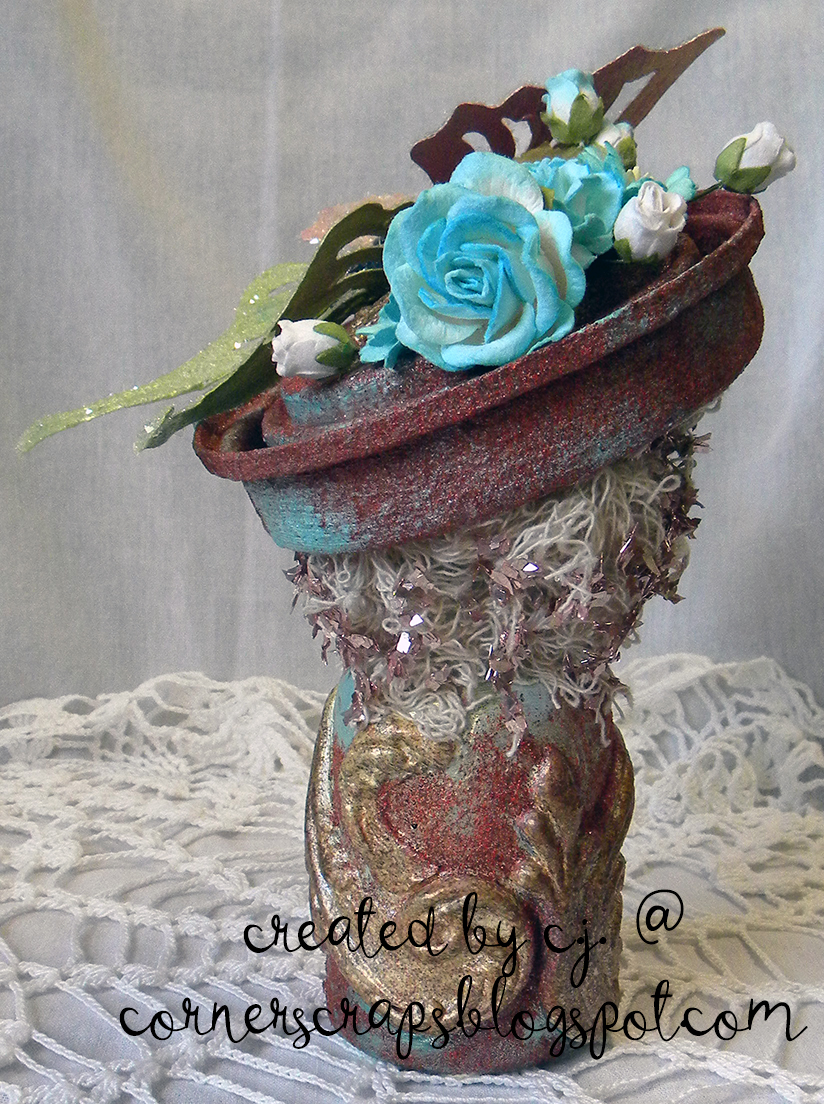
An altered jar I made, mostly just to see where it would go, but also entered in the May (2018), Reneabouquets Mood Board Challenge on Facebook.
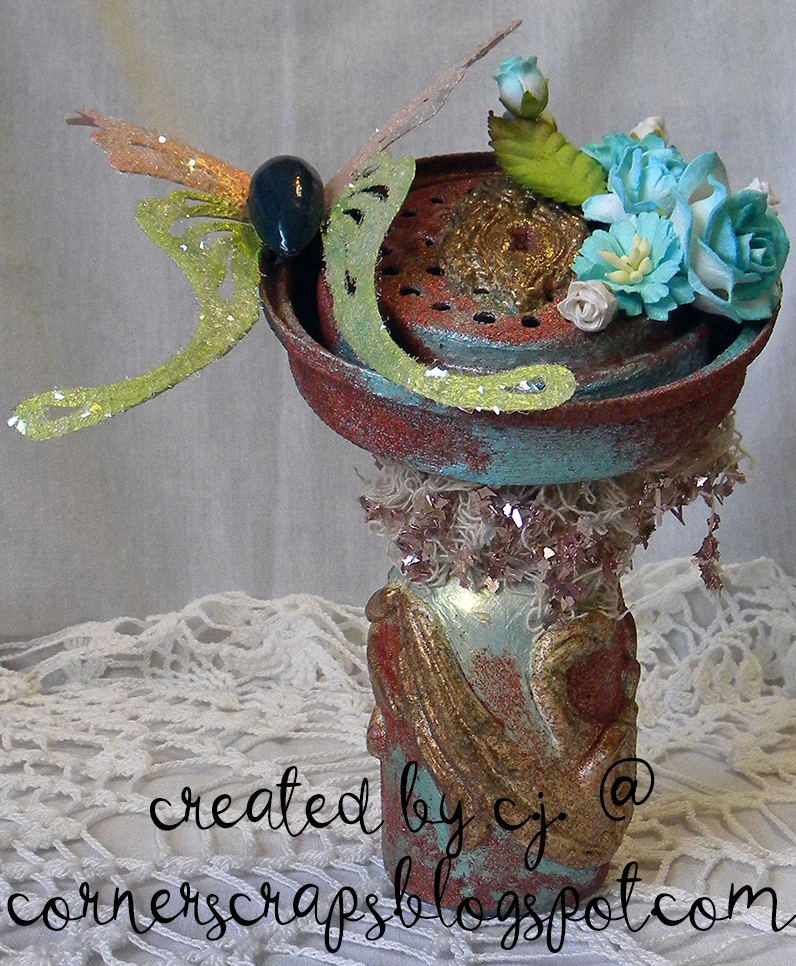
The jar I’ve had sitting around for a while, the top I found while digging up part of the yard last month, and the butterfly was left hanging on a stump by the previous owners. I washed everything up and set them aside without any plan for them at the time, but I decided to see what I could glue together this month.
After I added the Moulds to the jar, I coated everything with white gesso, then started layering on the paints & when I thought that was too “bright” I decided I should FINALLY try out the Baked Textures!
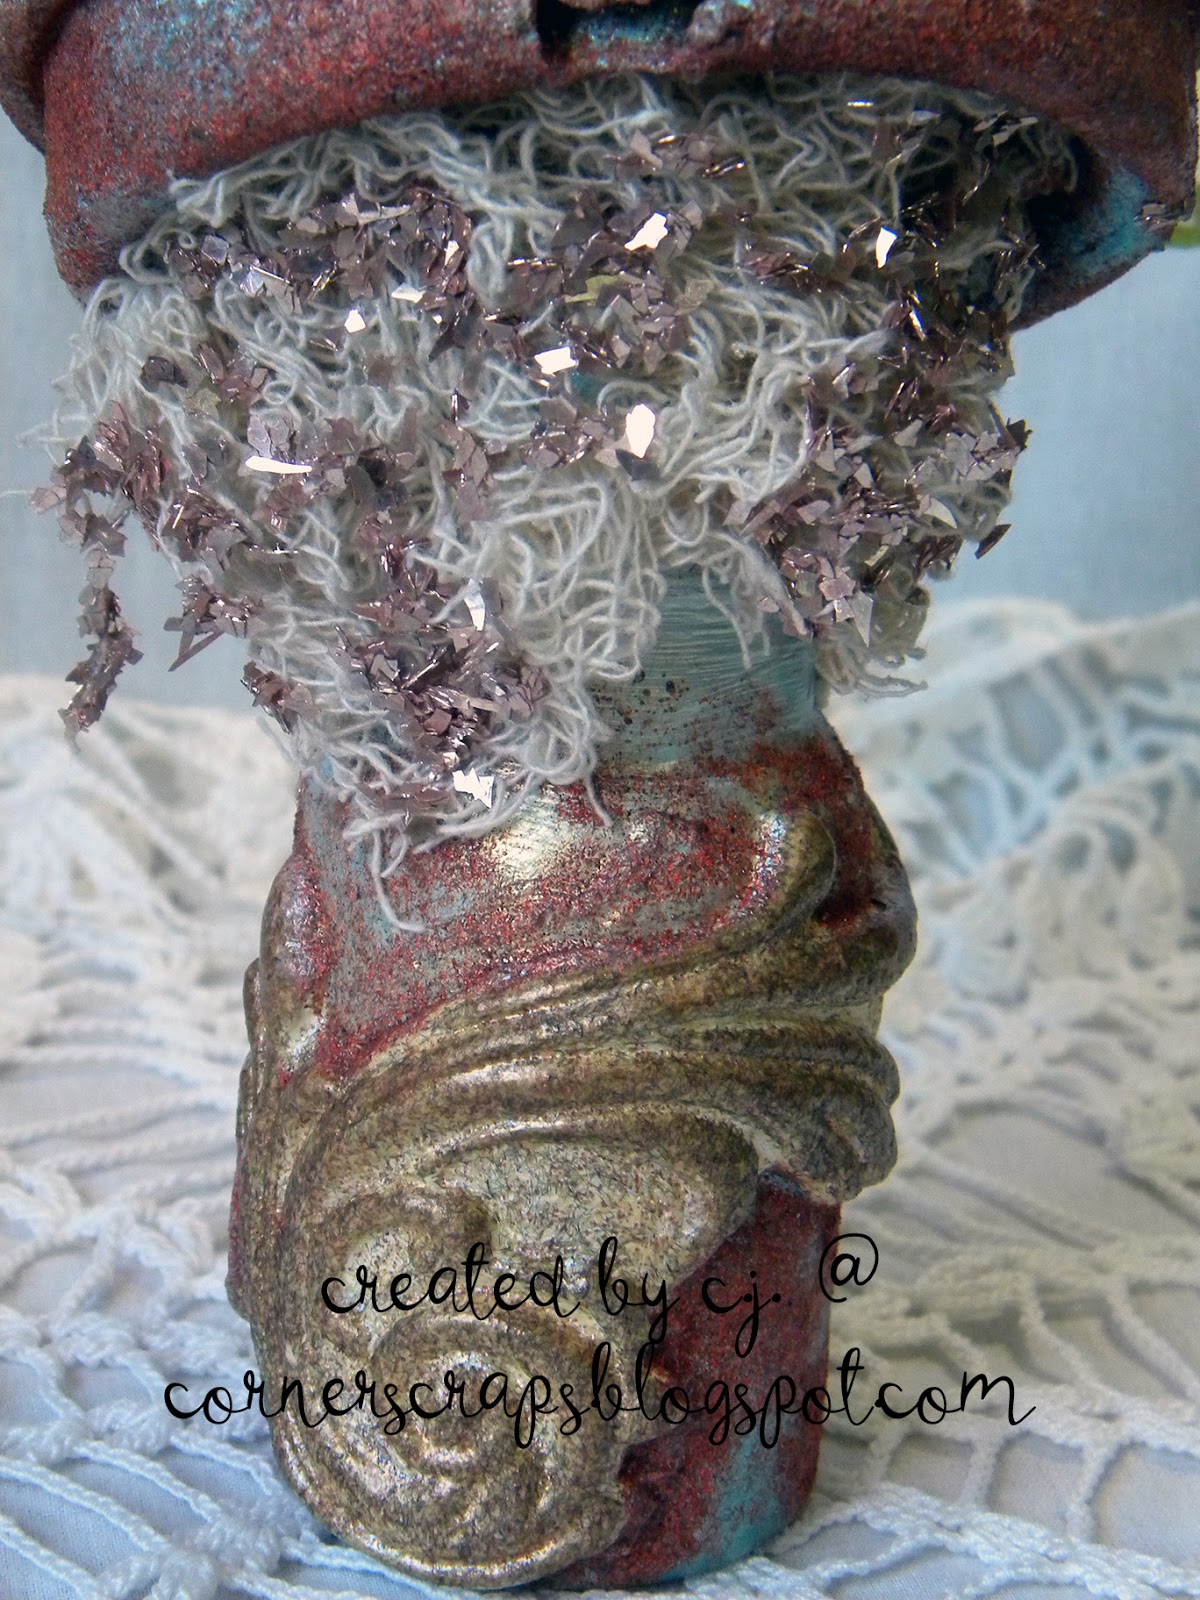
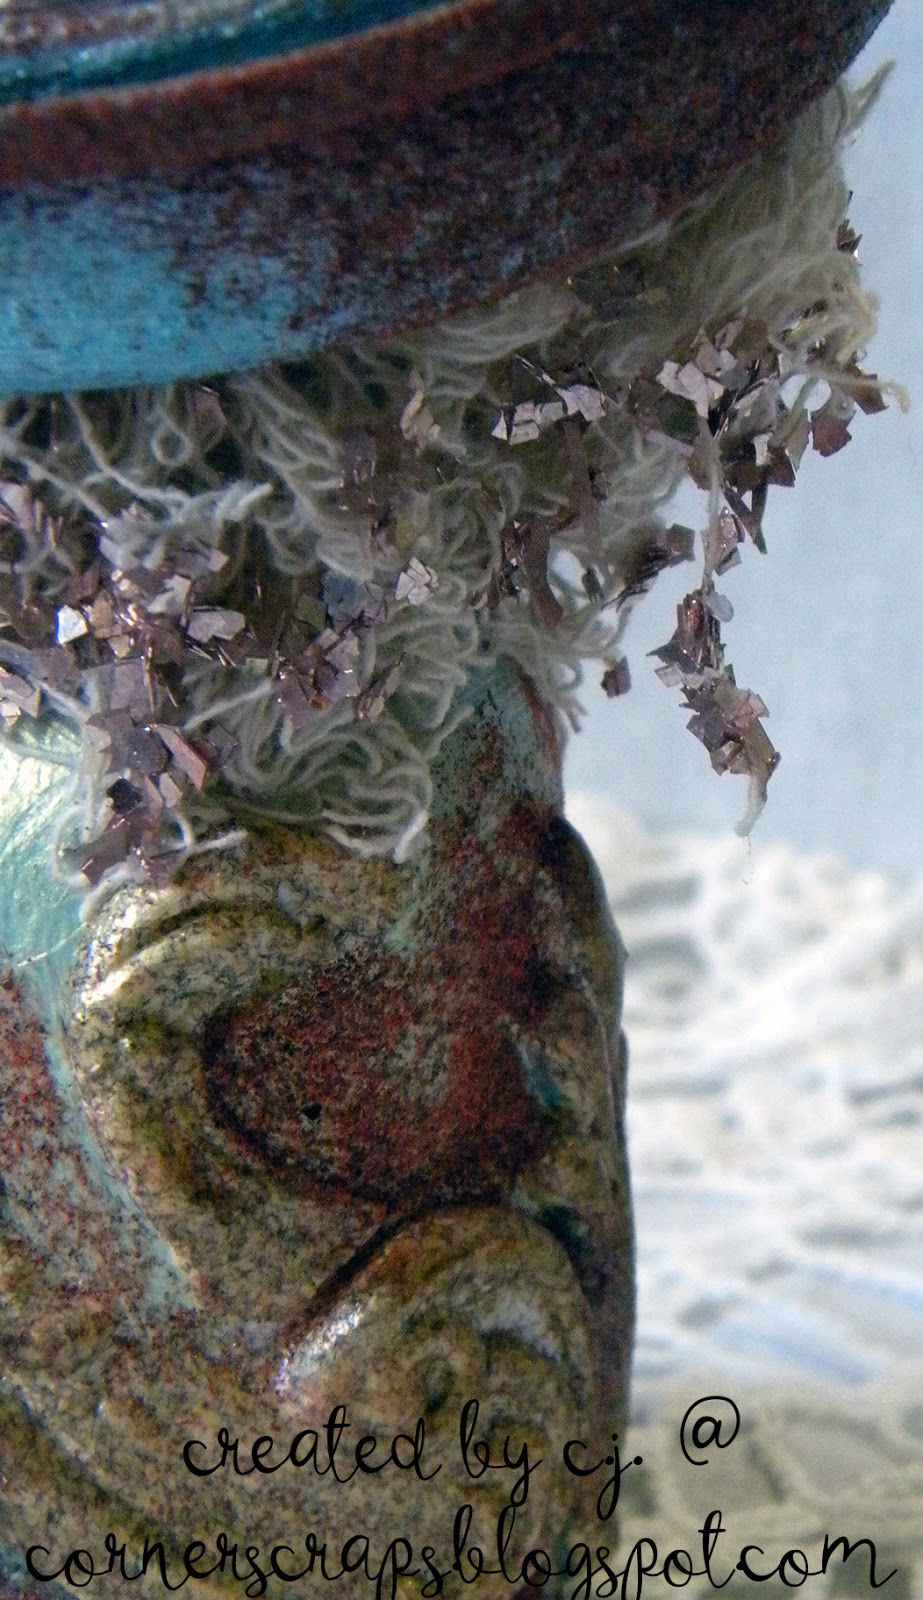
That mass of “netting” on the underside of the top piece is actually some “spider web” I picked up at the 99¢ store this past Halloween! I needed something to…cover…the top of the bottle, but I also wanted something different. After I got the “web” on I just randomly dribbled some JudiKins Diamond Glaze on and added the Silver Pink Shard Glitter Glass from Reneabouquets!
To add some shine to the butterfly, that was painted with Vicki Boutin paints, I added Diamond Chunky Glitter Glass from Reneabouquets!
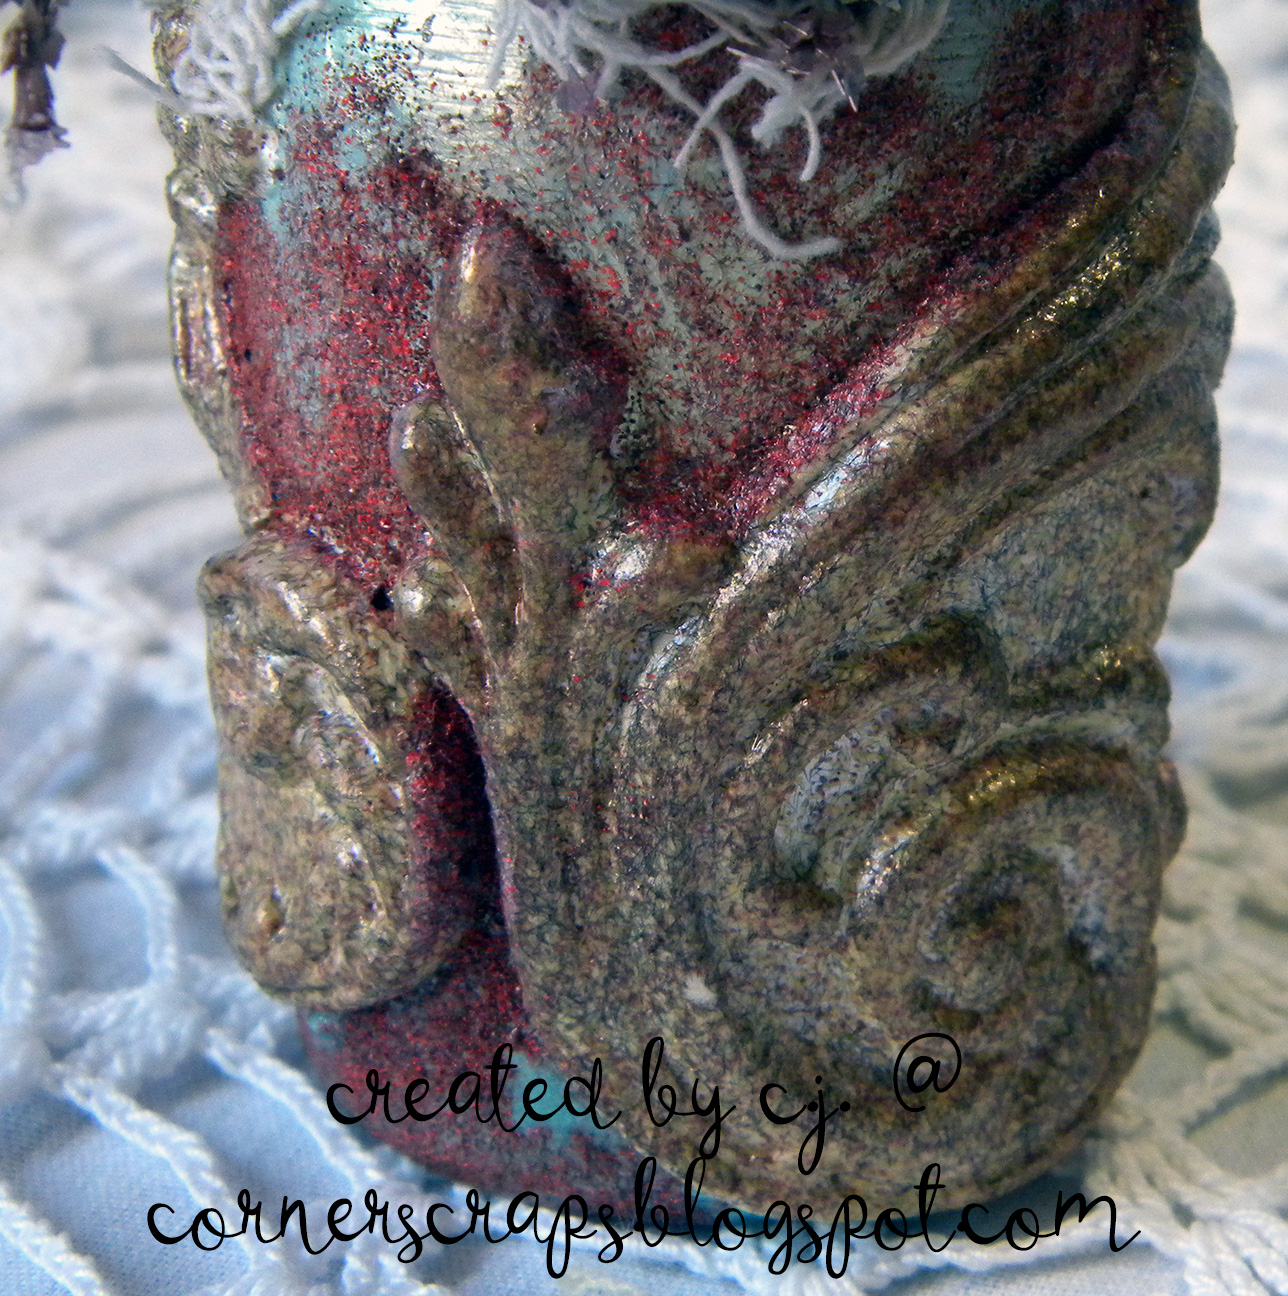
The jar was painted with Prima’s Opal Magic “Blue Gold” on the bottom side of the flourishes, and Prima’s Sparks “Mermaid Sparkle” above the flourishes, while the flourishes themselves were painted with Opal Magic “Yellow-Blue” before having a layer of “Ancient Amber” Baked Texture added!
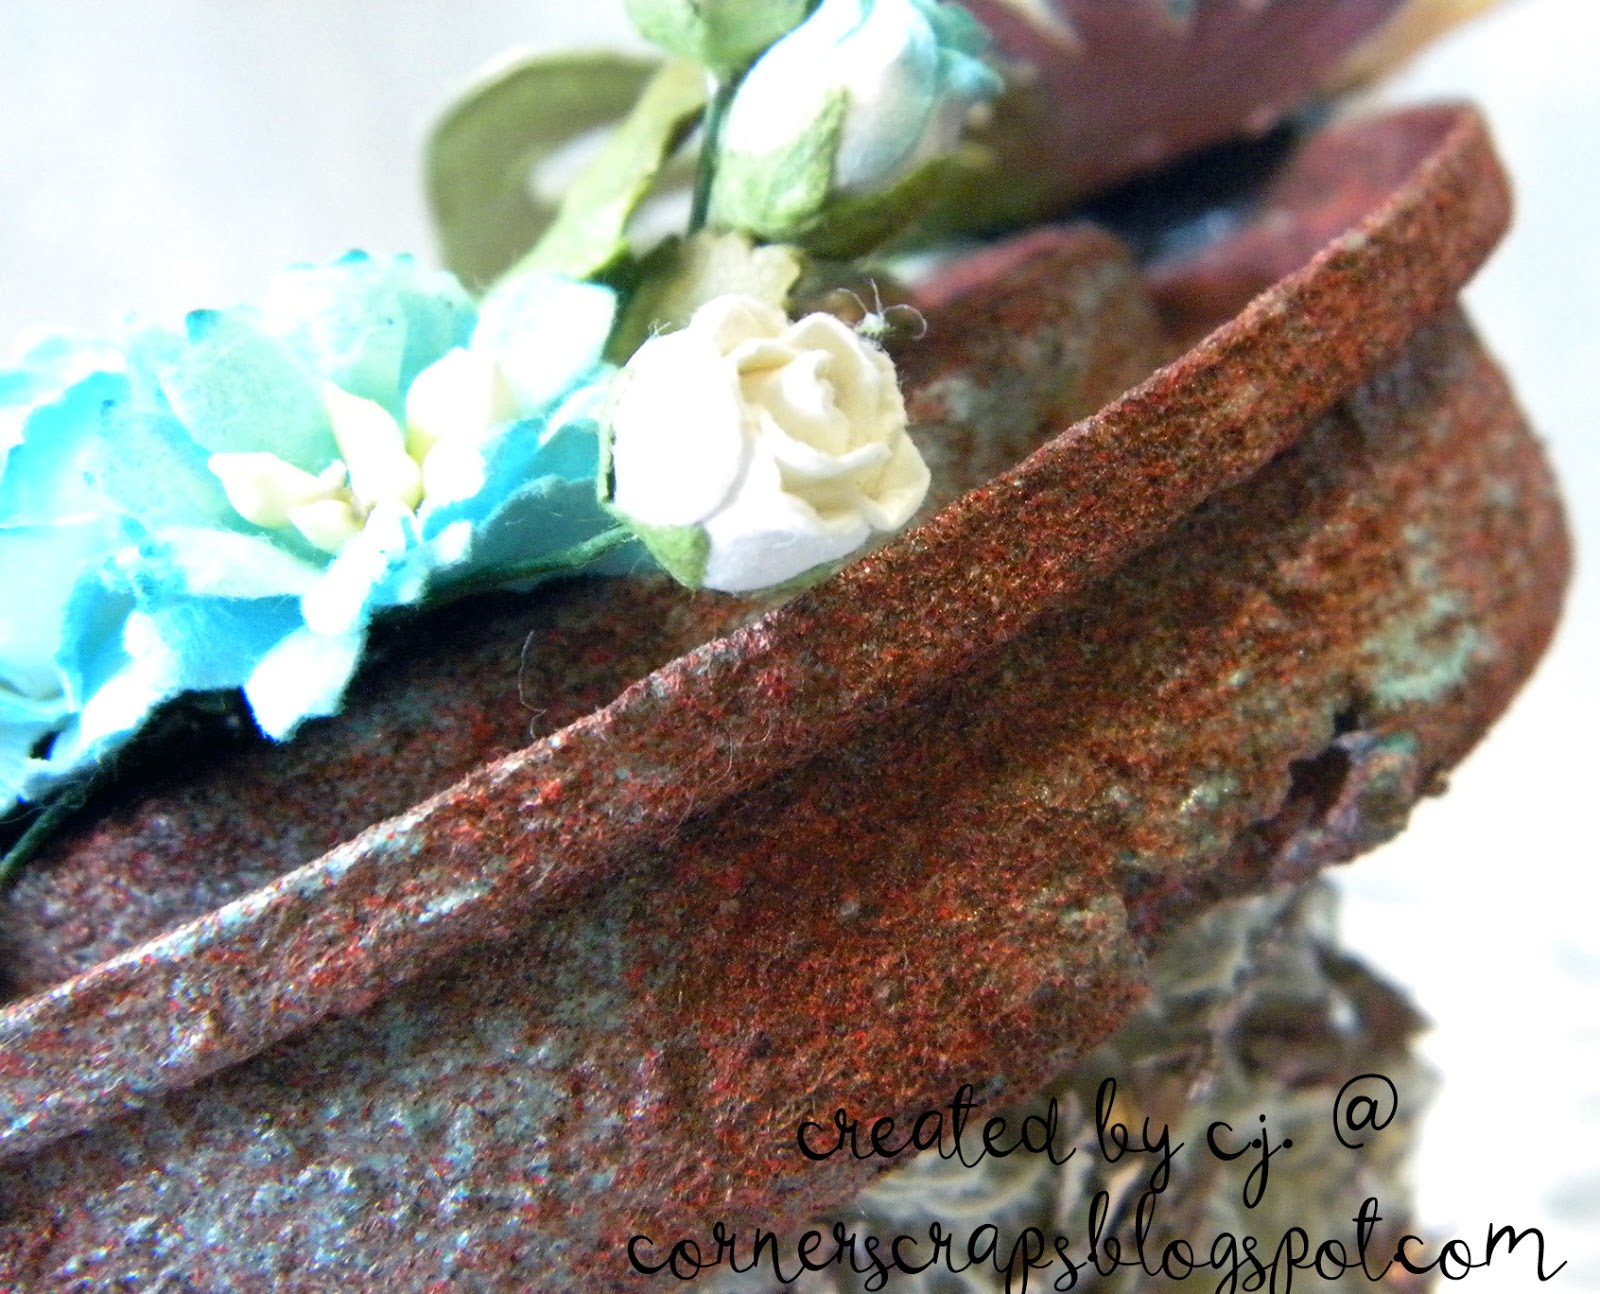
A close up of the beautiful, handcrafted flowers from the Reneabouquet Shop! For the coloring of the lid, I mixed some “Mermaid Lagoon” Distress Oxide with some Vicki Boutin Iridescent Glaze, spritzed in a bit of water for easier mixing, and painted it on! And that rust all over? “Chunky Rust” Baked Texture! Absolutly Awesome!
Product List:
Reneabouquet Exclusive Products:
Diamond Chunky Glitter Glass
Silver Pink Shard Glitter Glass
All of the flowers and leaves! (From a couple “Teal and White” sets)
Seth Apter/Emerald Creek: Baked Texture:
Ancient Amber (Keyhole & Flourishes – After painting Yellow-Blue)
Deep Sea (Butterfly Body)
Chunky Rust (for the rust)
Ranger Perfect Medium™ brush
American Crafts – All The Good Things Collection – Mediums – Acrylic Color Pop
American Crafts – Mixed Media Collection – Glaze – Iridescent


