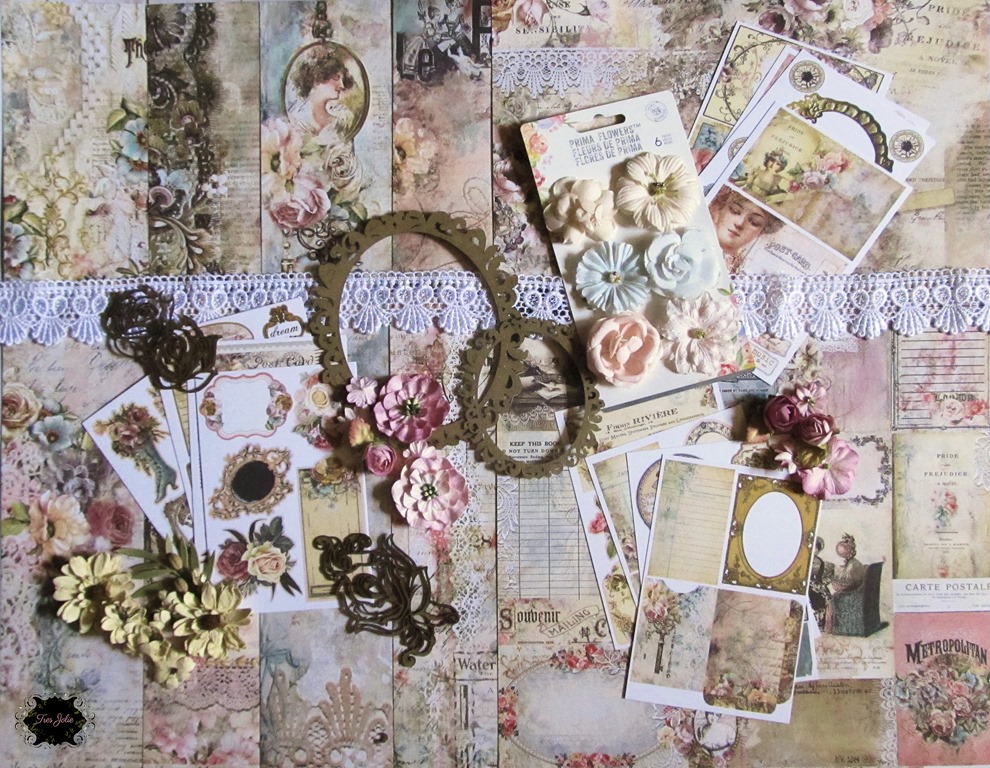
Hey, y’all! This week I have my mood board inspired project for you – a vintage-ish, steampunk-ish, envelope ledger/folio I created using the July Cards, Tags, & More Kit and Scrapbooking Kit! I hope everyone has had a chance to check out this month’s mood board challenge! And don’t forget to enter your projects for a chance at a prize from Tres Jolie!
I have an overview video for you explaining what I did to create this – I had attempted a process video, but the hours of video were really getting out of hand! Be sure to check it out – this isn’t really a complicated project to create, it was just complicated for me to figure out as I was going along!

Vintage and steampunk are my two favorite styles – so I was ecstatic about the kits and mood board this month!


Don’t forget to share your mood board project in the June 2023 folder over at the Facebook Café for a chance to win a prize!
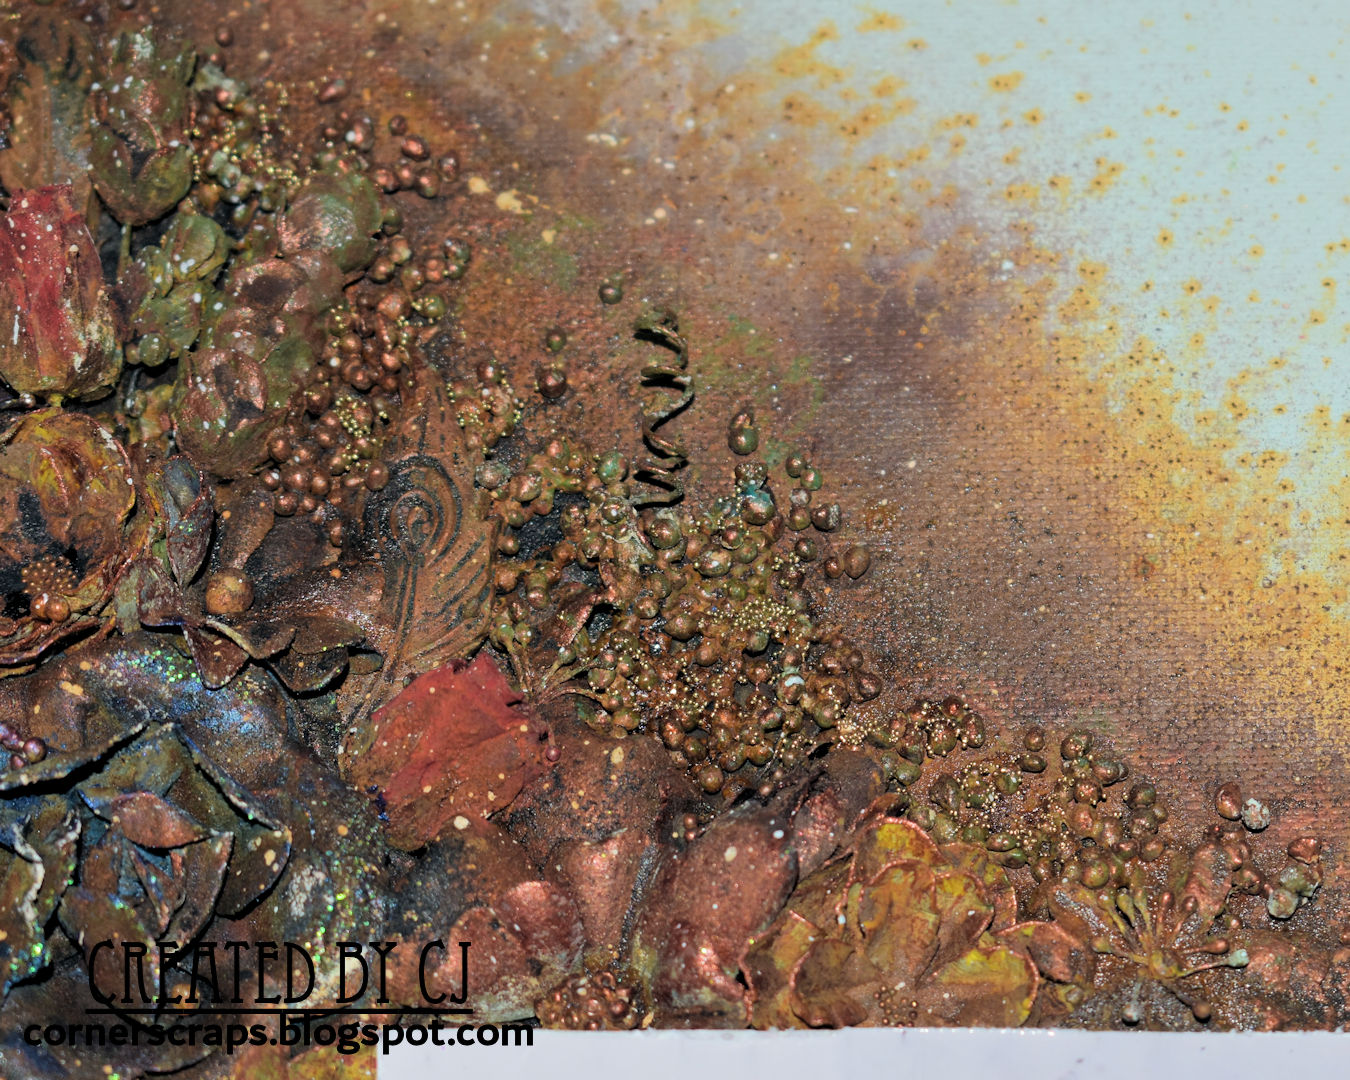
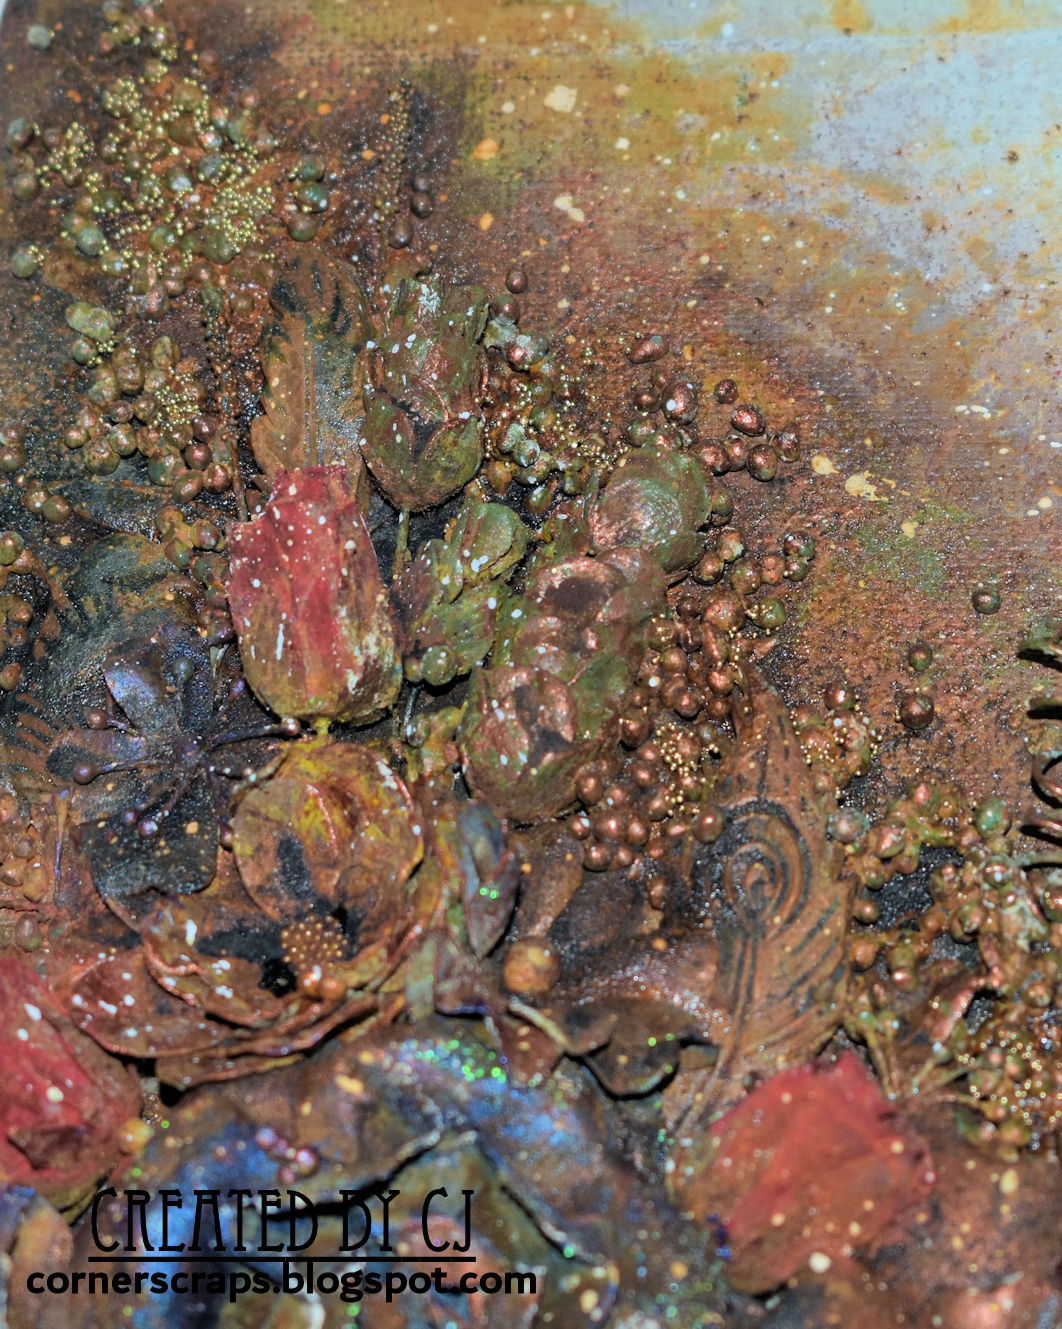
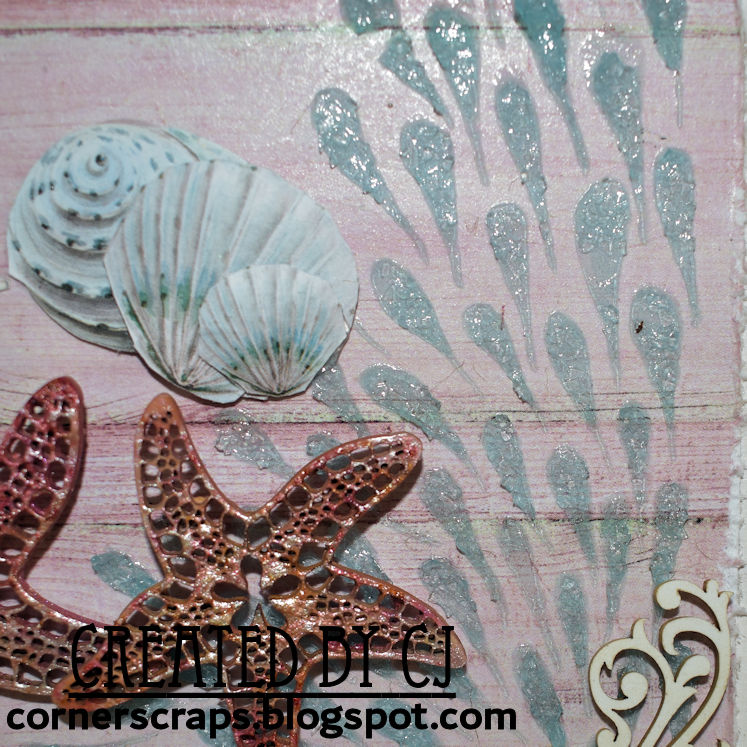
To give my pages and pockets a metallic hue, I sat down with a variety of metallic paints and a gel plate from my stash and went to work! I gel printed on the kraft stock, the kraft card bases, and the envelopes from the Cards, Tags, & More Kit. I also gel-printed on a variety of tapes – paper tape with water-activated glue, fabric medical tape, and shipping tape – to create my “metal” steampunk-themed tapes.
 |
 |
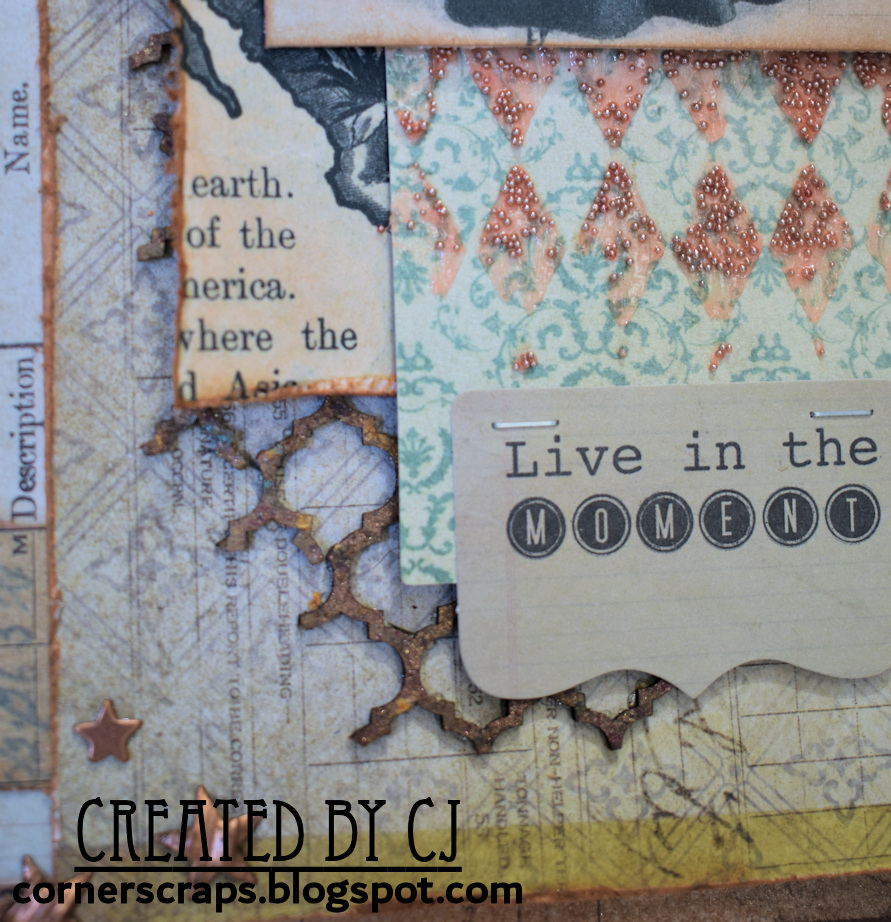
I used pieces of the patterned paper from the Scrapbooking Kit throughout – some pieces as flips, some to make hidden paperclips. To add some lines on a few pages, I used a stamp I’ve had FOR-EV-ER with some StazOn Ink.
 |
 |
I cut one of the envelopes in half and created some smaller pocket pages – reinforcing the edges with various pieces of patterned paper, kraft stock, and tape.

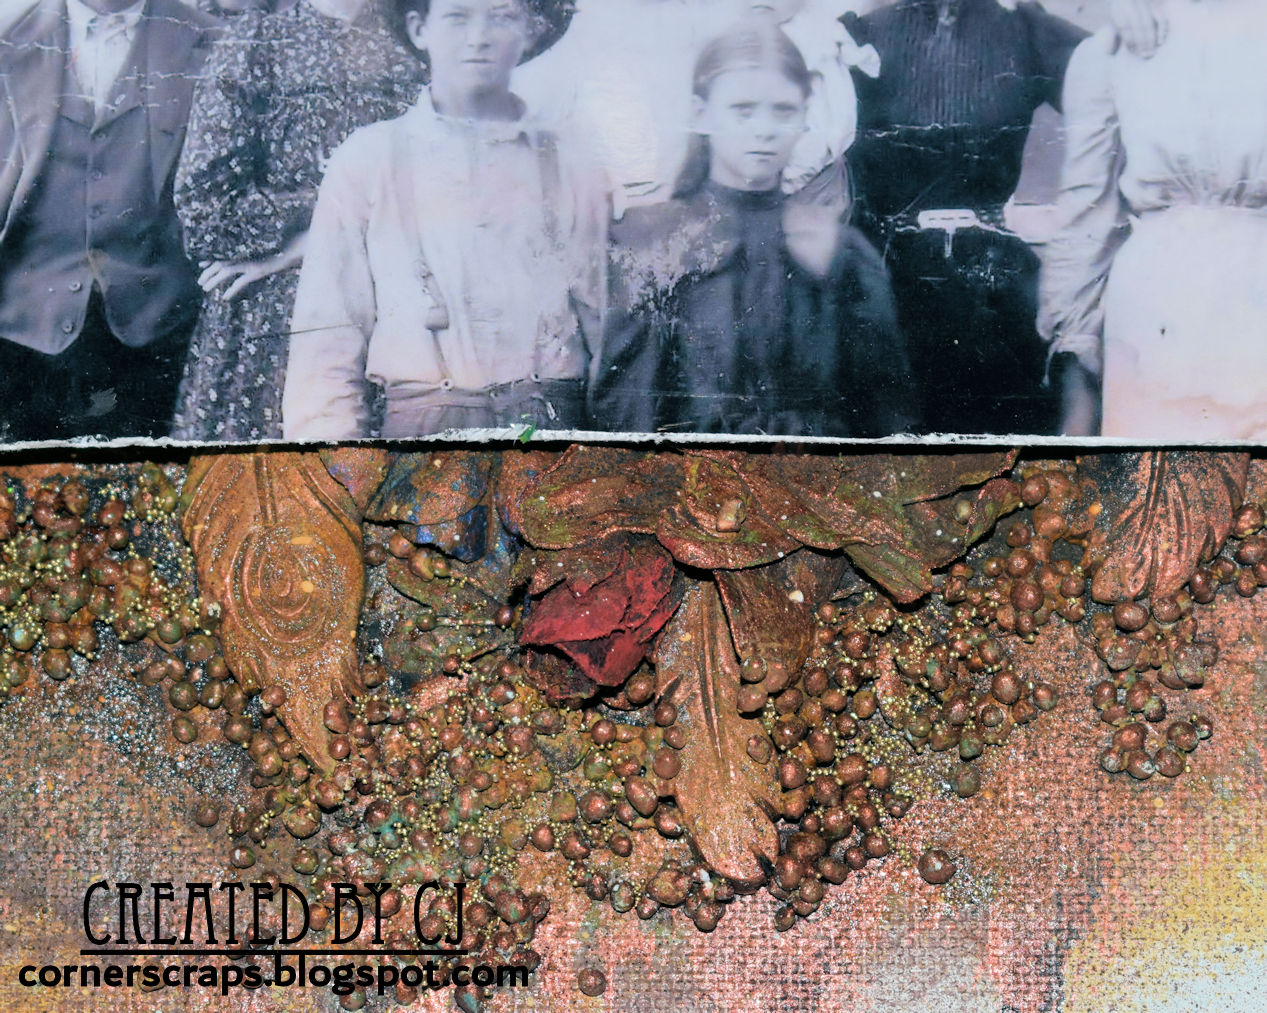
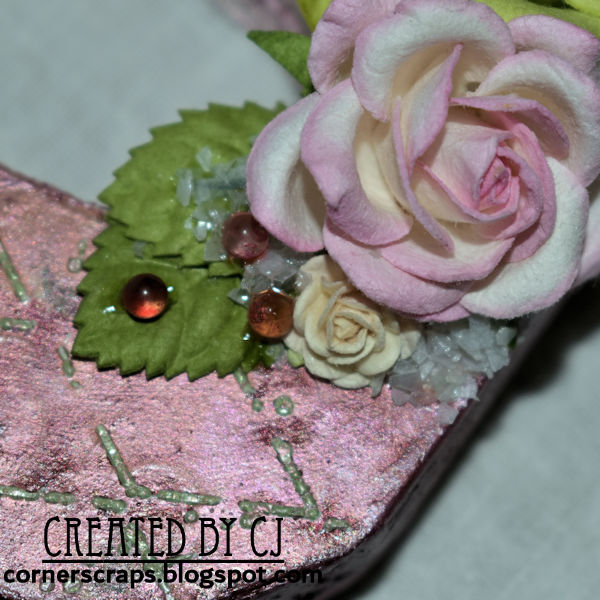
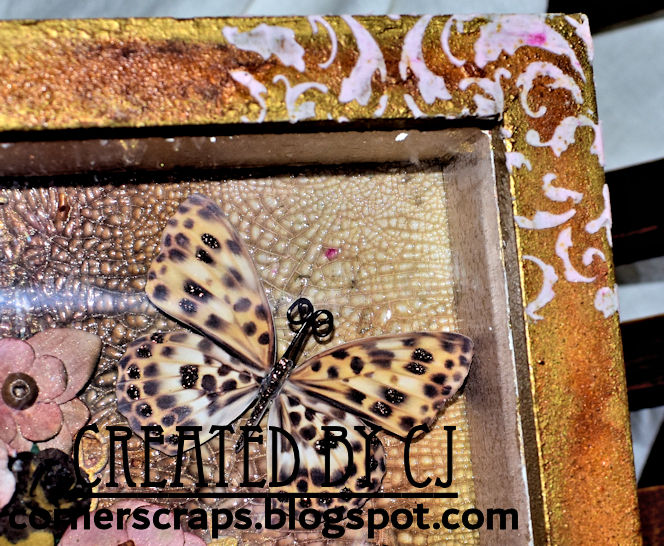
For the cover – the envelope that initially led me to think about creating an envelope ledger – I covered the outside of the envelope and the flap with a piece of patterned paper split the envelope flap in half, and decorated it with the two pieces of Tres Jolie Chipboard from the Scrapbooking Kit after coating them with a variety of metallic embossing powders.
I used four Tim Holtz Hitch Fasteners from my stash to create the posts for my tie closure and added a few of the Finnabair Mechanicals (found in the Scrapbooking Kit!) for a bit of decoration and reinforcement.
 |
 |
For the binding, I cut two, 3/4” strips of the woodgrain kraft stock for the outer surface, but to build up my binding, I layered multiple 3/4” strips of (up-cycled) packaging. Then, for the final detailing, I grabbed some brown, red, and yellow rust-effect paste to cover the slotted head screws and spread some along the spine.
 |
 |

Thank you for joining me here today on the blog, I hope this project inspired you and gave you some ideas of what you can make using one or more of the kits this month and inspired you to join the mood board challenge!
Stay Crafty, Friends
Did you get a kit? Share what you made in our Facebook Group!
Thank you for joining us here at Tres Jolie Kits!
Tres Jolie can also be found at:
 |
 |
In addition to this month’s Scrapbooking Kit and Cards, Tags, & More Kit (from previous Tres Jolie Kits), I used:
My mix of embossing powders on the Tres Jolie Chipboard: 13@rts “Red Bronze” Ayeeda Paint, Gary M. Burlin Embossing Powder: Ultrafine Gold & Patina Bronzed Copper (*my Copper was mixed with Ranger Relique Glitz Copper), Lindy’s Gang “Midnight Violet” Embossing Powder, Seth Apter Baked Texture “Chunky Rust,” Ranger “Bubbly” Embossing Powder
For the gel printing and/or vintage style tape: Tim Holtz “Screwed” Stencil, Folk Art Metallic Paint: “Brushed Gold,” “Brushed Rose Gold,” “Antique Gold,” & “Brushed Bronze,” Lindy’s Gang “Beaver Tail Brown” Starburst Squirts, Tim Holtz Alcohol Ink: “Ginger,” “Gunmetal,” “Copper,” & “Gold”
Other mediums, adhesives, & tools: Distress Oxide: “Brushed Corduroy,” & “Rusty Hinge,” Finnabair 3D Matte Gel, Finnabair Clear Gesso, Tim Holtz Hitch Fasteners, StazOn “Timber Brown,” Hero Arts “Life Can Be” Mounted Stamp, We R Memory Keepers “Crop-A-Dile II,” Gel Press 8”x10” Gel Plate, Gel Press Brayer, Aleene’s Tacky Glue, water activated paper tape, double-sided tape, UHU Stic, 3M Nexcare Tape, Seloky Slotted Head Screws