be your own sunshine

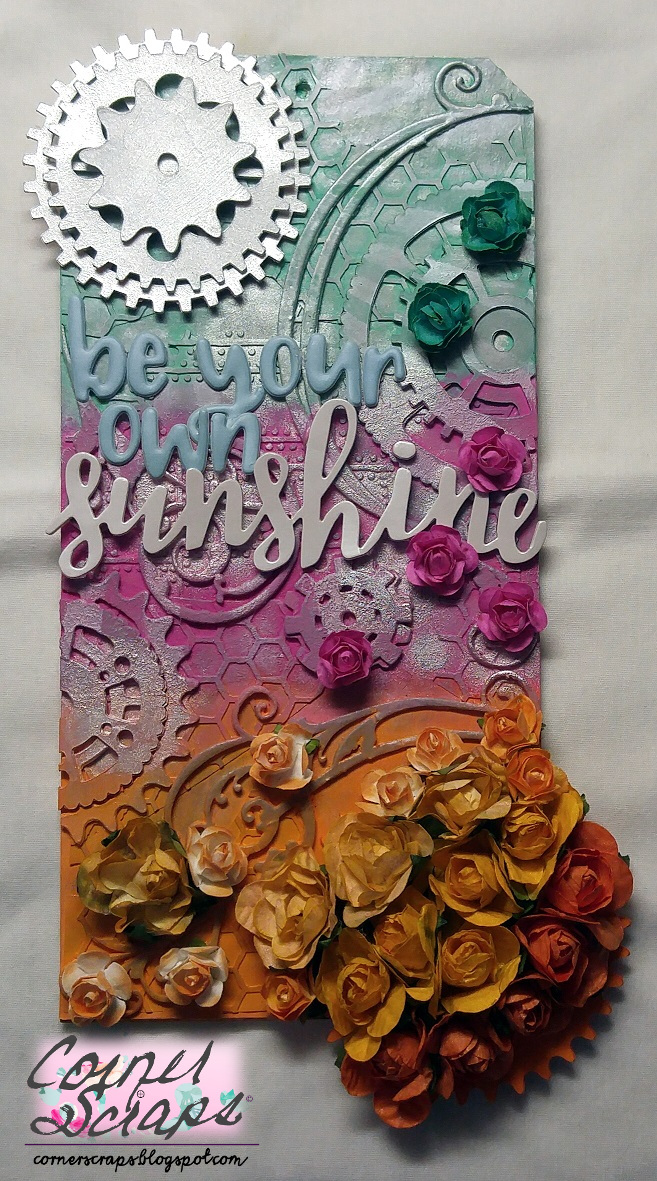
I saw a piece of paper (I’ll show that later) that inspired the coloring of this tag. Plus, Simon Says Scrap’s current Wednesday challenge is “Summer Sunshine.” Add to the mix a quote I saw that said, “Sometimes you have to be your own sunshine,” and a tag was born.

The flowers didn’t come out exactly how I had hoped, but sometimes that just happens!

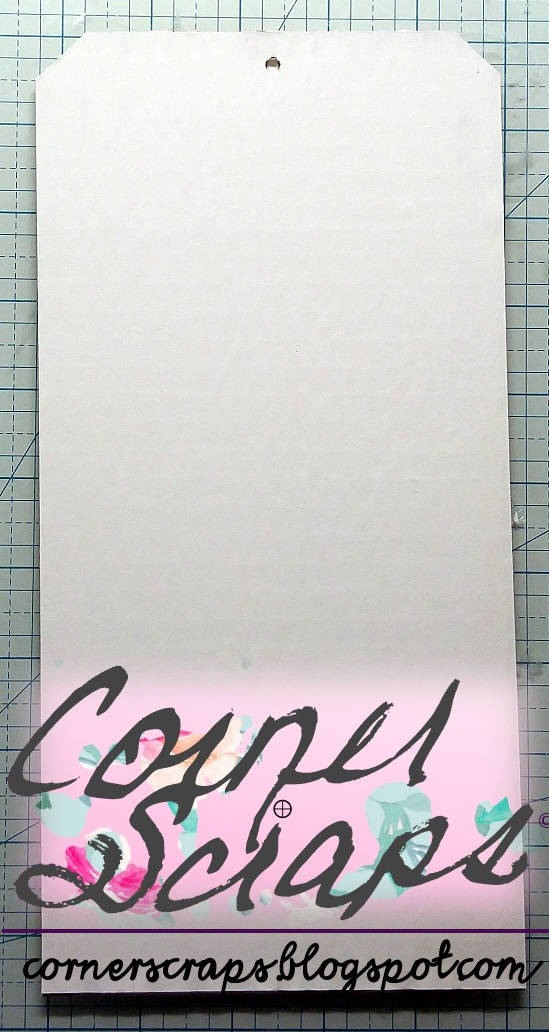
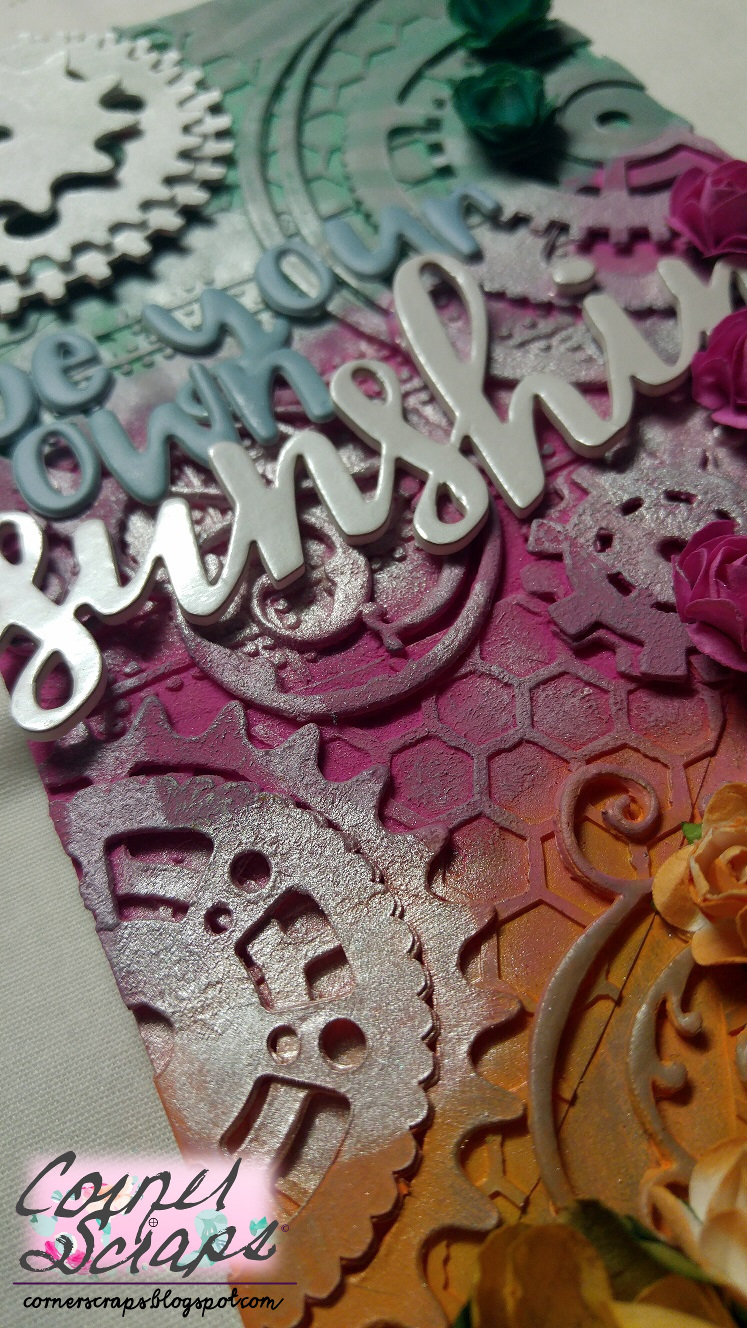
I started out with a piece of cardboard cut to a size 12 tag (10 1/2″ x 5 1/4 I think…I have a template so I don’t always have to measure or remember!) and I coated it thickly with white acrylic paint.

My tag base

After that I started gathering supplies I thought I might use and picked out colors I thought could be used to try and recreate the color and design of this piece of Echo Park paper! (I received mine in the July Card Kit from Simon Says Stamp, now to make a card with it!)

The paper that inspired it all!
Smooshing paint into all the crevices!

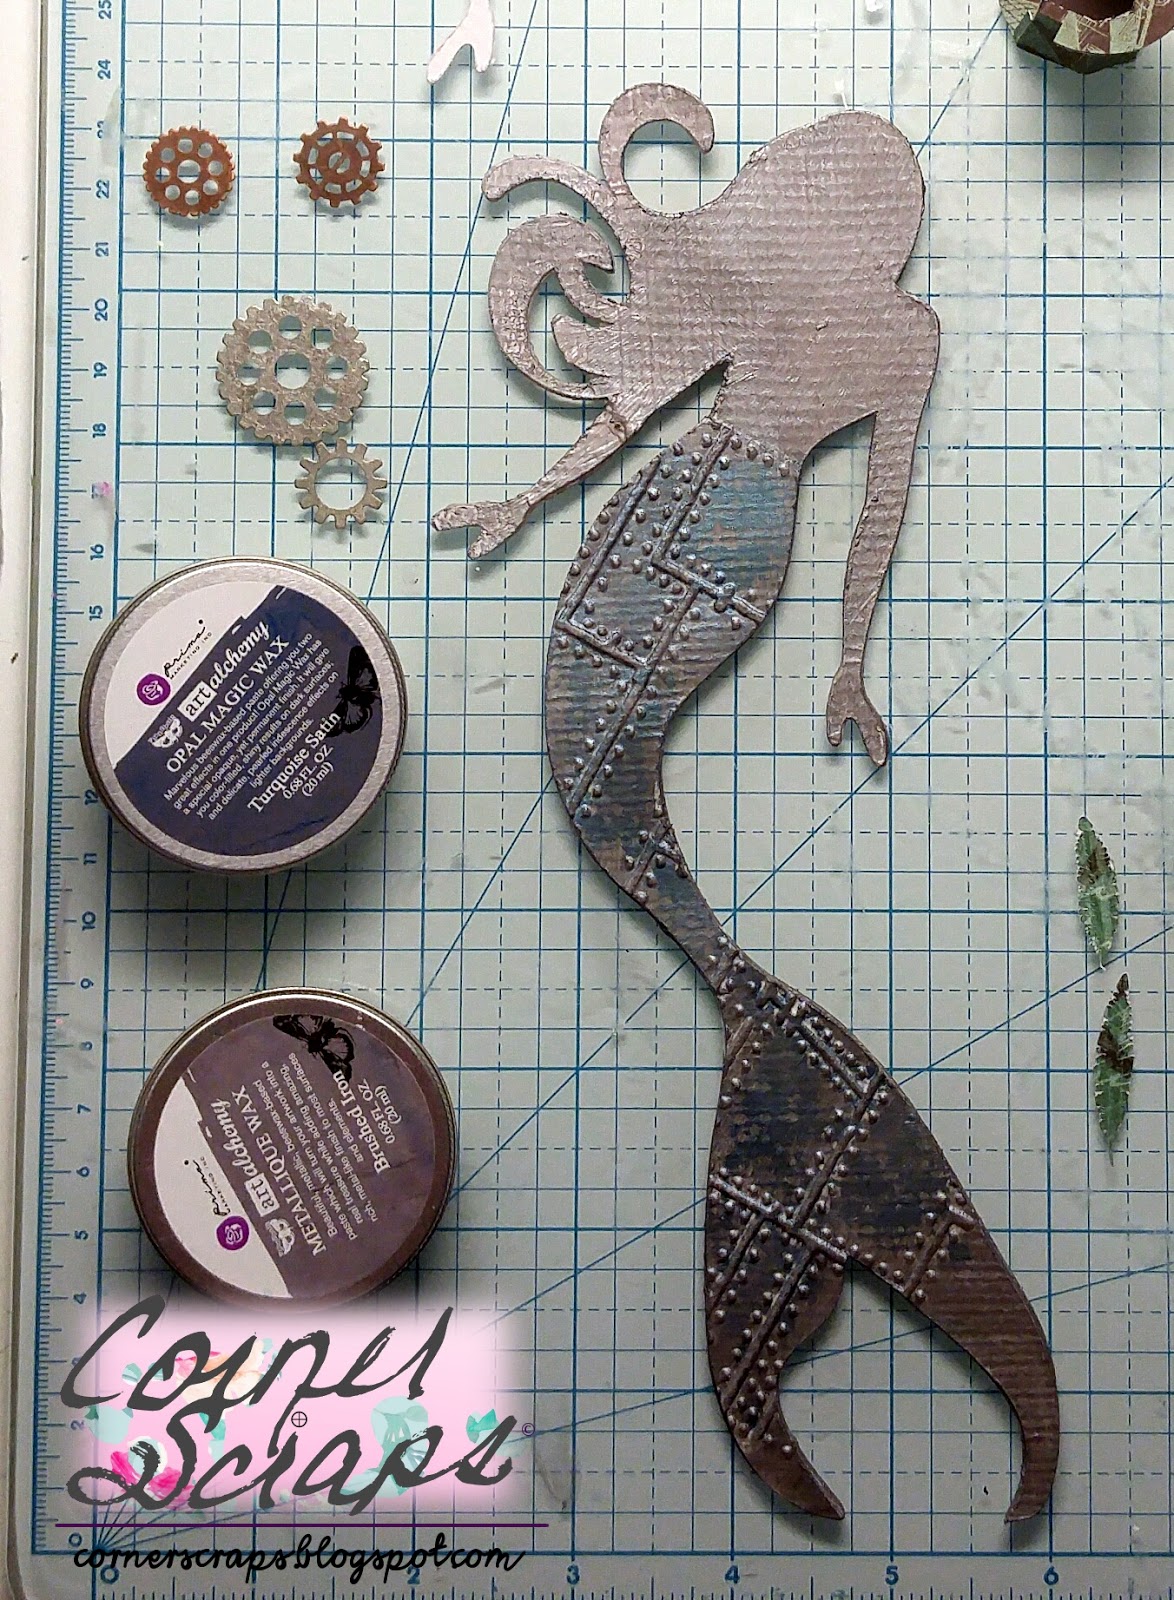
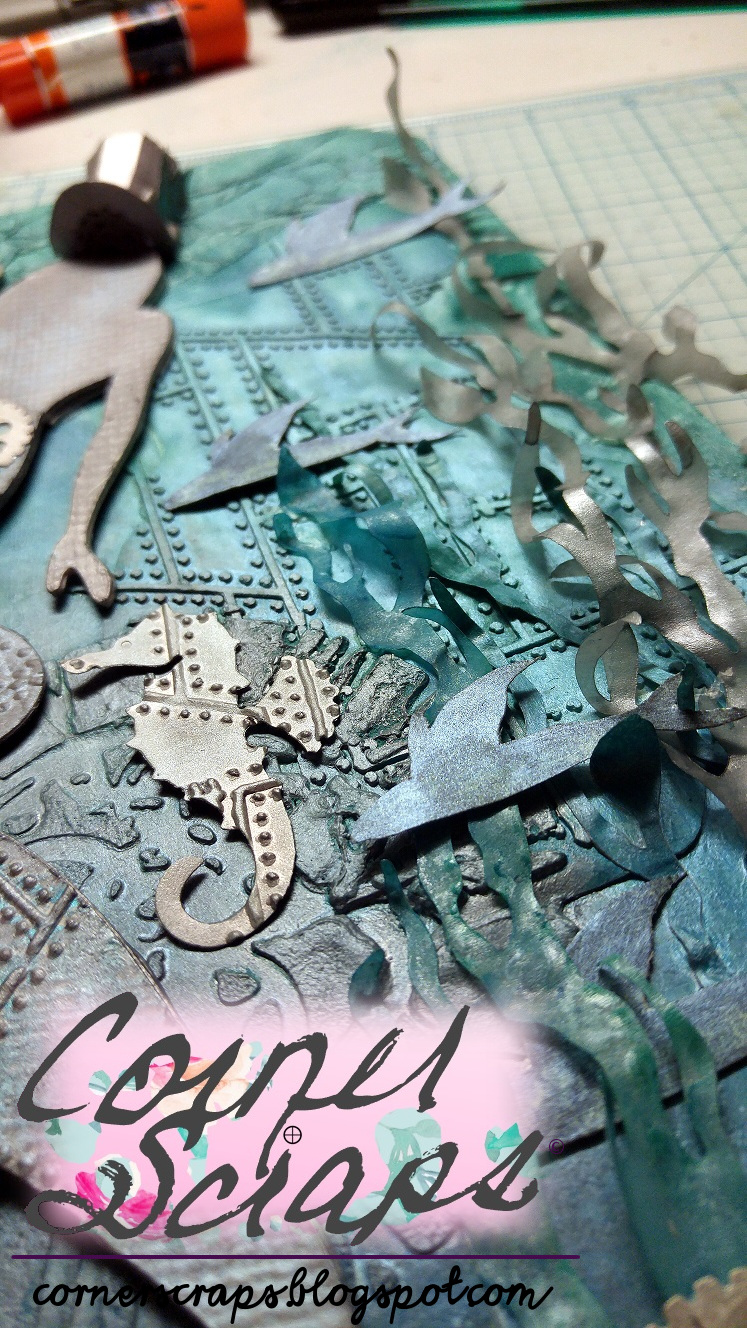
The honeycomb and riveted metal are from using Amazing Casting Resin in Tim Holtz’s embossing folders (Watch a technique video here!). The flourish’s are from a flourish circle I had cut out a few years ago with my Cameo. It was multiple layers of cardstock that didn’t get glued together quite right, and was painted a light pink. I finally decided it was time to either use it or toss it! And, all of the gears on this project came from the Silhouette store.

Lots of ink & paint & Metallique Wax & Perfect Pearls on here!

After I painted everything, added some “Old Silver” Prima Metallique Wax randomly then I went back over with matching/coordinating Distress Oxides. After all that was dried I used a Crafter’s Workshop 12 x 12 Template (“Sunburst”) for the rays, and a circle stencil I made a while back for the…umm, circles.

All the shine on the gears for the “sun” is from Perfect Pearls “Perfect Pearl.” The sun rays are Delicata “White Shimmer” Pigment Ink.
More Perfect Pearls for the circles!

Lots of “mulberry” type flowers sprayed with a variety of colors! For the oranges I mixed “Carved Pumpkin” Distress Stain with some Perfect Pearls “Perfect Pearl” and “Pewter.” The different shades of yellows and oranges is due to the original colors of the flowers. The pink flowers are from Shimmerz Coloringz “Pink Stilettos,” and the mint is from Heidi Swapp’s Color Shine “Sweet Mint.”

Product List:

  • Silhouette Cameo
  • Amazing Cast Resin
  • Pink Paislee: Take Me Away Collection: Thickers with Foil Accents: Phrases: “Dream”
  • Hip Kit Club Exclusive Alpha (May 2017 Main Kit)
  • Shimmerz: AcriTonez – Pinkadelic; Coloringz – Pink Stilettos
  • Perfect Pearls: Perfect Pearl & Pewter
  • Tsukineko Delicata: White Shimmer
  • White acrylic paint
  • Heidi Swapp Color Shine: Sweet Mint
  • Tim Holtz Distress Paint – Carved Pumpkin & Cracked Pistachio; Distress Spray Stain – Carved Pumpkin; Distress Oxide – Wild Honey, Cracked Pistachio, & Picked Raspberry; Embossing Folders – Riveted Metal & Honeycomb
  • Ranger Mini Mister
  • Prima Art Alchemy Metallique Wax: Old Silver
  • “Mulberry” type flowers

Christmas Cards Set!

Getting a head start with my Christmas Cards!

Just because it’s 110 degrees outside doesn’t mean I can’t do Christmas! After all, in the Southern Hemisphere of this big blue marble we call home, Christmas is a summer holiday!

Used my Silhouette Curio to write & fill in the greeting!

That gold bow came in the Fuse (Gold? I think) Kit!

Cute little deer, glitter paper, and twine!

Love the retro Santa paper and “Swell Christmas” stamp set from Simon Says Stamp! (I fussy cut Santa out of watercolor paper after stamping & embossing!)

Product List:

  • All of the card stock, printed papers (except the paper for the red & white deer), and glitter paper came from the Simon Says Stamp Limited Edition 2016 Holiday Card Kit, as did the deer die (“Retro Deer”) and the stamp set (“Swell Christmas”).
  • The paper for the red & white deer is from Me & My Big Ideas, and it’s so old I couldn’t even find it using the UPC code!!
  • Ranger Enchanted Gold Embossing Powder
  • Tim Holtz Mini Snips, Distress Embossing Ink, Distress Ink: Festive Berries, Antique Linen, and Tattered Rose, Distress Oxide: Fired Brick, and Vintage Photo
  • We R Memory Keepers: Fuse Tool & Gold Kit (I think!)
  • Martha Stewart Twine
  • Green & Gold Ribbon: Unknown
  • Sizzix Big Shot (Blue & Teal Starter Kit – for the label dies)
  • My Minds Eye: Christmas on Market Street Puffy Stickers
  • Silhouette Curio

Red, White, & Blue ATCs!

Red, White, & Blue ATCs

Putting these ATCs together was something else! I had an original idea in mind inspired by the July Challenge over at Creative Embellishments. I really loved the way the elements in the inspiration photo overlapped each other, and I really love how “shiny” the image seemed. Creative Embellishments July Challenge fit quite nicely with Simon Says Stamp’s Monday Challenge of “Red, White, & Blue”, and I thought it would be a good idea to try and create a shiny, red, white & blue, element overlapping ATC for the challenges, and for MarciLB’s ATC Swap over at scrapbook.com. Things didn’t go quite according to plan.

My initial background was too embossed! I didn’t want it to be quite like that! But, if nothing else, I’m persistent, so I decided to see what I could do with it!

Initial Background. Thick watercolor paper, coated with white acrylic paint, embossed using Tim Holtz’s “Cracked,” striped with Tim Holtz’s “Stripes” stencil & Distress Oxide Fired Brick, and colored with Distress Oxide Faded Jeans for the blue.

I decided to get Mixed Media crazy! I added Candied Apple Distress Paint stripes, I threw down a layer of Mod Podge, which “intensified” the Distress Oxides underneath, I added some Prima Snowflake Paste for those rays using Tim Holtz’s “Ray” stencil, and colored them with Shimmerz Vibez “Glorious Day.” If that wasn’t enough, for the “stars” I used Shimmerz Dazzlerz “Spun Sugar” and Echo Park’s “Beach Towel” stencil. About now I was thinking I should give up and start over! But, as I said, I’m persistent (some may say overly stubborn, but they’re wrong! LOL). Anyhow, I decided that I should cover some of my “flag” with a firework (as so originally inspired by the July Challenge at Creative Embellishments) and I dug out my glitter. (I have a great dislike for glitter, but I was getting desperate!)

What better way to adhere that glitter than with some Transparent Gloss Texture Paste from Ranger “squished” through a temporary stencil I made with some scrap card stock and a “starburst” cut file from Silhouette? In hindsight, there probably are better ways! Oh. My. Gosh. Now I just have too much everything!

Well, that’s just too much … EVERYTHING!

I actually threw the ATCs in the trash at this point, I just didn’t know what else to do! But, as I was sitting there thinking about what items to keep out for the next try I saw an old Tim Holtz Mask “Flourish” just hanging around collecting dust, and I had an idea! At first I was going to use the mask, but I hadn’t worked out what I would use to cover the undesirable areas. Then, as I sat there staring at the mask over the ATC next to my pile of scrap pieces of Simple Stories “Stars & Stripes” a firework went off in my mind! And the following picture is what that firework sparked!

Using my hot glue gun I stuck the cuts to the ATCs, used the sanding block to distress the edges, and inked them up with some Frayed Burlap Distress Ink! There was still a little too much “stuff” showing, and that’s when I decided to enlist the help of a little birdie!

Flourish cut file from the Silhouette Store!

Little Birdie (Tim Holtz’s Mini Bird Crazy & Things) to the rescue!
Persistence paid off!

Product List:

  • Silhouette Cameo: Used to cut the flourish which is from the Silhouette Store.
  • Sizzix Big Shot
  • Simple Stories: Stars & Stripes “Independence Day”
  • Tim Holtz: Mini Bird Crazy & Things Stamps & Dies
  • Tim Holtz Sanding Grip
  • Tim Holtz Distress Oxides: Faded Jeans, Broken China, Fired Brick
  • Tim Holtz Distress Ink: Frayed Burlap
  • Tim Holtz Distress Markers: Picket Fence, Ground Espresso, Candied Apple, & Carved Pumpkin
  • Tim Holtz Distress Paint: Candied Apple
  • Tim Holtz Distress Collage Medium: Crazing
  • Tim Holtz Stencils: Rays & Stripes
  • Echo Park Stencil: “Beach Towel”
  • White Acrylic Paint
  • Shimmerz Dazzlerz: Spun Sugar
  • Shimmerz Vibez: Glorious Day
  • Mod Podge Paper: Gloss
  • Prima Snowflake Paste
  • Ranger Texture Paste: Transparent Gloss; Black Archival Ink, Water Pen, & Glossy Accents
  • Martha Stewart Glitter: Crystal, Lapis Lazuli, & Tourmaline

Mermaid Tag

Steampunk Mermaid Tag

I came across the June Challenge over at Creative Embellishments and decided I would play along! Of course I came across it the afternoon of the 28th, giving me about 2 1/2 days to think up a project and complete it! I made it, with about 50 minutes left! Edit: Although the challenge said it closed at 11:55pm EST, when I tried to add my link, it was already closed, at only 11:16pm EST. I wish I had some of Creative Embellishments products to add to my tag, thankfully it wasn’t a requirement! I do now have another place to go shopping, I’m sure the hubs will love that! LOL

Background ready for color!

I started out with a #12 tag that I made using some think chipboard and an industrial paper trimmer! (The hubs used to use it to cut aluminum for seamless eaves-troughs AKA: the gutters on your roof!) I glued down some tissue paper, my “sheet-metal,” a bit of paper, and some of my seaweed. I added my texture paste clock, then gave it all a good coat of white gesso.

Amazing Casting Resin + Tim Holtz’s Riveted Metal Embossing Folder

As a side note about how that riveted metal was made, go watch Mixed Media ATCs with Opal Magic Wax by Keren Tamir!

Background misted and spritzed!

After the gesso had dried on the background I used Distress Spray Stains: Cracked Pistachio and Mermaid Lagoon; Heidi Swapp Color Shine: Sweet Mint; Shimmerz Coloringz: Well Blue Me Down and Oh Say Can U Sea; and Shimmerz Vibez: Jeni B Bleu. I just sprayed rather randomly, drying between layers of colors, until I got what I wanted.

My glue of choice this whole project, Tim Holtz Distress Collage Medium: Matte

For my mermaid’s tail I used 140# watercolor paper, ran it through my Sizzix Big Shot using Tim Holtz’s Riveted Metal Embossing Folder, then used a glue stick to randomly give adhesion points for the Foil Transfer Sheets by Ranger (Vintage pack).

Adding Prima Finnabair Art Alchemy Metallic and Opal Magic waxes to my mermaid!

I didn’t have any real plan going in on where I was going to add which color of wax where, and I don’t think it makes a big difference! Rarely do my crafts have an all out plan!

The Mermaid, Hat, and Seaweed all came from cut files found on the Silhouette Store!
The fish were fussy cut from a paper in Graphic 45’s “Steampunk Debutante” Deluxe Collector’s Edition, the seahorses and sand dollar are a Spellbinders Die D-Lites set, some of the gears are from Bead Landing, and some have no (known) brand.

The seaweed was cut from a sheet of American Crafts White Vellum, and sprayed with Heidi Swapp’s Color Shine: Tinsel or a combination of Heidi Swapp Color Shine: Sweet Mint and Shimmerz Coloringz: Oh Say Can U Sea.