Christmas Gift Tags Set #2

Set #2 of my Christmas Gift Tags

My second set of Christmas Gift Tags, which, like the first set, was set in motion by AZAmy’s & Sizzix’s “Christmas In July Challenge” over at scrapbook.com. Like the first set, the tags, and most of the patterened paper came from the Simon Says Stamp Limited Edition 2016 Holiday Card kit.

The stamp set used, “Swell Christmas,” is from Simon Says Stamp, and came in the Limited Edition 2016 Holiday Card Kit. The gold embossing powder is also from Simon Says Stamp, and I think it also came in the kit.

I just started laying bits and pieces on for this tag! The ornament stamps are also in the “Swell Christmas” set.
I like the idea of making a vintage-ish tag, and decided to use my trusty Tim Holtz tree from my “Happy Everything Blueprints” set! To color in the tree, I used a water brush and Distress Oxides, then to top it off I used the “Christmas Day” stamp from American Crafts! (To splatter the background I used a paint brush and the Distress Oxides)
Once again, I used stamps from the “Swell Christmas” set! Simon Says Stamp gold embossing powder, some Heidi Swapp Color Shine in Bronze, some Distress Oxides, and some Prima Watercolors!

Products Used:

  • Simon Says Stamp “Swell Christmas” Stamp Set, gold embossing powder, tags, papers from “Limited Edition 2016 Holiday Card Kit,
  • Tim Holtz “Blueprint Tree” from Happy Everything Blueprints Set & Tiny Attacher
  • American Crafts “Christmas Day” Stamp
  • Simple Stories “December Documented” 6 x 6 paper pad.
  • Ranger Water Brush & Black Archival Ink
  • Distress Marker: Candied Apple
  • Distress Oxides: Fossilized Amber, Iced Spruce, Broken China, Walnut Stain, & Fired Brick
  • Distress Ink: Festive Berries & Tattered Rose
  • Distress Embossing Ink Pad
  • a la mode clear embossing powder
  • Prima Watercolor Confections: Decadent Pies
  • My Minds Eye “Christmas On Market Street” Puffy Stickers
  • Martha Stewart “Scallop Dot” edge punch & red twine
  • Heidi Swapp Color Shine: Bronze
  • Stickles “Joyful”
  • Basic Grey Juniper Berry Embellishment Pack
  • We R Memory Keepers Crop-A-Dile

Teal(ish) Flower ATCs

Teal(ish) Flower ATCs

Over at scrapbook.com “MarciLB” hosts a monthly ATC swap with four categories. For July, “Flowers” was one of those categories, and these are the ATCs that popped into my little head! I’m also entering in the Simon Says Stamp Wednesday “Anything Goes” Challenge! The background is some thin, self-adhesive cork that I didn’t even remember owning until I went digging through my stash looking for inspiration! (I believe I bought it at Hobby Lobby)

That “fishnet” ribbon got a total make-over! I’ve had it for years, and had used the majority of it previously. It was originally a dark teal and green with glitter. I changed that. I could have worked with the dark teal piece, but I didn’t have enough for all four ATCs! I slapped on some Tim Holtz Distress Grit-Paste pressed the ribbon into it and used Tim Holtz’s Tiny Attacher to hold the ends in place. After it dried I started painting the background with white acrylic paint! I used paint instead of gesso because it is thicker, and I needed coverage! (As for the origins of the ribbon, I know I received it in one of my first kits from “Birds of a Feather,” and I received kits for close to 18 months I believe. Unfortunately as of February 2016 kits were no longer offered.)

Some old bits of fishnet “ribbon” that got a make-over!

The flowers are made up of a combination of Prima E-line flowers and flowers from Prima’s Wildflower Pillar Pack. The gems came in the same kit as the ribbon.

A closer look at the flower cluster!

Those two metal filigree pieces are even older that the ribbon and gems! After I added them I painted them with the white acrylic paint as well.

After everything was glued down and coated with some acrylic paint (The gems are the only parts I didn’t put paint on!) I started spritzing on some Heidi Swapp Color Shine in “Tinsel” and “Sweet Mint,” and some Shimmerz Vibez “Jeni B Bleu.”

List of Products:

  • White acrylic paint
  • Tim Holtz Distress Grit-Paste
  • Heidi Swapp Color Shine: Tinsel and Sweet Mint
  • Shimmerz Vibez: Jeni B Bleu
  • Prima Flowers: white E-line mix and Wildflower Pillar Pack
  • Unknown: Filigree, ribbon, gems
  • Cork Background: Probably from Hobby Lobby

Mermaid Tag

Steampunk Mermaid Tag

I came across the June Challenge over at Creative Embellishments and decided I would play along! Of course I came across it the afternoon of the 28th, giving me about 2 1/2 days to think up a project and complete it! I made it, with about 50 minutes left! Edit: Although the challenge said it closed at 11:55pm EST, when I tried to add my link, it was already closed, at only 11:16pm EST. I wish I had some of Creative Embellishments products to add to my tag, thankfully it wasn’t a requirement! I do now have another place to go shopping, I’m sure the hubs will love that! LOL

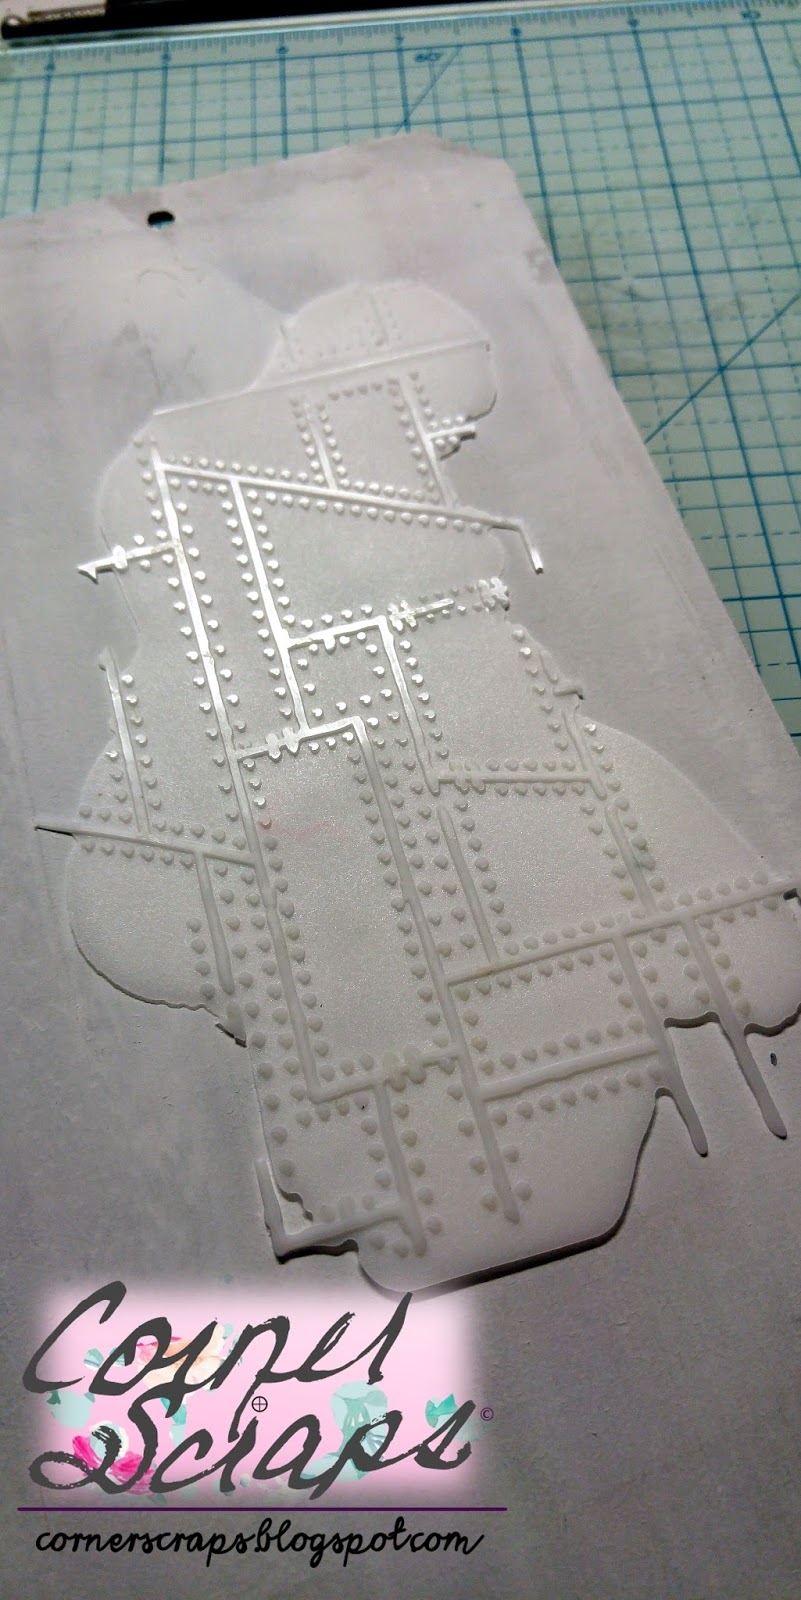
Background ready for color!

I started out with a #12 tag that I made using some think chipboard and an industrial paper trimmer! (The hubs used to use it to cut aluminum for seamless eaves-troughs AKA: the gutters on your roof!) I glued down some tissue paper, my “sheet-metal,” a bit of paper, and some of my seaweed. I added my texture paste clock, then gave it all a good coat of white gesso.

Amazing Casting Resin + Tim Holtz’s Riveted Metal Embossing Folder

As a side note about how that riveted metal was made, go watch Mixed Media ATCs with Opal Magic Wax by Keren Tamir!

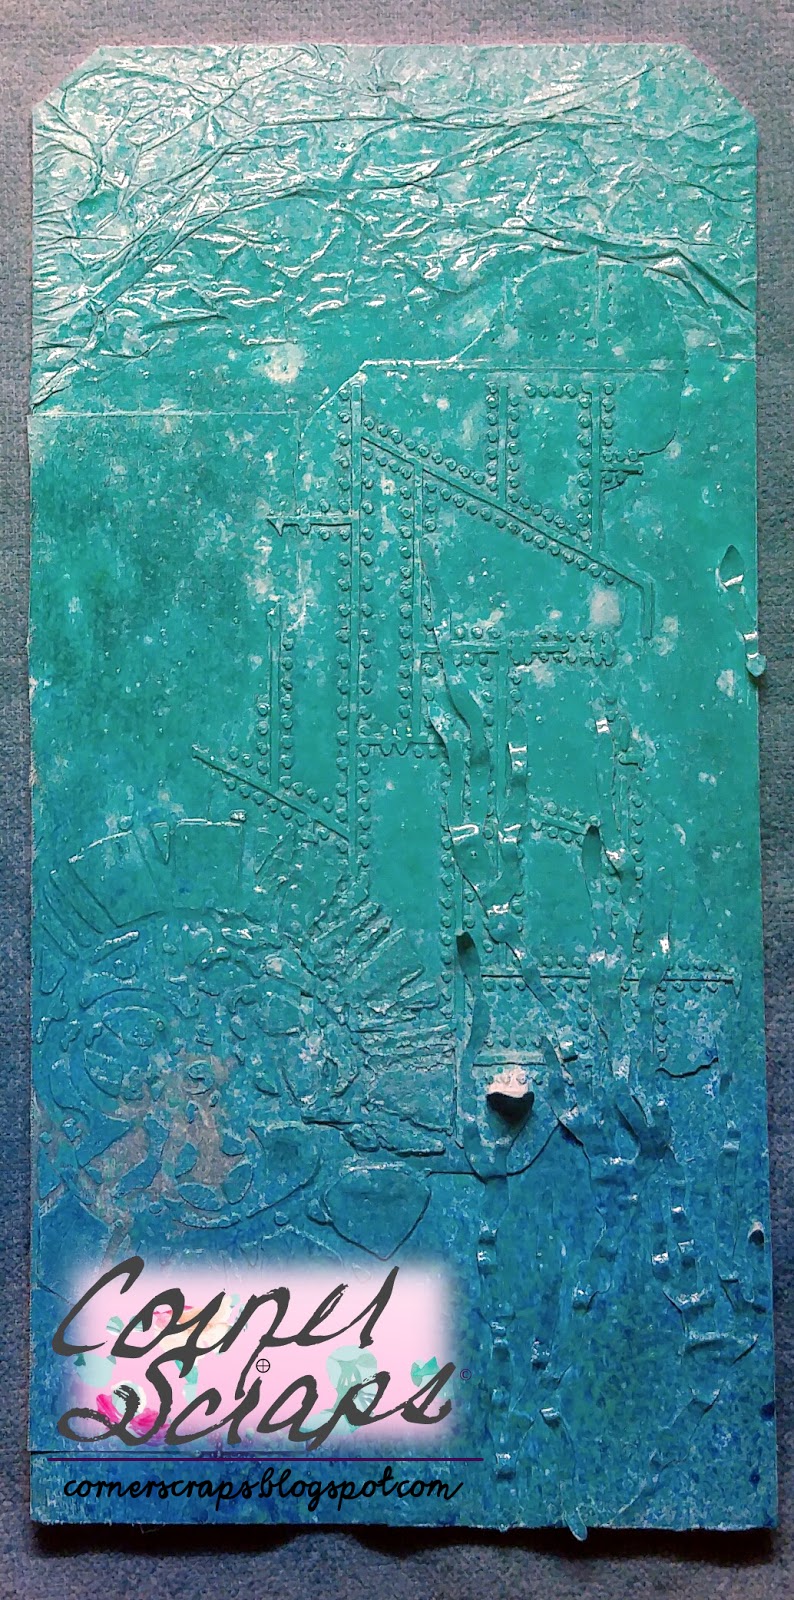
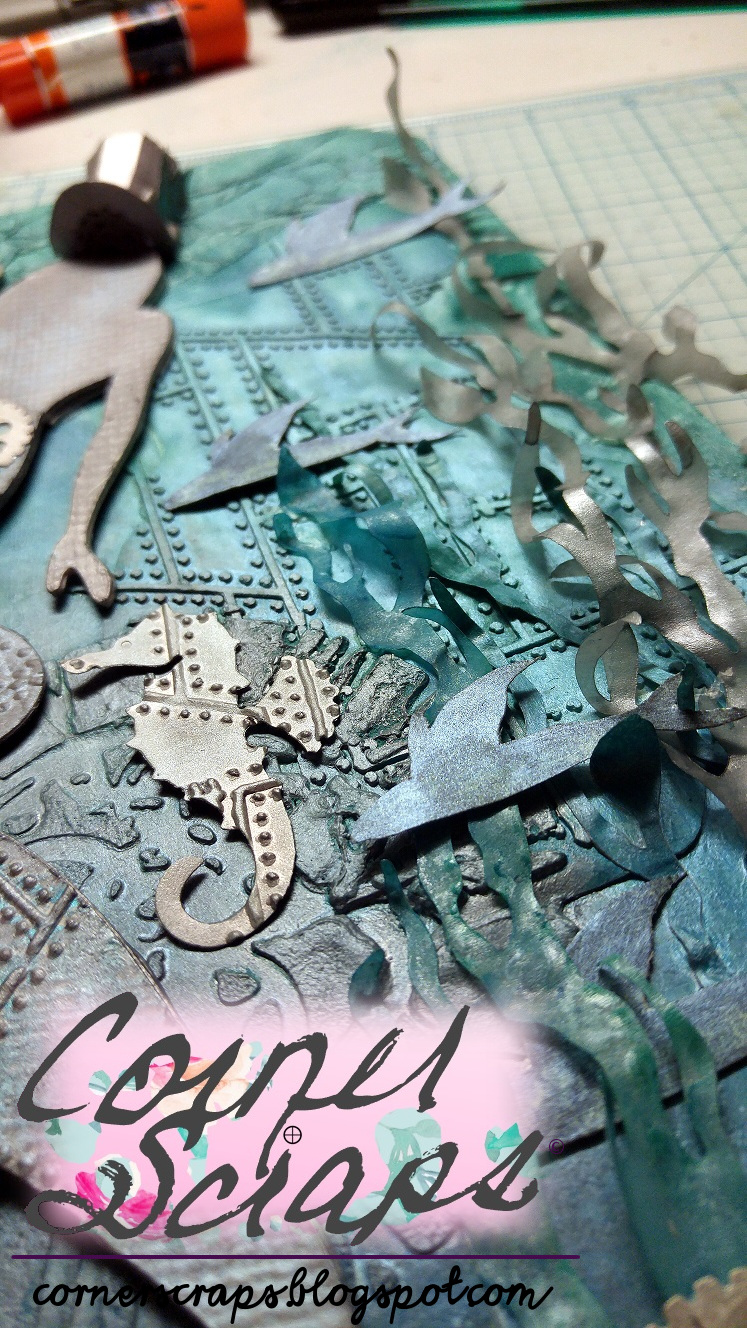
Background misted and spritzed!

After the gesso had dried on the background I used Distress Spray Stains: Cracked Pistachio and Mermaid Lagoon; Heidi Swapp Color Shine: Sweet Mint; Shimmerz Coloringz: Well Blue Me Down and Oh Say Can U Sea; and Shimmerz Vibez: Jeni B Bleu. I just sprayed rather randomly, drying between layers of colors, until I got what I wanted.

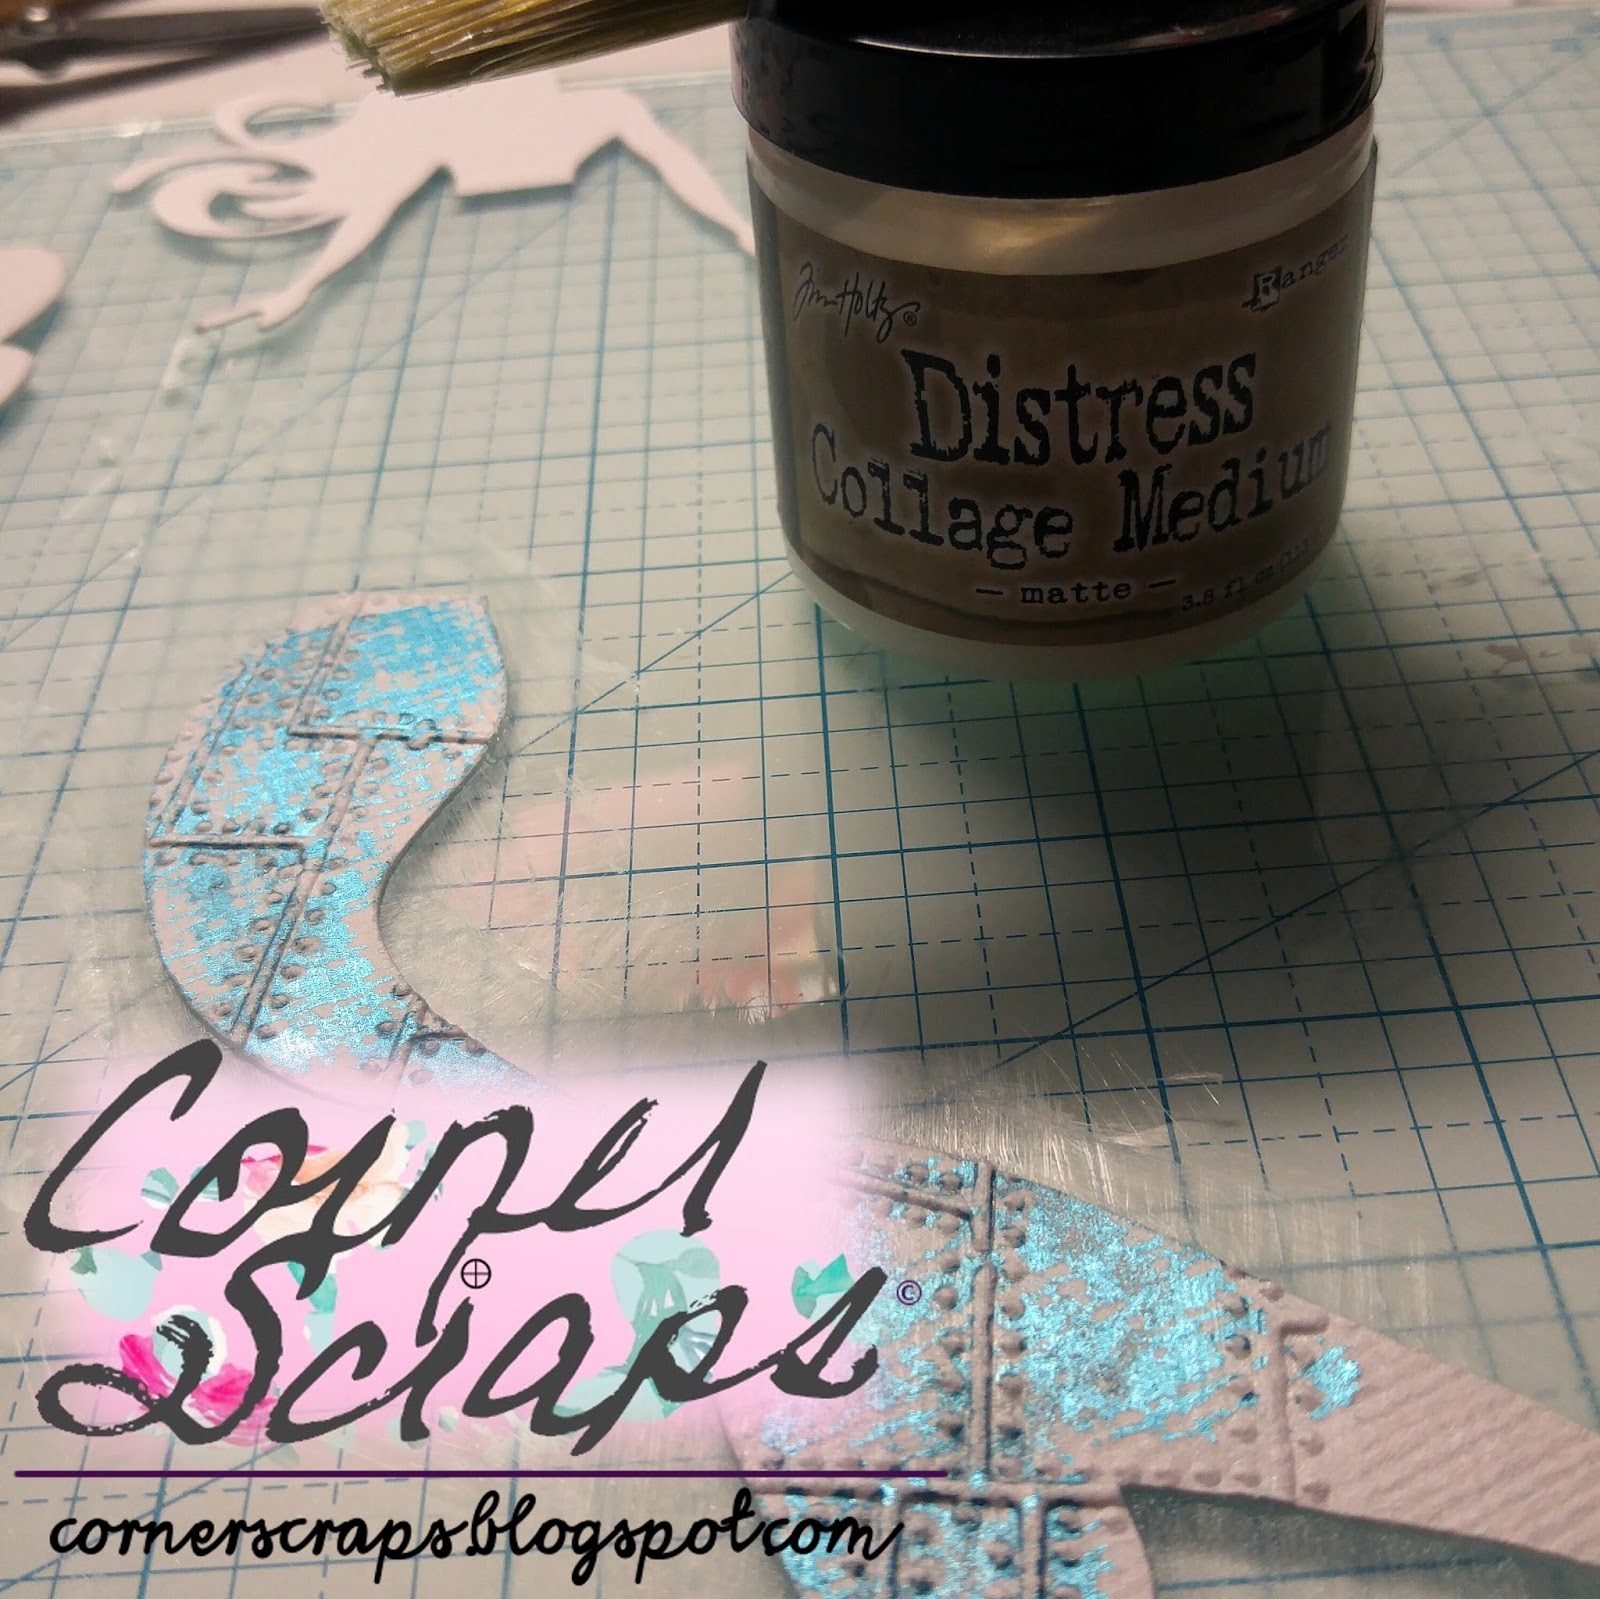
My glue of choice this whole project, Tim Holtz Distress Collage Medium: Matte

For my mermaid’s tail I used 140# watercolor paper, ran it through my Sizzix Big Shot using Tim Holtz’s Riveted Metal Embossing Folder, then used a glue stick to randomly give adhesion points for the Foil Transfer Sheets by Ranger (Vintage pack).

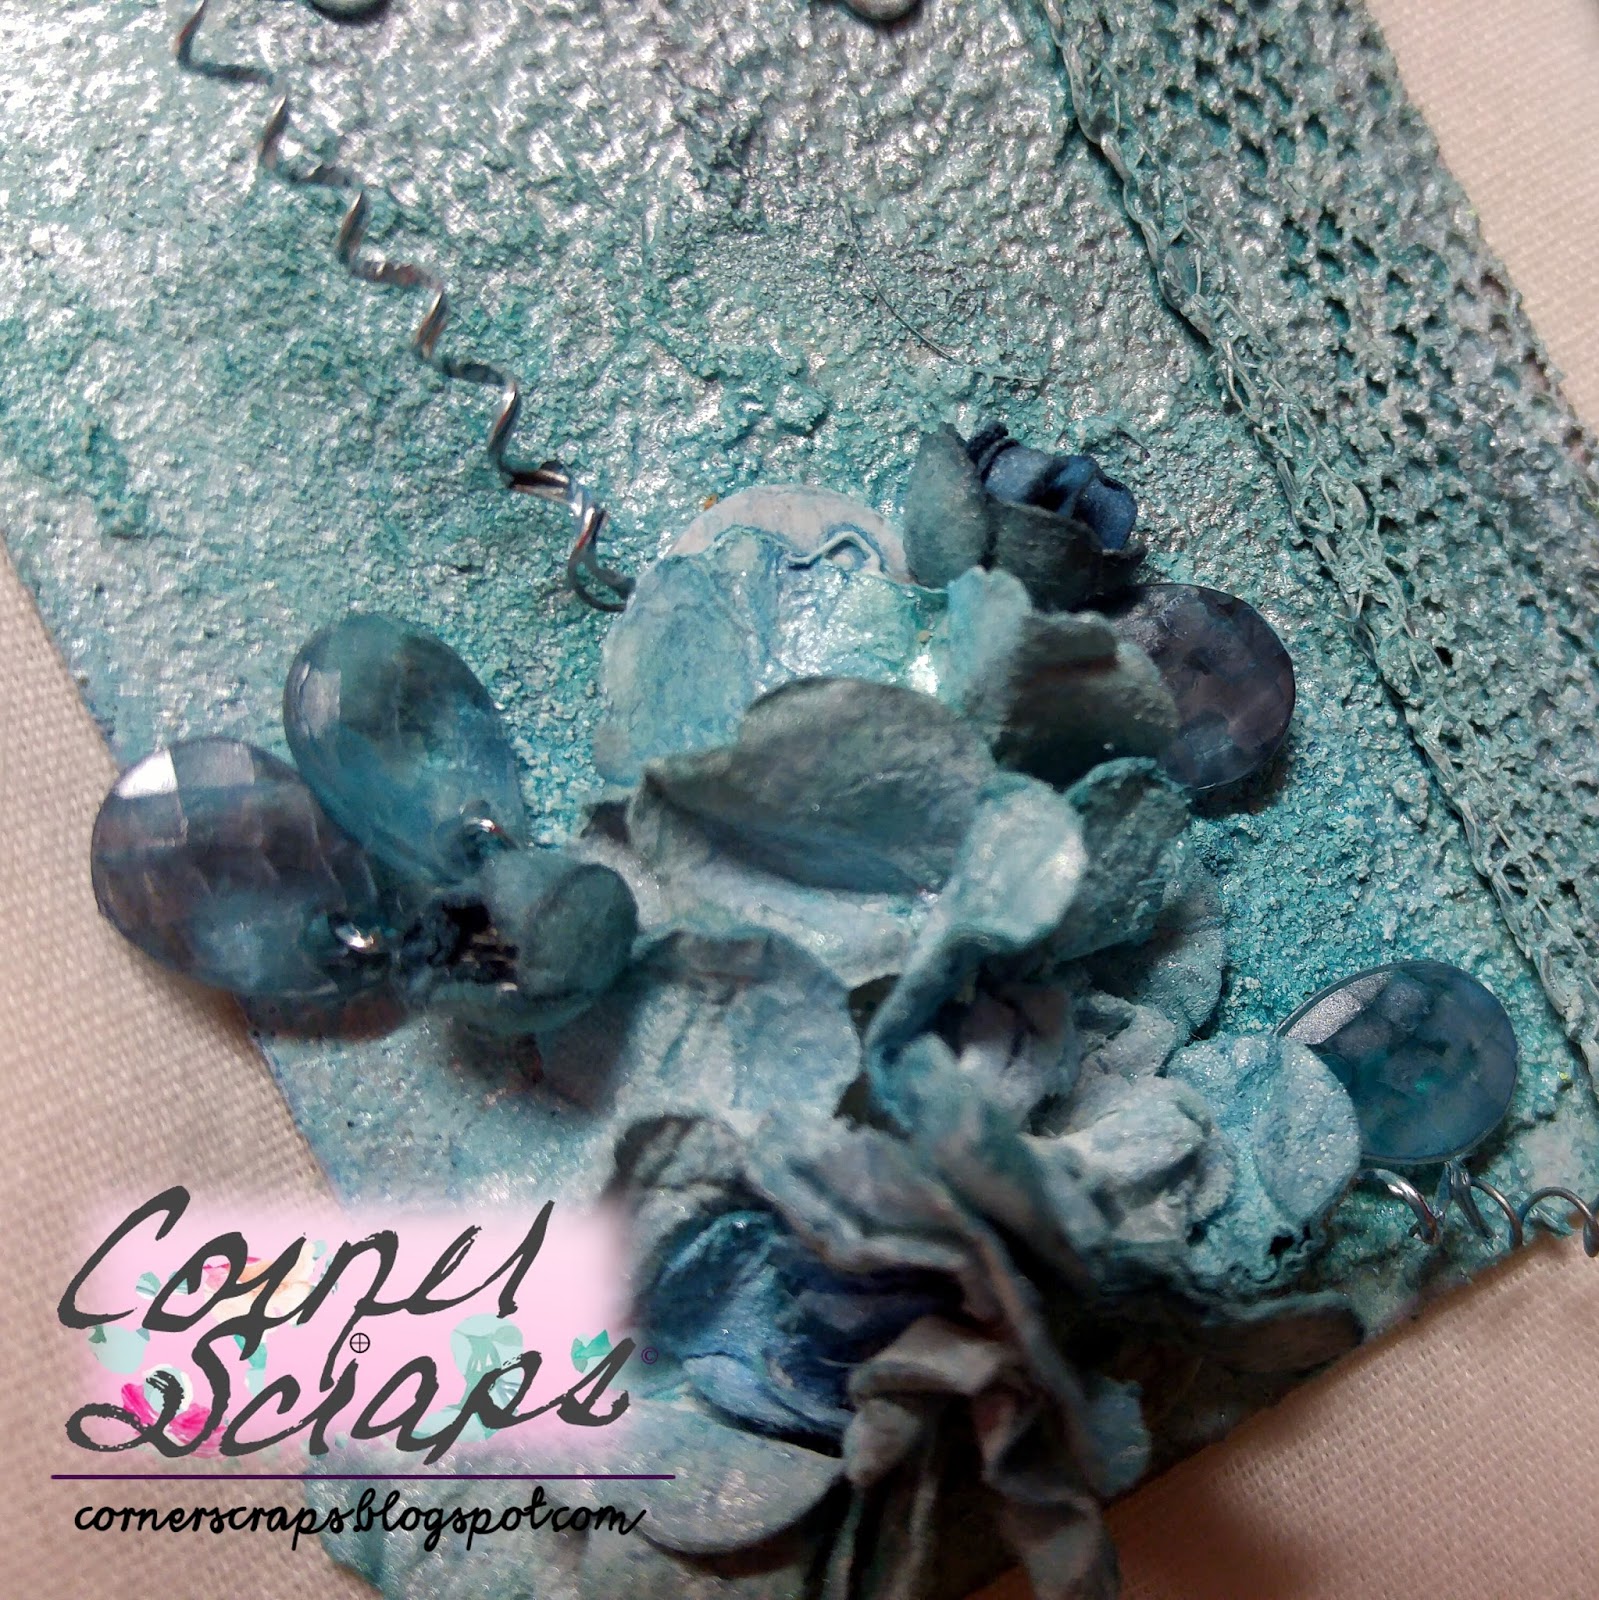
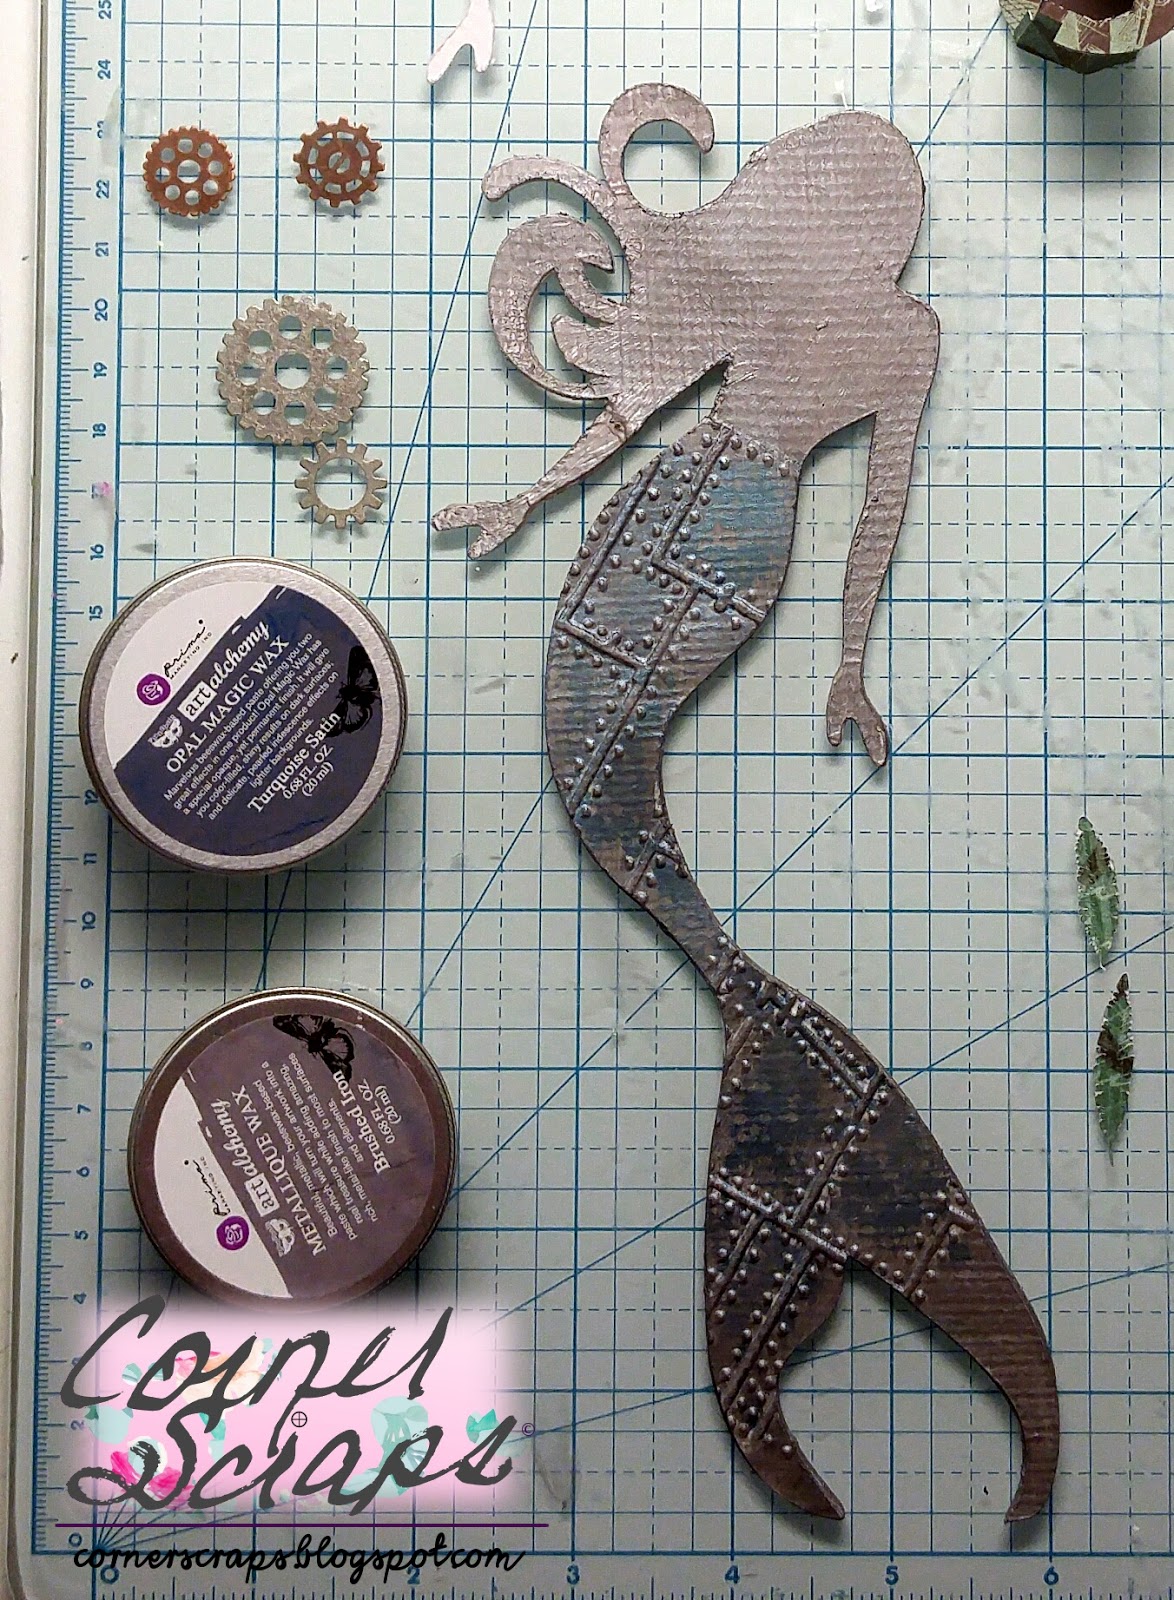
Adding Prima Finnabair Art Alchemy Metallic and Opal Magic waxes to my mermaid!

I didn’t have any real plan going in on where I was going to add which color of wax where, and I don’t think it makes a big difference! Rarely do my crafts have an all out plan!

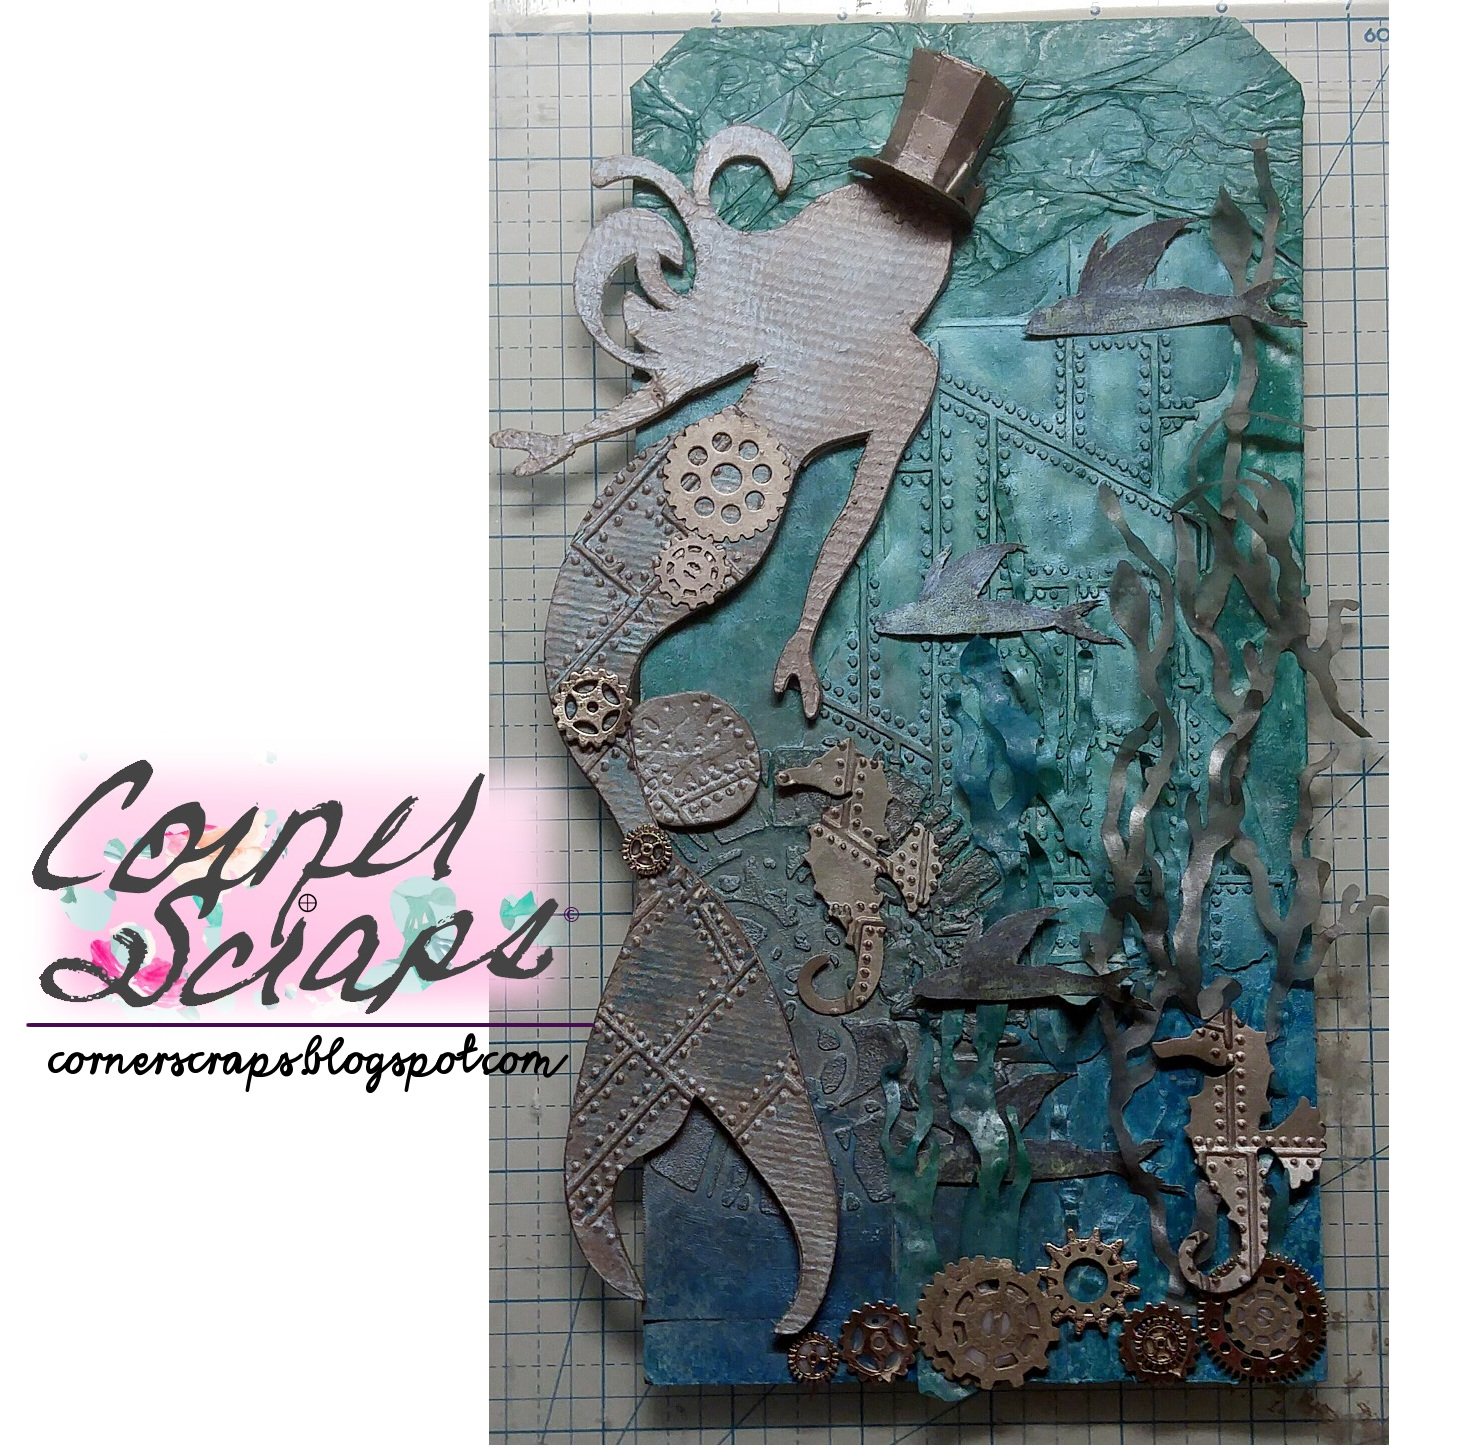
The Mermaid, Hat, and Seaweed all came from cut files found on the Silhouette Store!
The fish were fussy cut from a paper in Graphic 45’s “Steampunk Debutante” Deluxe Collector’s Edition, the seahorses and sand dollar are a Spellbinders Die D-Lites set, some of the gears are from Bead Landing, and some have no (known) brand.

The seaweed was cut from a sheet of American Crafts White Vellum, and sprayed with Heidi Swapp’s Color Shine: Tinsel or a combination of Heidi Swapp Color Shine: Sweet Mint and Shimmerz Coloringz: Oh Say Can U Sea.