Hey, y’all! For my final project of October for Tres Jolie Kit Club, I have some November Memory Dex Cards for you. I don’t have a card for every day of the month – although I think it is possible with all of the “(Inter)National Day of’s …”. I just picked the more commonly known days – and National Button Day, since we are all crafters here!
The video is a quick watch – most of the project is die cutting, layering, and gluing – so I really spend the majority of the video time with the assembly of the shaker card and I give an overview of what mediums I used.
 |
 |
 |
First, a warning and apology! I am in the process of switching my recording and editing programs, and had to work out which settings were best for these new programs – so the audio for about half the video is … less than ideal. Fortunately, I think I have it worked out now, unfortunately, it is during the shaker assembly. Sorry! It really got down to the wire of working with what I had, or not being done in time!

My shaker card was the most involved card created! I decided what I really “needed” for this project was to create a large, maple leaf shaped Memory Dex card. Over on my Flickr, you can find the full-sized .jpegs of the shaker parts and my little calendar to use in your personal project(s).
 |
 |
I doubled up the card part of the shaker – made using some cardstock from my stash – so it would have a little extra stability when on the Rolodex tracks since it is heavier than a “regular” card. To make my solid cardstock not so solid looking, I inked up the edges with my Frayed Burlap Distress Oxide, gave it a splatter of water, dabbed up the excess, and dried everything before I glued down the solid leaf, cut from some of the patterned paper from the kit and trimmed off the bit of extra stem from the bottom.
To create my spacer ring I cut two of the outline pieces and used some hot glue between them. And honestly, I think I might have found a favorite way to create the space needed for shakers! There is no dry time, no cutting, and scissors work to trim off any parts that seep out. All I had to do is keep moving so I wouldn’t get any piled up, and if a spot got skipped over, it was easy to go back and fill it in.
 |
 |
For the leaf veins and “November,” I first used a gold marker in my Cameo to sketch the outlines, then I switched over to the blade to cut the pieces out. I left everything on my mat so it would be easier to work on when I added some gold foil transfer to them.
After the foil was on, I grabbed up a piece of acetate and stitched the veins and acetate together. To keep the feed-dogs of my sewing machine from marring the acetate, I just ran it through on top of a piece of tissue paper – which tears off from the stitches super easily! Then I glued down the acetate window piece to the spacer ring using some JudiKins Diamond Glaze.
Since I was in a “let’s see what I can use” mindset, wanted to add a little extra to the shaker and wanted to make sure the edges of the leaf vein cut weren’t going to snag on anything, I brushed on some Peeled Paint Stickles around the edge, and then used it to fill in along the hot glue edge to really “clean” it all up. Then the only thing left to do was flip the window over, add my sequins, and glue the base on.

After the shaker card, the rest of the cards were really just a matter of gluing all the die-cut pieces together! Each card has two layers – except the envelopes – one layer of cardstock, and one layer of patterned paper. I added a bit of random stitching and tucked in and layered up die-cuts and pieces from the cut-apart sheets in this month’s kit.
As I noted in the video, this was the day I discovered my printer had decided to retire, so my calendar is only a black-and-white printout, instead of the original design that I shared near the beginning of this post. The “Native American History Month” Card is actually one of the envelope cards, and inside it, I added a couple of little fact sheets printed from the National Congress of American Indians and the U.S. government’s Native American Heritage Month website. And of course, I have a card to remind me that Daylight Savings Time ends on the sixth, and we “Fall Back” an hour.

The eighth is our mid-term elections here in the U.S., and since I believe voting is highly important and something that should be taken seriously, I had to make a card for that day. The eighth is also the first full moon of November, known as the Beaver Moon or Frost Moon. On the eleventh, we have Veteran’s Day (also known as Armistice Day or Remembrance Day), [originally] to commemorate the end of World War I. For my November 13th card, I have another envelope, but I didn’t to say anything on the outside other than “Fun Day” since it is the Ides of November and the Festival of (the Roman God) Jupiter. And of course, as I mentioned at the start of this post, I have my National Button Day card.

For my last two cards, I have one for (American) Thanksgiving – which signals the start of the Holiday shopping season, so I had to make a card for Small Business Saturday! Don’t forget to support small businesses!!
I used a set of Hampton Art Alpha stamps with my Frayed Burlap Distress Oxide or one of my StazOn inks to stamp the titles and dates and sometimes added some gold embossing powder to make areas stand out a bit more.
 |
 |
 |
Thank you for joining me here in my corner! I hope you enjoyed this project and it gave you some ideas of what you can make using this month’s Cards, Tags, & More Kit! Make sure you check back with us on Tuesday when the November Kits are revealed! You’re going to love them!
Stay Crafty, Friends
Did you get a kit? Share what you made in our Facebook Group!
Thank you for joining us here at Tres Jolie Kits!
Tres Jolie can also be found at:

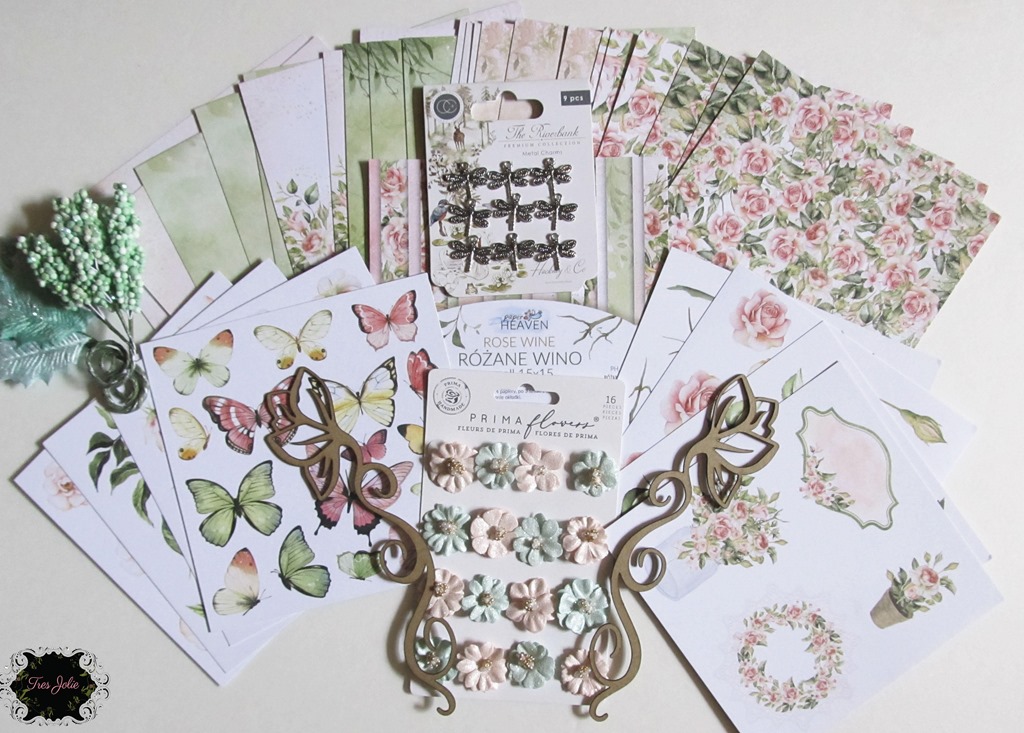
In addition to this month’s Cards, Tags, & More Kit (*from previous Tres Jolie Kits), I used:
Some (non-Tres Jolie) items may contain an affiliate link, allowing me to earn a small commission at no extra cost to you!
*Gary M. Burlin Co. “Ultrafine Gold” Embossing Powder , BoBunny “Sentiments With Love” Stamp Set , BoBunny “Lovely Leaf” Dies , Prima “Holographic Dreams” Foil , Dress My Craft “Crochet Doily” Die , *Dress My Craft “Classic Doily” Die , Distress Stickles “Peeled Paint” , Distress Oxide “Frayed Burlap” , Tim Holtz “Skeleton Leaves” Thinlits , Tim Holtz “Flower Field” Thinlits , Tim Holtz “Tiny Tattered Florals” Thinlits , Ranger Big Emboss It , Ranger Emboss It Pen , Ranger “Vintage Pearl” Embossing Powder , StazOn “Timber Brown” , StazOn “Royal Purple” , Hampton Art Alphabet Stamp Set , cardstock from my scraps pile , Lucy’s Cards “Warm Golden Glow” Little Things , Lucy’s Cards “Tequila Sunrise” Little Things , Heidi Swapp Memory Dex Dies , unbranded “ –dex” dies , Hampton Art Gold Calligraphy Marker , Recollections 6”x6” Clear Acetate Sheets , We R Memory Keepers 3-Way Corner Punch , We R Memory Keepers Tab Punch , Heidi Swapp Memory Dex Punch , Spellbinders Tool ‘n One , Dear Lizzy Date Stamp , K. Barteski Roller Stamp , unknown sequins , unknown seed beads , hot glue gun (high & low heat) , Gorilla Mini Hot Glue Sticks , JudiKins Diamond Glaze , Art Glitter Glue , Fabri-Tac , Schmetz Super Universal Sewing Machine Needles (Teflon Coated) , McGill Flower Shaping Tools , blending brushes , foam mat