Hey, all! Welcome back to my corner!
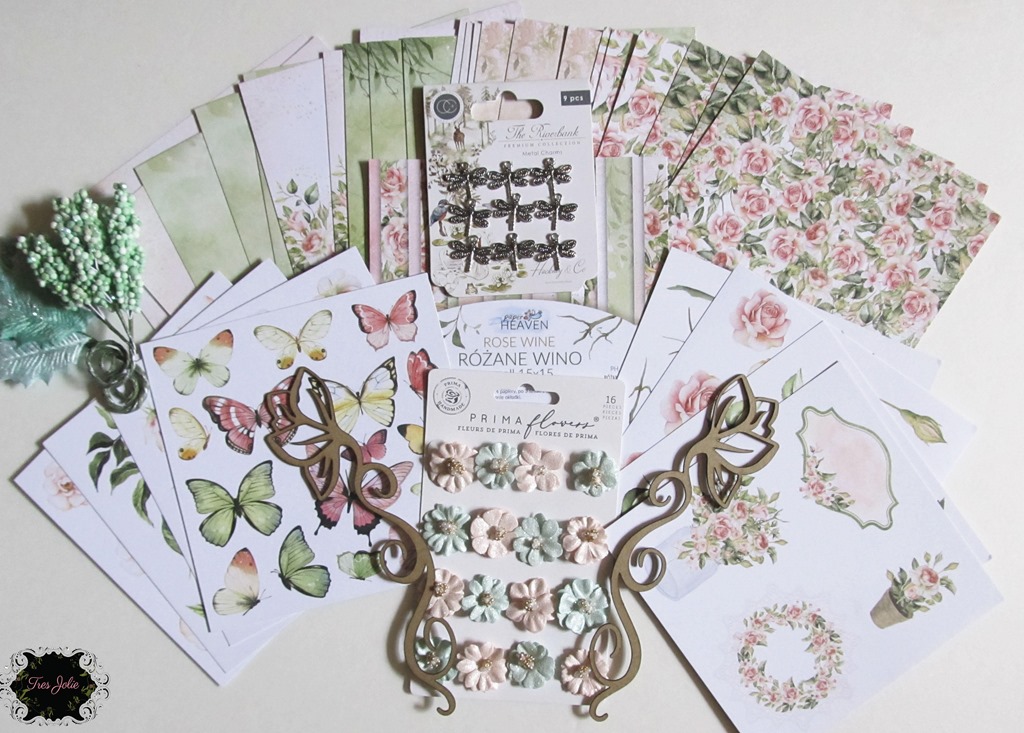
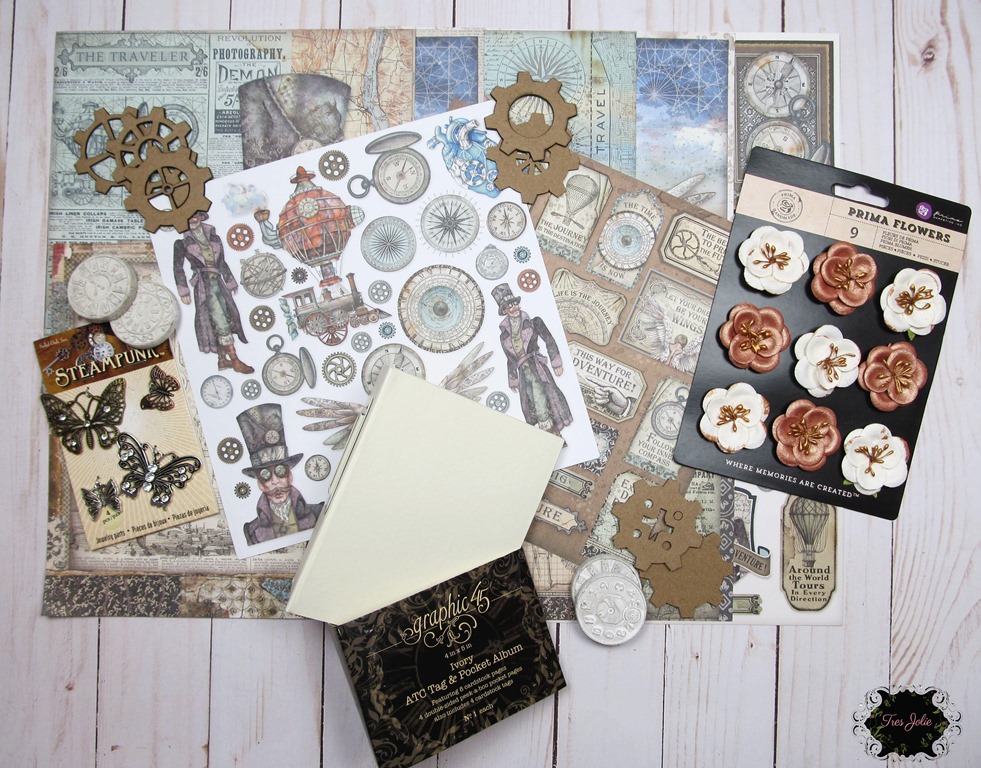
This week I’m bringing you a two part project using the August 2021 Cards, Tags, & More Kit from Tres Jolie Kit Club – part one: paperclay + moulds + paper; part two: tag booklet!

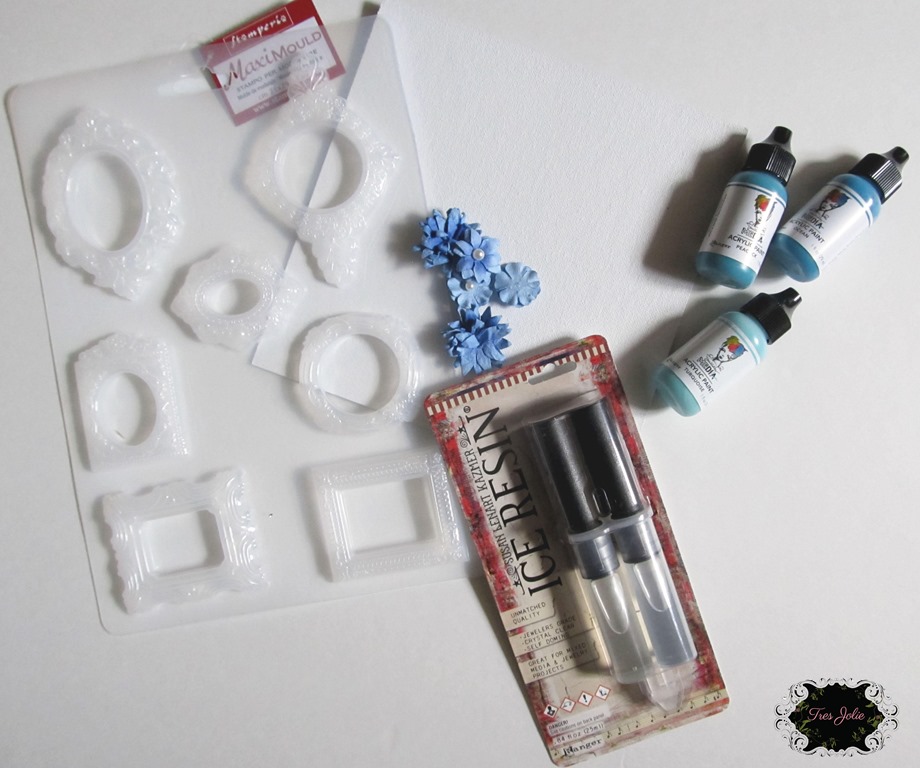
As I was sitting and looking at the cut-apart sheet from the kit, I couldn’t help but wonder if I could make the wreaths more dimensional. Then it dawned on me – they looked like the would fit in the Stamperia Mould from the July 2021 Mixed Media Kit! Check out my video to see how I used the papers with some different moulds and how I put the quick tag booklet together!
Video:
Now for a few photos. First up, the paperclay pieces I created:
|
|
|


The photo on the left shows two wreaths I created using the July Stamperia Mould and papers from this month’s Cards, Tags, and More Kit. The photo on the right shows all the pieces I made using various moulds from my stash!
Next up, the quick little tag booklet:
|
|
|


The round wreath was just the right size to add to the front of my tag booklet, and with just a few small embellishments it was all done! Look below for a photo series of making the pockets, plus a link to the original post I got the folding idea from! (*Note: Tag Size: 2-3/8”x3-3/8”)
 |
 |
| The dashed lines are the folds. | The side that is the “back” of the folds is also the side that will show on the front pockets. |
 |
 |
| Add a thin line of clue for to make the
slide-through pocket. |
Fold your corners in and add a little glue to
tack them in place. |
 |
 |
| Glue lines if the larger side will be your top
piece. |
Glue lines if the smaller side will be your top
piece. |
**Original Fabrika Decoru Instagram post where the pocket idea came from! (The 6th slide in the post has a video)

Thank you for joining me here in my little corner, I hope you enjoyed this project and it gave you some ideas of what you can do with the items found in the August Cards, Tags, & More Kit!
Stay Crafty, Friends
Did you get a kit? Share what you made in our Facebook Group!
Thank you for joining us here at Tres Jolie Kits!
Tres Jolie can be found at the following places:
August 2021 Cards, Tags, & More Kit

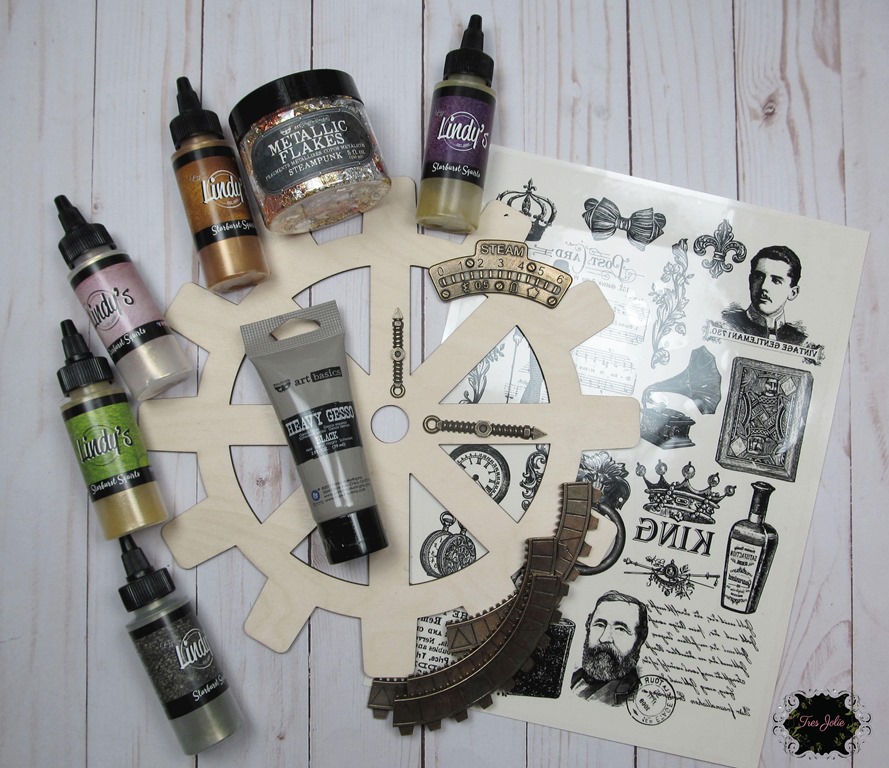
In addition to items from this month’s Cards, Tags, & More Kit (*from previous Tres Jolie Kits), I used:
*Stamperia Frames Maximould; *Little Birdie “Aqua Sheen” Metallic Wax; Prima/Finnabair Moulds: “Skull & Bones,” “Birds & Bats,” “Nocturnal Elements,” & *“Fairy Garden;” Creative Paperclay; LineCo PVA Glue & Linen Hinging Tape (1.25”); Art Glitter Glue; Liquitex Matte Super Heavy Gel; X-Acto Knife; We R Memory Keepers Crop-A-Dile & Crop-A-Dile Corner Chomper; EK Tools Score Board; Tim Holtz Tiny Attacher; sheer ribbon; *Lace